
Making Fancy Yogurt on the Cheap
- Thrift
Kitchen - Each Thursday I post about ways to be thrifty in the kitchen. This week on Wednesday instead. To me, it isn’t just about being cheap, it’s about living creatively!
Two things recently happened that lead to me giving yogurt making another try. First, my dear Yankee friend Unplugged yogurt making with this great post on the process–no fancy equipment here. Second, I bought a dehydrator to make our own camping food. It came with instructions for making yogurt and a few dishes specifically for yogurt. How could I not try again? What happened the first time? Well, too hot, then too cold and that pretty much tells the story.
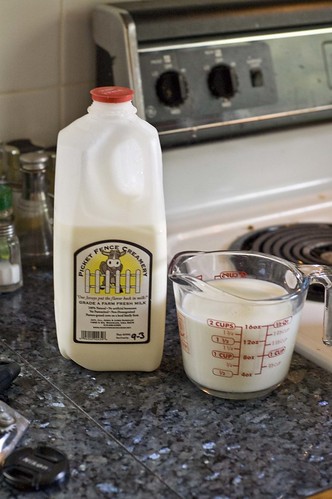
I really like expensive yogurt from the local coop. The texture, the taste, and the lovely local aspect. Plus, I have another issue. Every time I get a 1/2 gallon of delicious Picket Fence Creamery milk, I never seem to be able to finish it before it goes rank. Annoying!
Making my own yogurt has helped save money in both ways. I can get a little container of my favorite yogurt. Mix up a batch with Picket Fence milk. And have just enough milk left over for drinking in my coffee for the rest of the week. So I save money by not wasting awesome fresh milk. I also save money by just getting a little thing of yogurt, about $1.50 at most, (or even using last week’s batch for a starter) vs. a whole pint (about $5 depending on the brand).
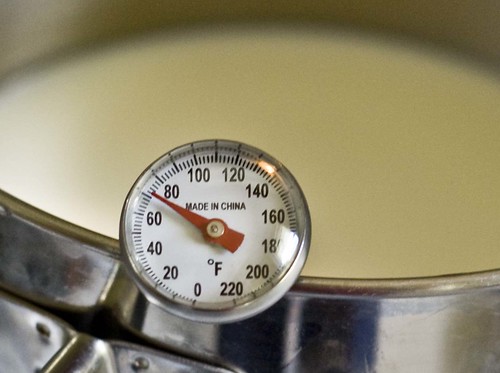
Making yogurt is easy. Take 4 cups of milk and bring it up to 180 degrees over a medium heat. Stir constantly.
Stick the pot into the fridge and wait until it’s 100 degrees. About an hourish.
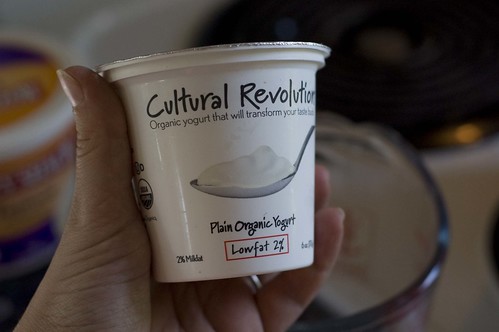
Wisk in 2-3 tablespoons of yogurt.

Pour the yogurt-milk mixture into your containers. If you are using a dehydrator, use the containers included with your unit.
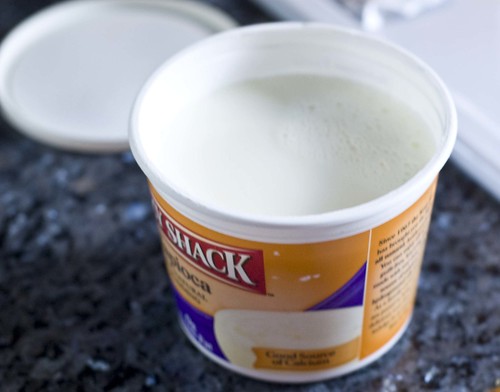
You can use just about anything though. I used this cleaned out tapioca pudding container and wrapped it in a towel.
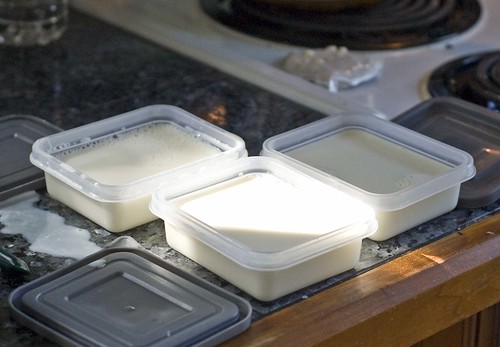
Yeah, yeah, yeah, ignore that mess. I always spill everything everywhere.
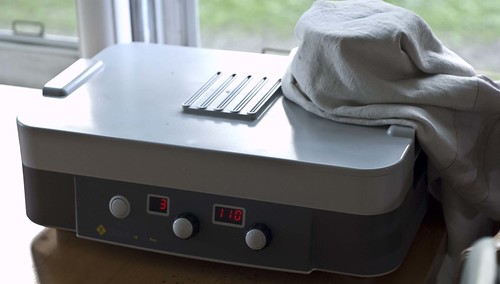
I put the yogurt containers in the dehydrator and put the reused container on top, wrapped in a cloth. I set it for 4 hours at 110 degress.
Put it directly in the fridge for at least 3 hours before stirring.
If you like really thick yogurt or a yogurt cheese, put cheese cloth in a colander and scoop the yogurt in. Let it drain for 30 minutes, put back in the container and refrigerate.
::A few notes on yogurt making::
Powdered milk or no?
I didn’t use powdered milk and it turned out fine. That said, I used whole milk. If you are using fat free milk and fat free yogurt, you will need to add some to the mix to help thicken it up. Since I haven’t tried this, I don’t know how much. And I like my yogurt fatty, so I don’t care to find out. :)
What type of yogurt?
Use your favorite! However, make sure your yogurt includes live active cultures.Those are the little guys that make this whole thing work. It will say somewhere next to the nutritional info.
How long does it keep?
About a week. I usually eat mine up in under a week and never have had any spoil.
What if you don’t have a dehydrator?
You can put your yogurt/milk mixture wrapped in a big towel or blanket in your oven (don’t turn it on). In the summer, on the counter will be just fine. You want the mixture to maintain the temp so the cultures stay active long enough. If it cools down too much, they will go dormant.
Also, make sure to check out the post my friend wrote that helped inspire me to give yogurt making another (successful) shot, she has a great foodie blog.
Enjoy!
Kristin
Very nice! What brand of yogurt maker is that? I'm looking for a replacement.
It's not a yogurt maker, just a dehydrator and anyone of those would do. Yogurt is so easy to make though, you really just need a jar and towel :)