Winter Composting Part 2: Saving Kitchen Scraps
Maybe you really just want nothing to do with wormy friends like I posted about last week. Or maybe they aren’t eating enough to take care of all your kitchen scraps. That’s okay. That doesn’t mean you have to forgo composting all winter long. My issue with winter composting is that it’s during the winter that I allow my pile to rest. I don’t have multiple piles going that I can rotate through, so the winter resting period is pretty key to having a nice pile of usable compost in the spring.
I first looked at all those fancy bins that are “odor free” and lidded. I ruled this out because I really just don’t want to spend $20 on what is essentially a counter top waste bin. I realized that I had everything I needed to conveniently save my compost.
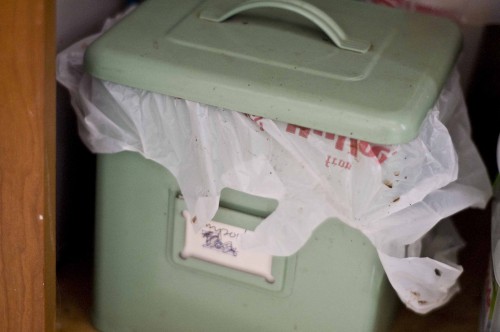
- A cute tin – this was originally for flour, but I’m using some air tight moth proof jobbers now.
- Plastic shopping bags.
- A frozen place – in my case, a Rubbermaid out in the garage.
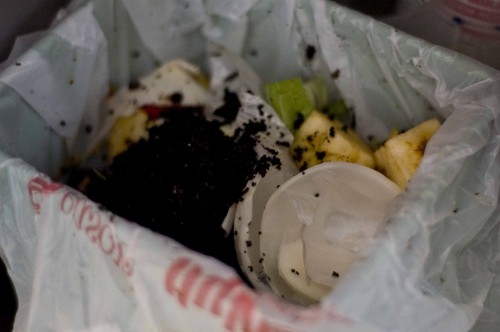
I simply put the plastic shopping bag into the gallon sized tin, fill it with kitchen scraps (after I take what I want for the worms), and then when it’s full, tie off the plastic bag and put it in the rubbermaid in the garage. The prime veggies get tossed into a big food bag in the freezer to make veg stocks with. Here’s a great article for homemade stock using this frozen scrap method from the Simple Dollar.
As soon as it gets warm enough where the saved scraps would start thawing, I’ll be out getting my garden beds ready, spreading my fresh compost, and building my new compost pile with my saved scraps! Excellent.
Happy winter composting!
Kristin


I’m a total composting noob, but I’ve been saving my scraps in a counter top bin and adding them to the heap outside every few days. Can’t wait to get my own dirt!
Great idea for the counter top composting pail! Thank you!
good tanks yuo
https://www.alqaly.com