
Nearly every 4th Thursday of the month, I’ve been co-hosting a monthly mending group called A Place to Mend at The Octagon Center for the Arts here in Ames, Iowa. This January kicks off our third year and we are excited to add in a bit of intentional instruction each
Read More
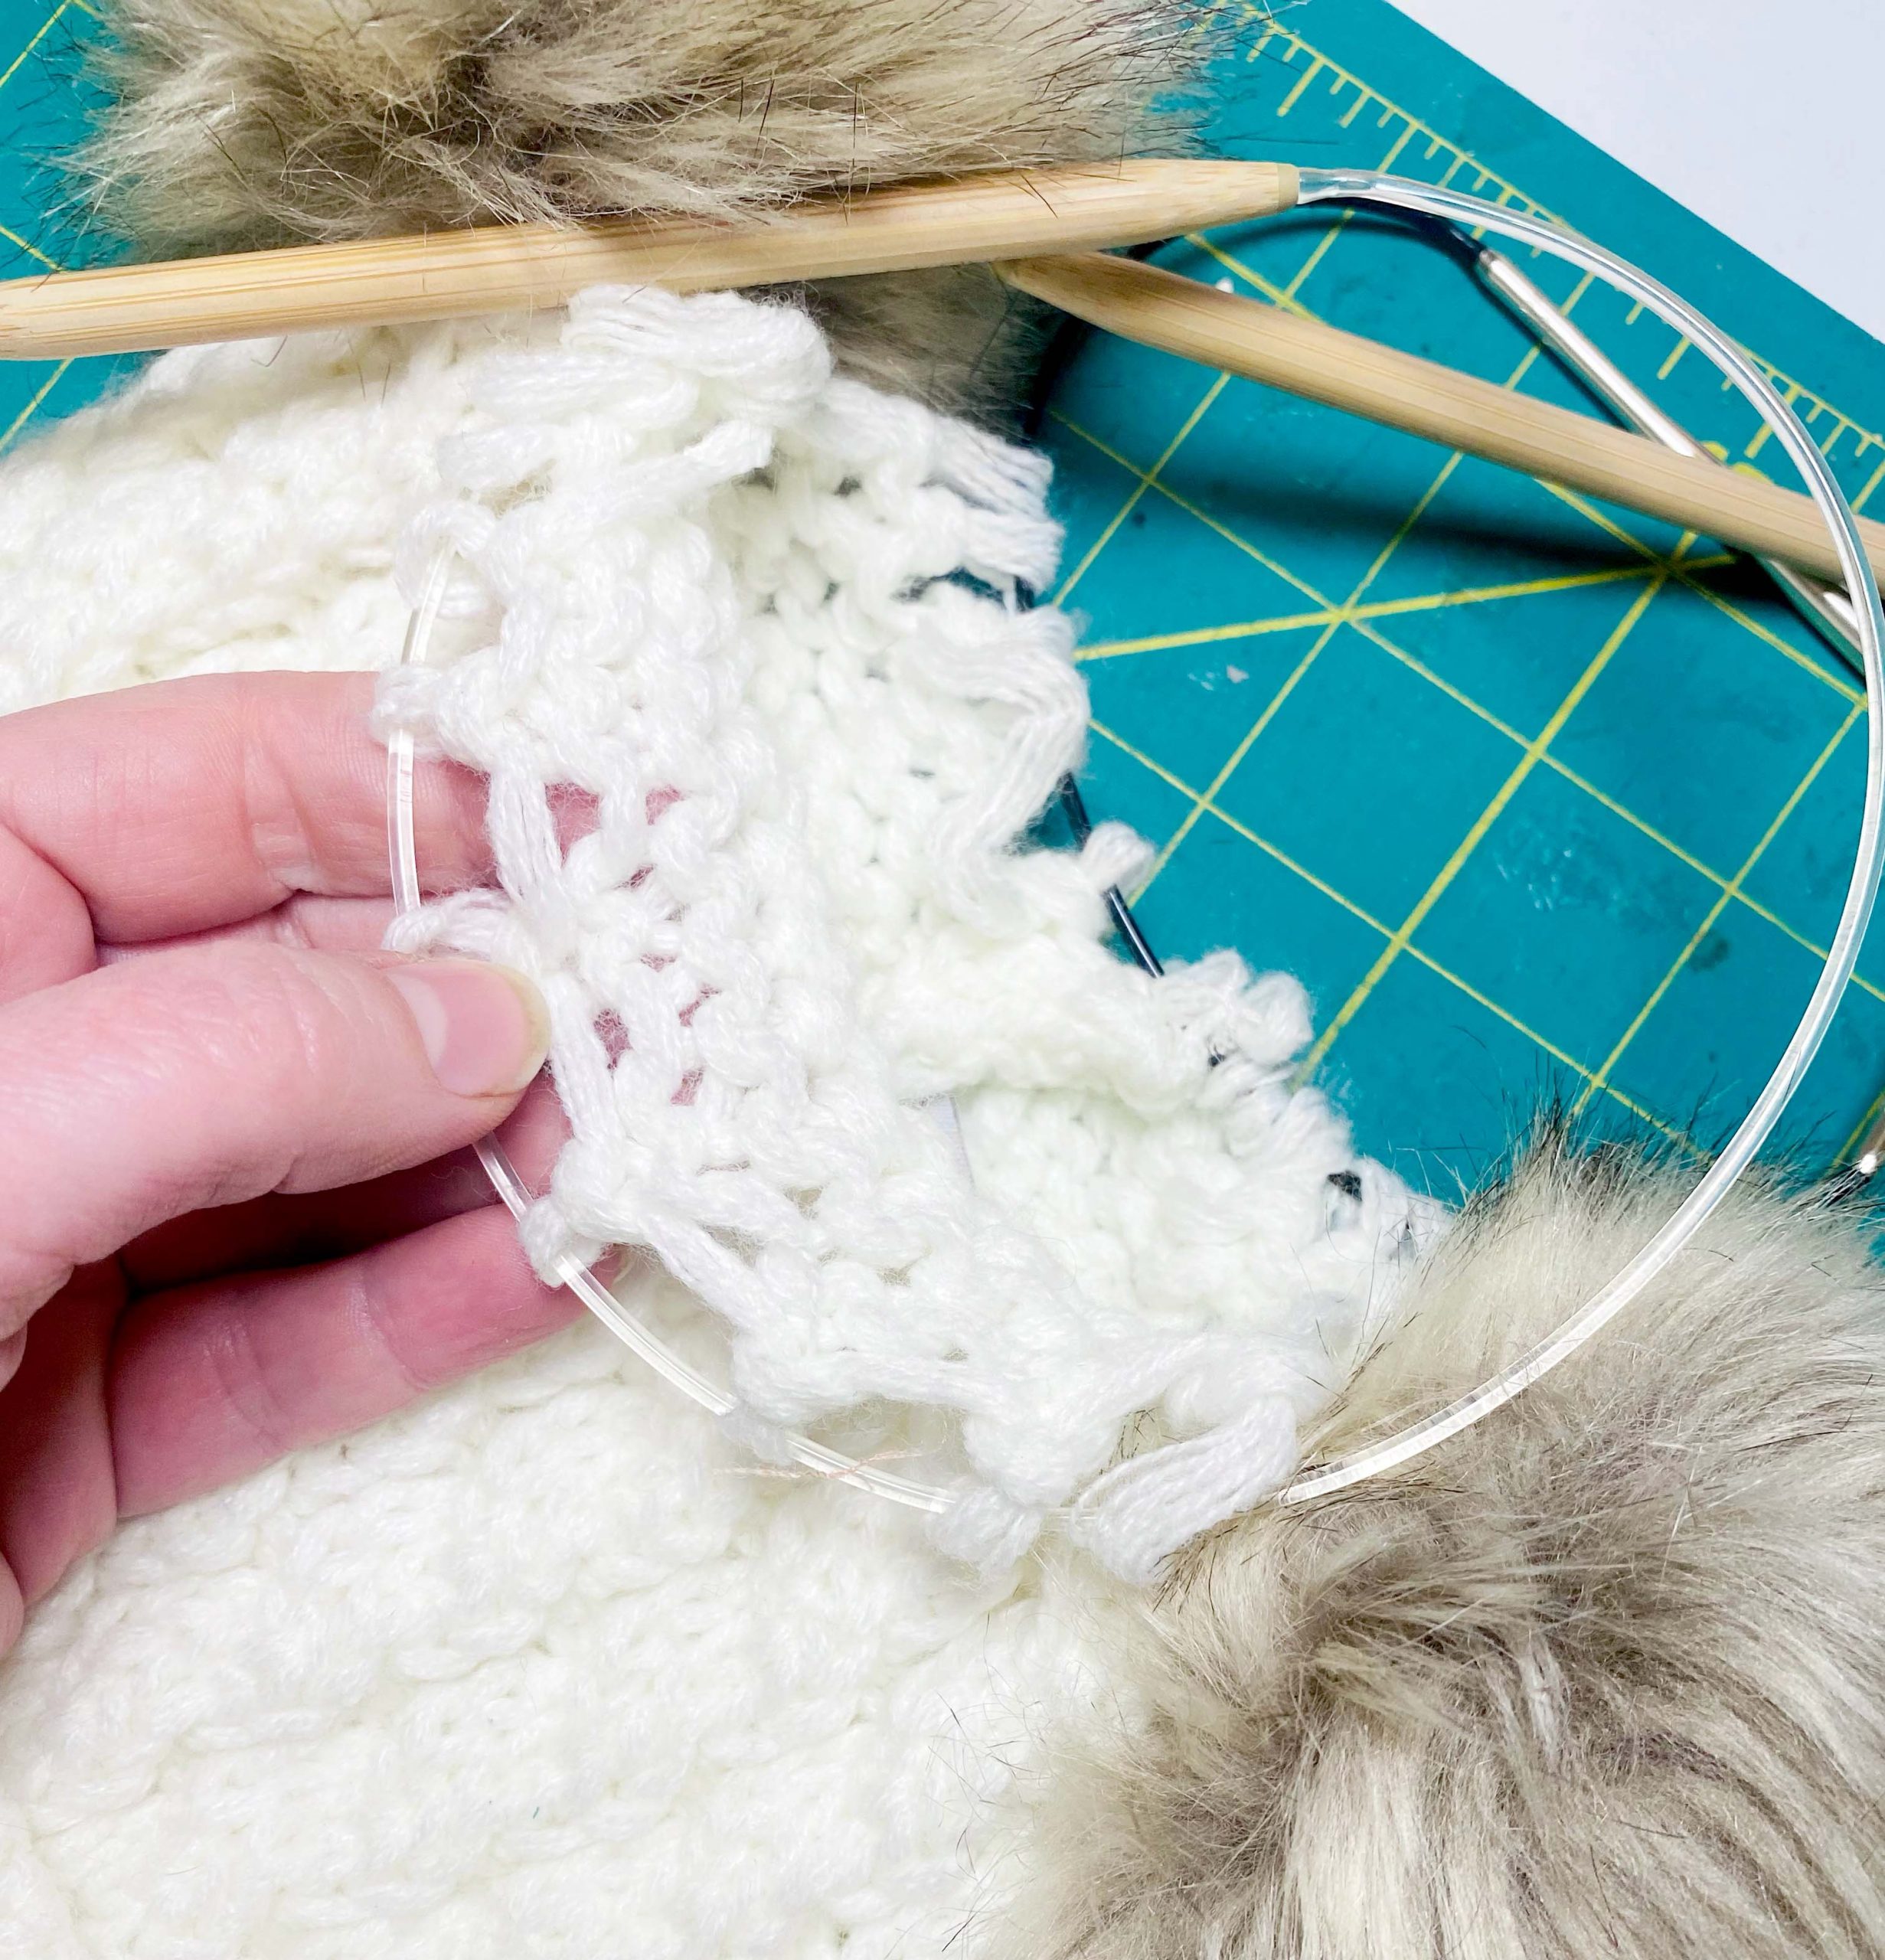
Gather up those textiles you’ve been meaning to work on and join me for some creative social fun. Bring any projects to work on, ie.. knitting, crochet, needle work, whatever. 5:30 – 8:00pm Thursday, May 25th, 2023 Octagon Center for the Arts, 2nd Floor Studio FREE IN PERSON EVENT |
Read More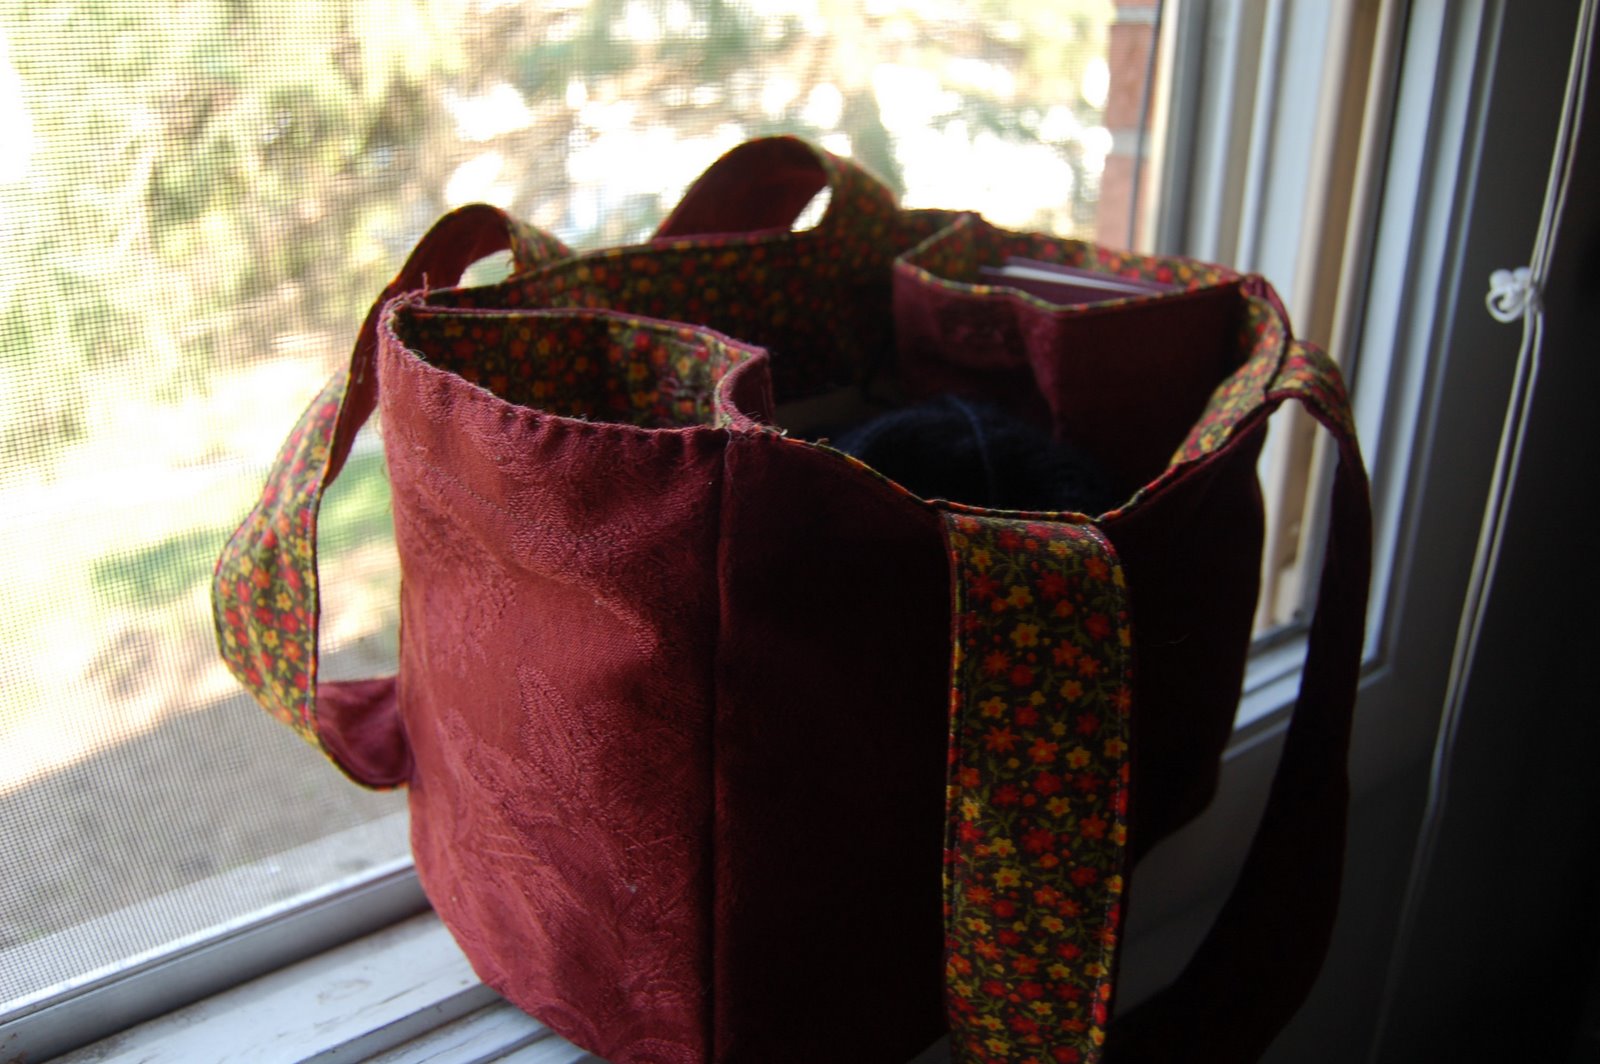
Fantasizing about riding my bike to the grocery store is a lovely image. A bit of a fresh air, get my legs moving, a handle bar basket full of …. too much? What. Wait, that wasn’t the idea I had in mind. I made this tote bag to fit right
Read More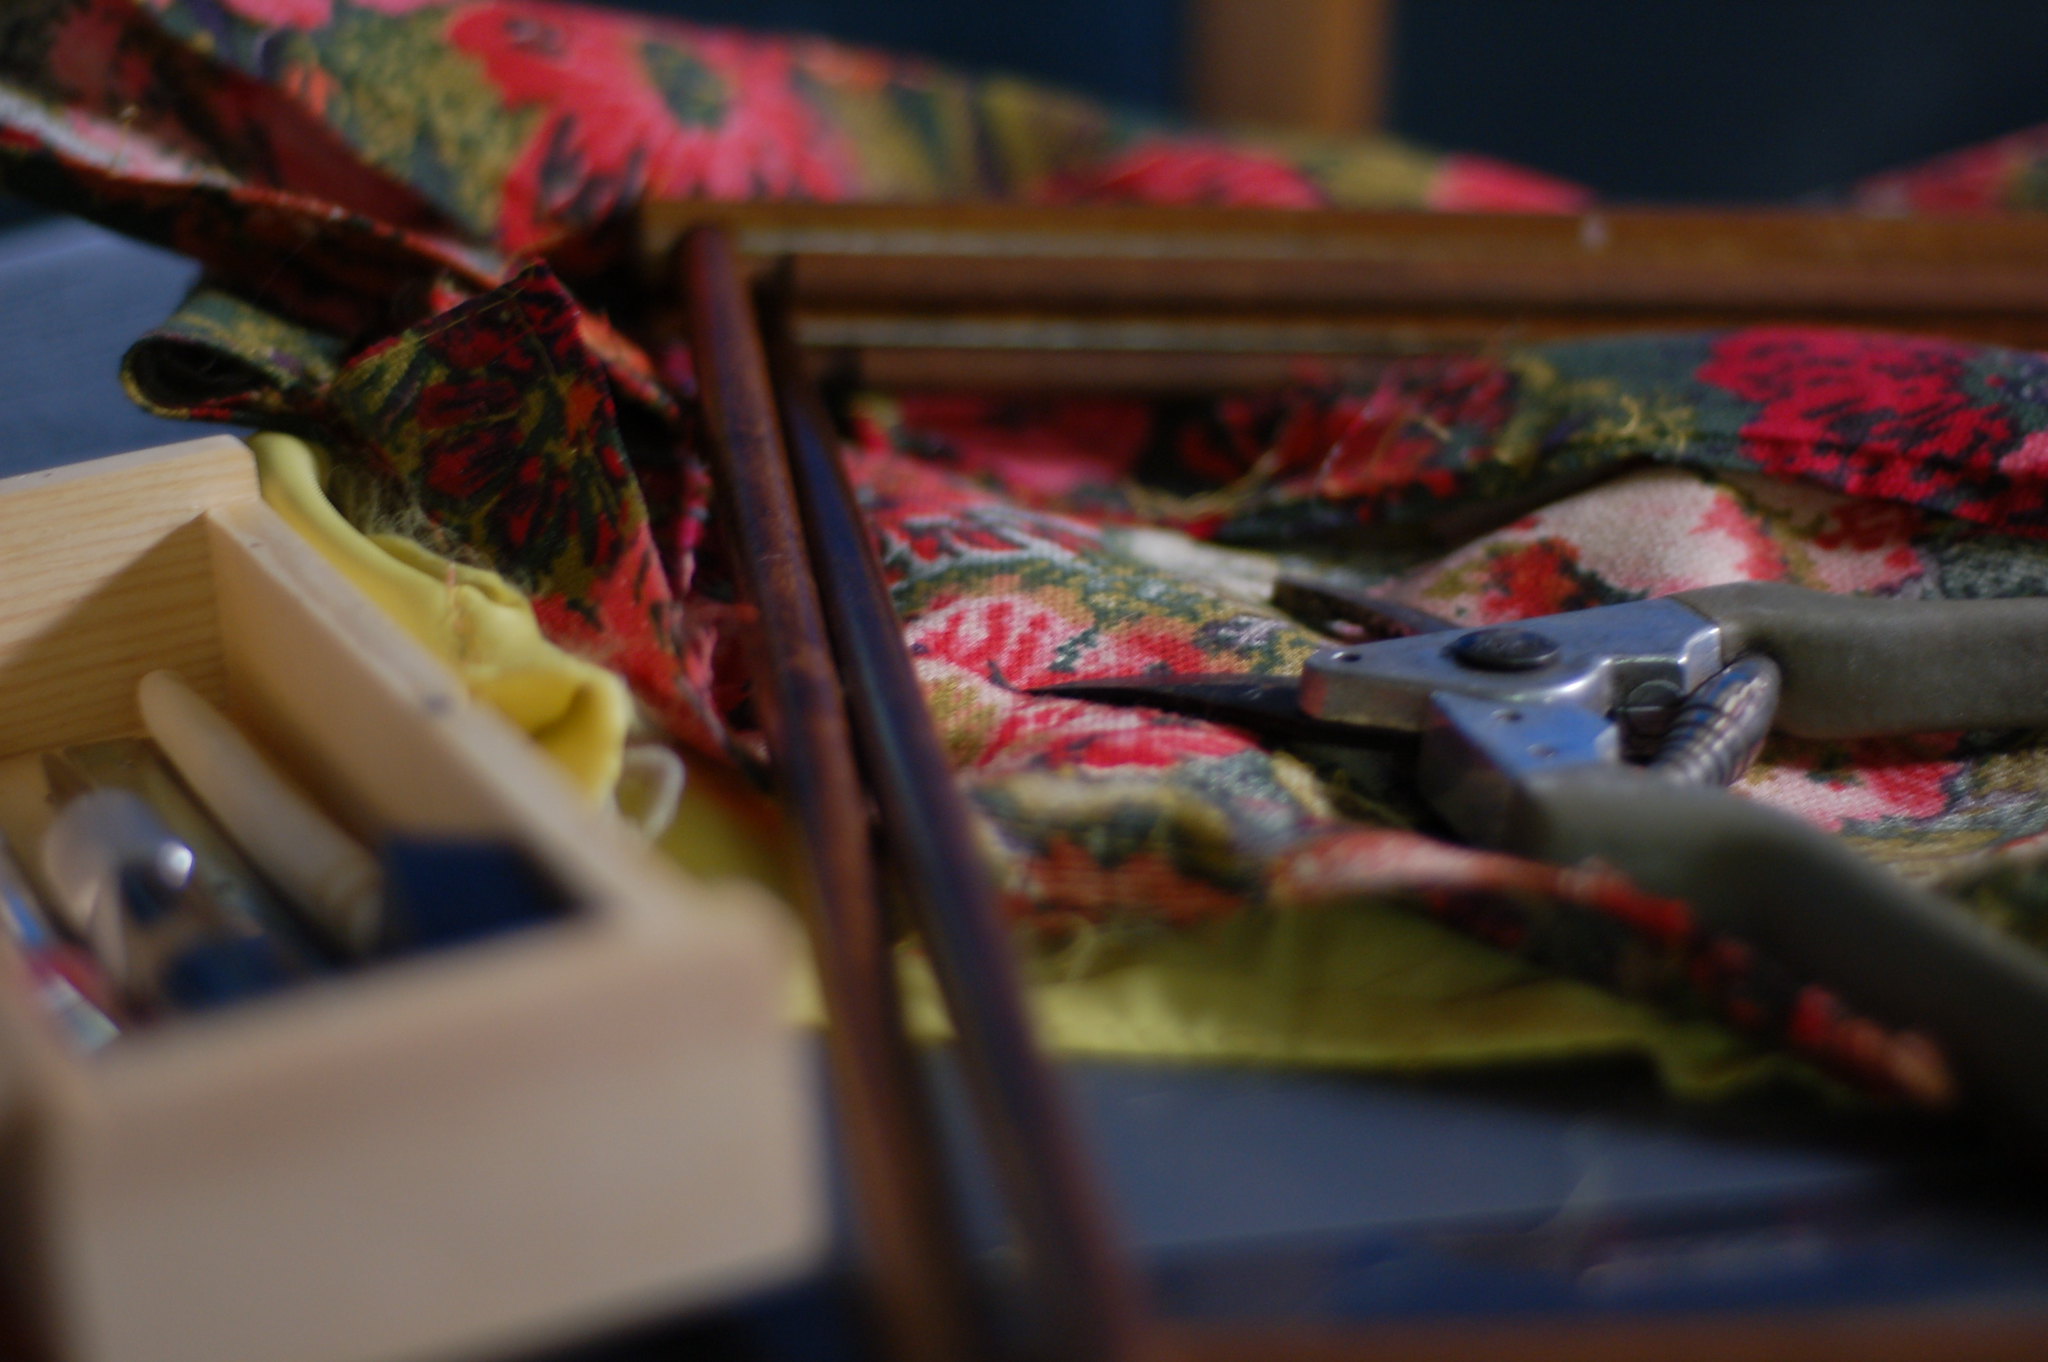
Special thanks to a Facebook message that let me know the pattern link was broken for the Vintage Project Basket. Now that it’s fixed, let me share with you this project that still has a home in my studio.
Read More
Love this tote and re-reading this post had me thinking… where did that bag go! It would be excellent to pack my lunch in. This fun little tote was originally made to fit in the basket of my bike in college, then used to carry my lunch once I was
Read More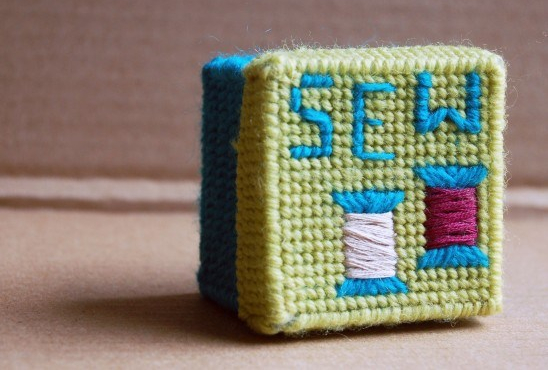
I’m still in love with this little box, but can’t find it anywhere. Maybe it’s time I make a new one. I brought two posts together to tell the whole story with a few edits for ease of reading. Originally published 09/07/2009. This weekend I started the daunting task of digging
Read More
Last week I told you about my search for a new lunch box. I took a look around with *cough* what’s on hand before I ran to the store to purchase new fancy lunch box supplies.It turns out that when I really hunted around, dug things from the freezer, and
Read More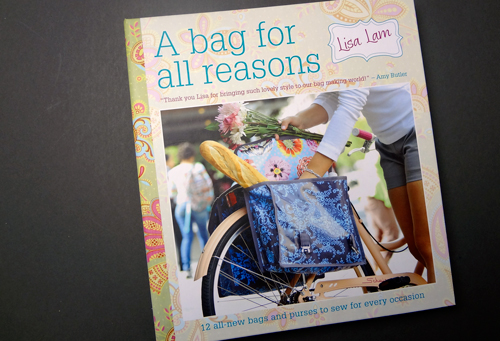
I can’t recommend Lisa’s A Bag for All Reasons enough. With great step-by-step instructions and clear photos, the author takes you through everything you need to know to complete many bag types.
Read MoreI’ve been working on a quilt pattern for the new issue of the Craft Leftovers Zine (out in the next weekish) and was combing other tutorials to see how they write them. Because you know, while this is the second quilt I’ve designed, it will be my first official quilting
Read More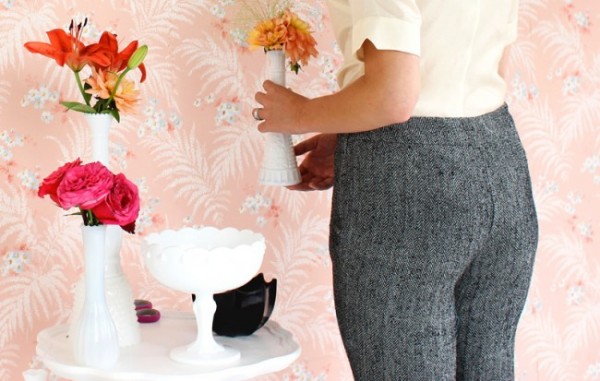
It was a funny thing, I was collecting up sewing articles and patterns to post a round up about and I realized that 6 out of the 8 post I picked out to share with you were from Coletterie.com. When I was in Chicago I stopped by The Needle Shop and couldn’t
Read More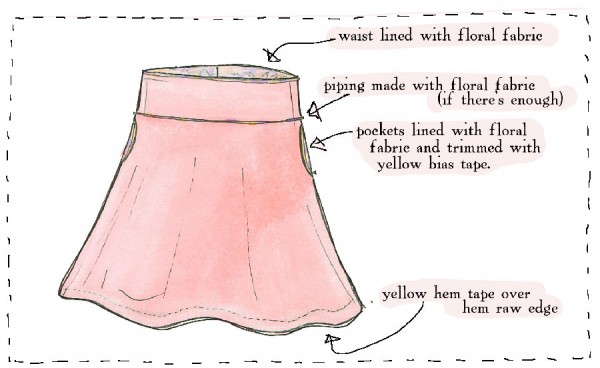
After taking into account comments, twitter, and facebook The Fickle Sense Circle Skirt has it! When this was picked I was a little worried I wouldn’t have a good fabric on hand to make what I had in my head. But, I did! Ha. More on that in a second.
Read More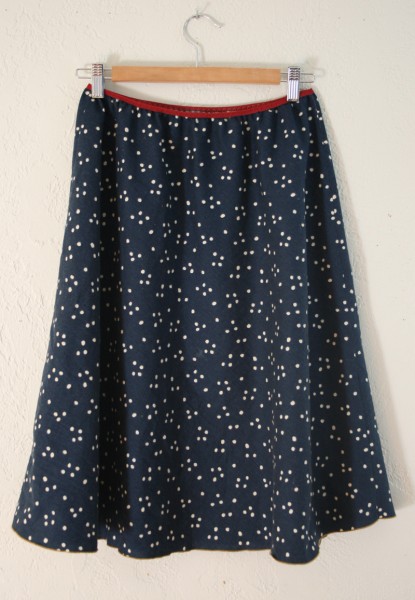
After the last (and first) Make-a-long Quicky challenge, many readers said they would have loved to participate if only they had known it was happening. So this time around I’m giving you a full week’s notice and a full week to vote on which pattern to make. And this MAL
Read MoreEver since I Love Patchwork: 21 Irresistible Zakka Projects to Sew by Rashida Coleman-Hale came out, oh, 3 years ago, I’ve been drooling over it. It’s one of those books that every time I would go to the book shop, I would flip through it, contemplate buying, then put it
Read MoreI’m part of a really great local arts group called Ames Collaborative Art, we like to call ourselves Ames C.art. Each month we get together for what we call Creative Collision. Basically, we flood a local coffee shop, bring some kind of portable project, and hang out for a few
Read MoreI didn’t even know it, but my book is officially up on Storey’s site as “coming soon!” as of last week. Thanks to @staciemakedo who clued me in to this exciting news. Here is the run down on the book according to their site. Those marketing folks at Storey sure
Read More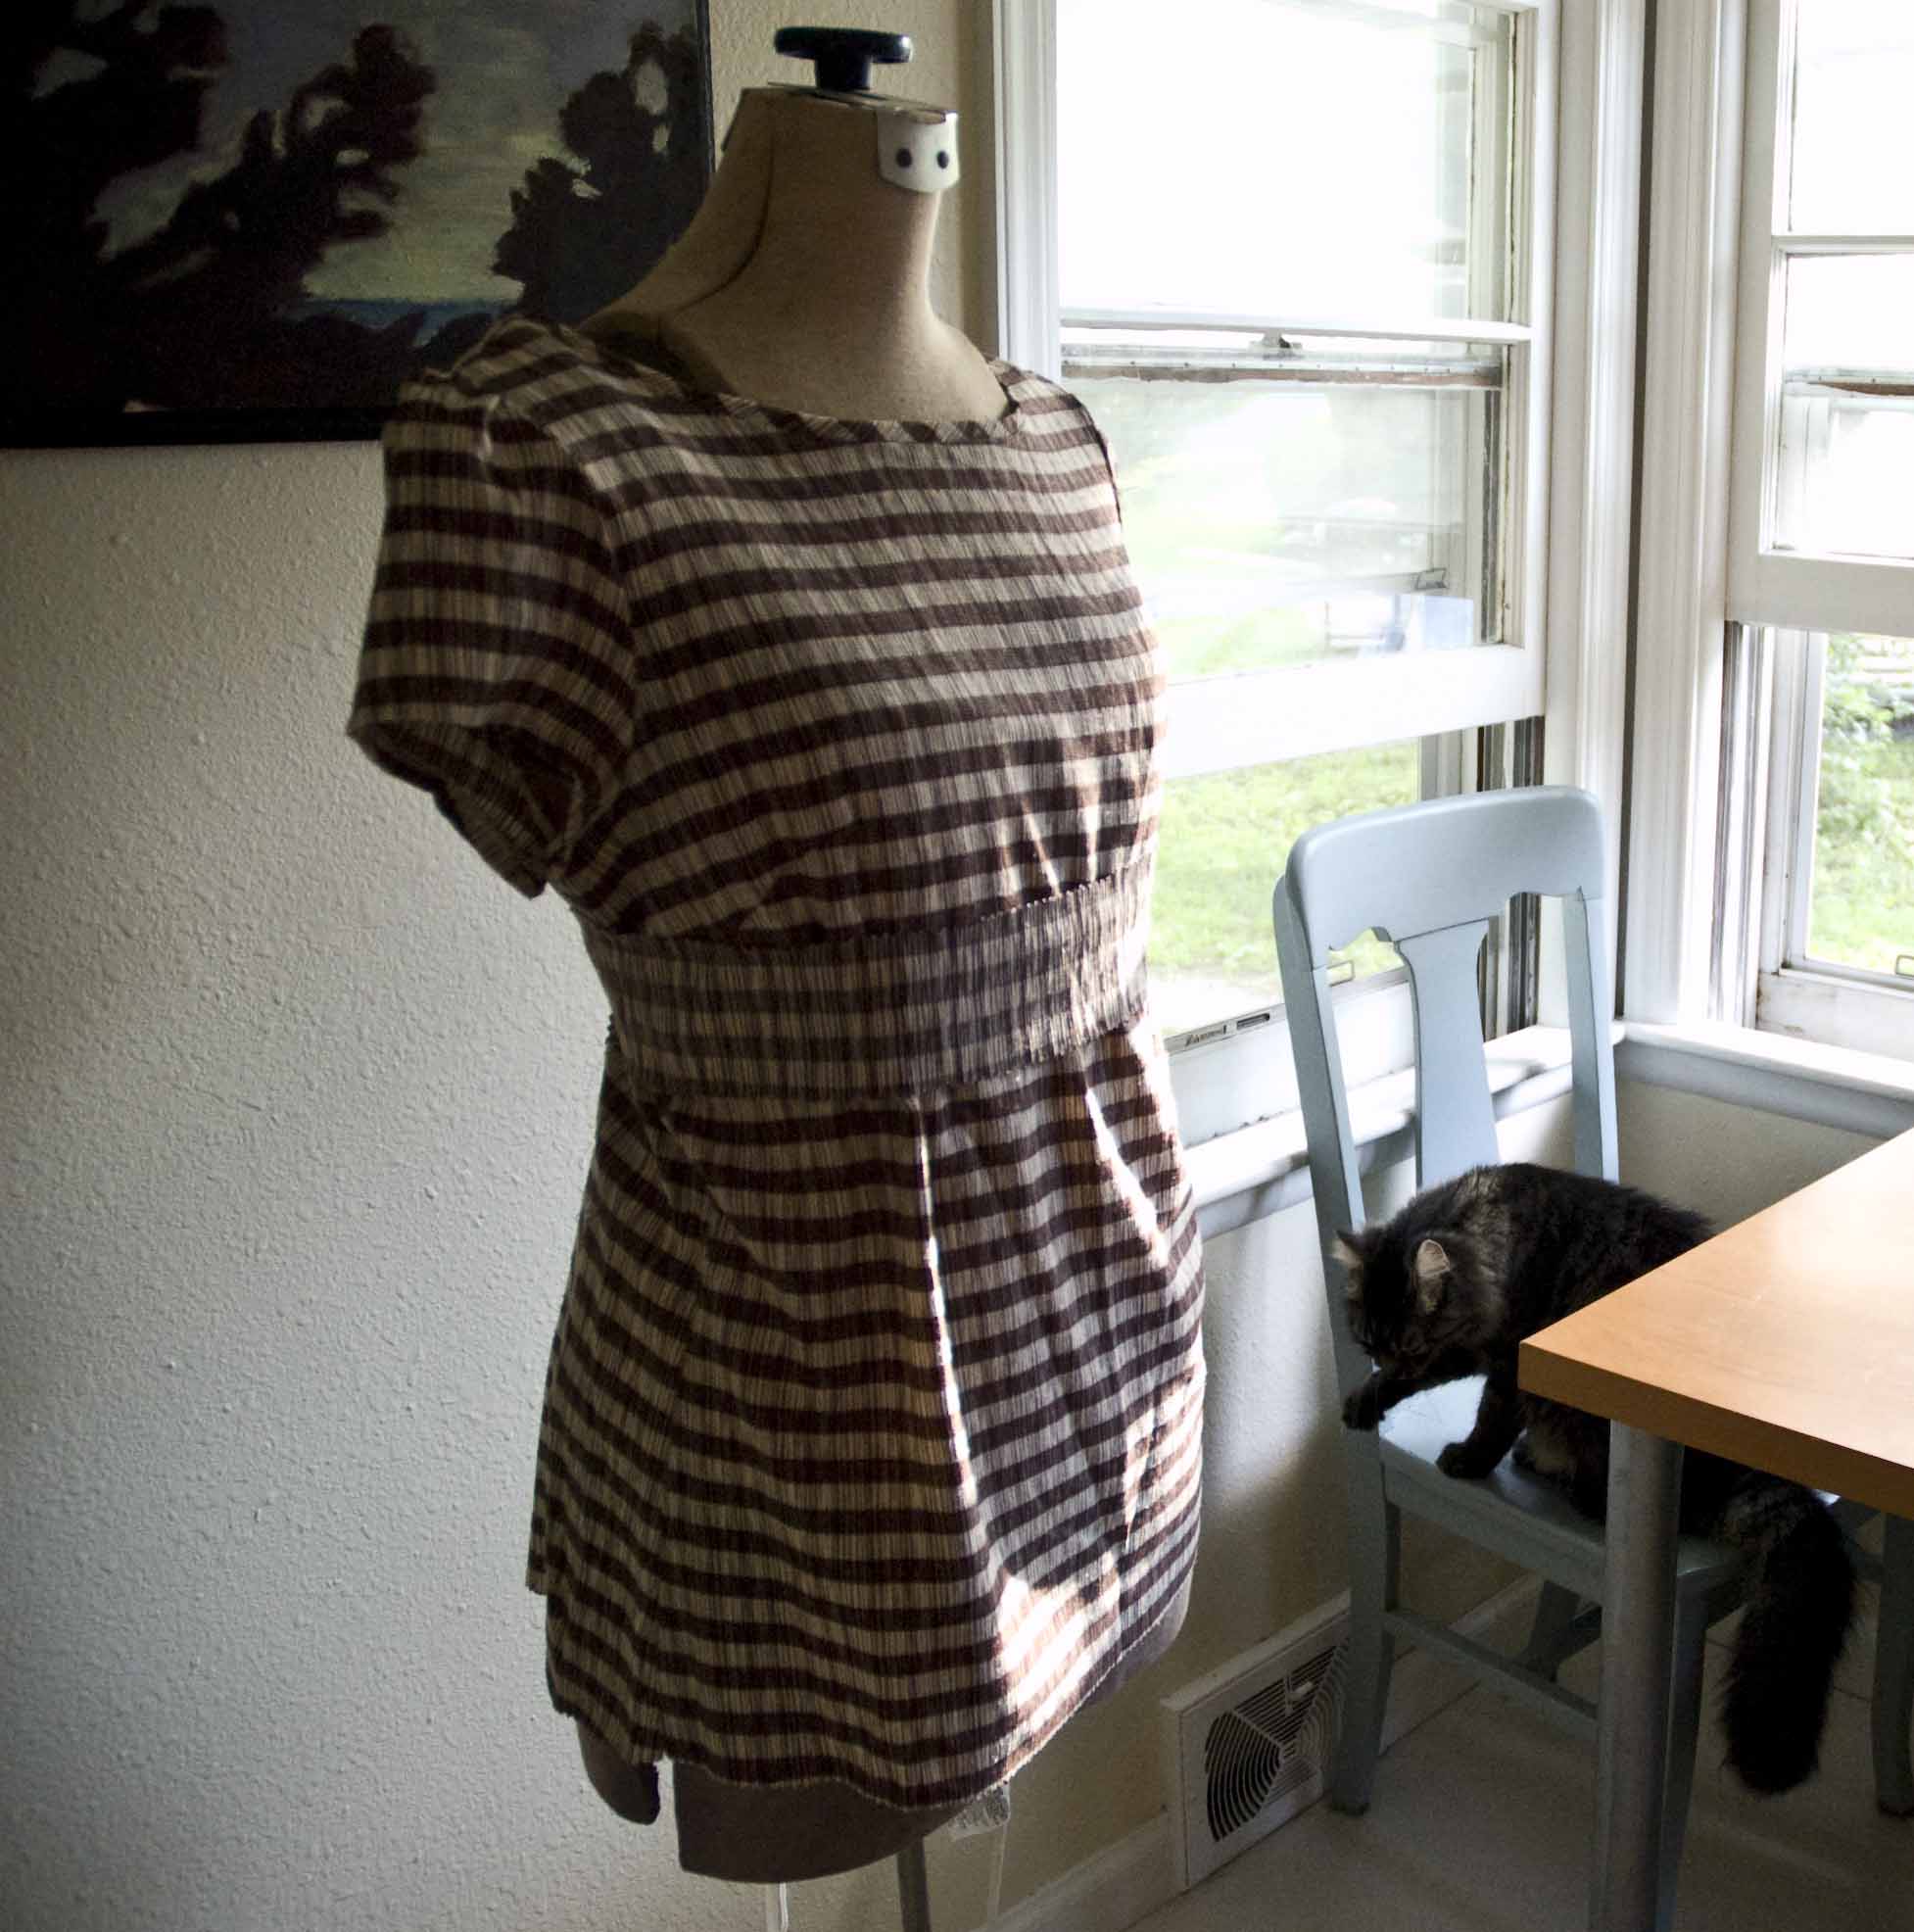
I snatched up this dress at the Salvation Army a couple months ago while picking out things for my book’s photo shoot. It was plain, a little frumpy, an awesome neckline, and an excellent candidate for redressing! Here’s what I did to make this frumpy dress into a cute little
Read More
When we got Jak last month, I thought I was being oh so smart by getting a dog bed with a removable cover. The theory was that I could just take off the cover, give it a wash, and be good to go again. Well, that’s true except in the case of accidents where the whole thing gets soaked through. Next time I’ll make sure to get a cover that’s water proof as well as removable. Ah well. Hopefully we have dealt with the last of the pee issues.
Time to pull out the sewing machine and make my own. It was surprisingly easy, so I thought I would share this with you, just in case you have a pet with a bed that needs a new inside.
Read More
To submit your best example of a creative mending technique, please send:
- a close-up photo jpeg of your finished work (a scrap piece of fabric is fine—it doesn’t need to be a full piece of clothing or finished object)
- along with the submission form (click here to download the word document)
- to inquiry [at] creativemending [dot] com
- by January 20.
- Multiple examples of interesting work are very welcome!

While the ironing board is a great craft room tool, it’s often a bit big and cumbersome. Sometimes I just need to press a little something while sewing–all nice and quick. I keep my cutting mat on my sewing table, so I wanted to make an ironing mat that would fit right over it and protect its rubbery surface.

Sewing a cycling cap together, five times finally got it just right! Here’s how I did it.
View More