
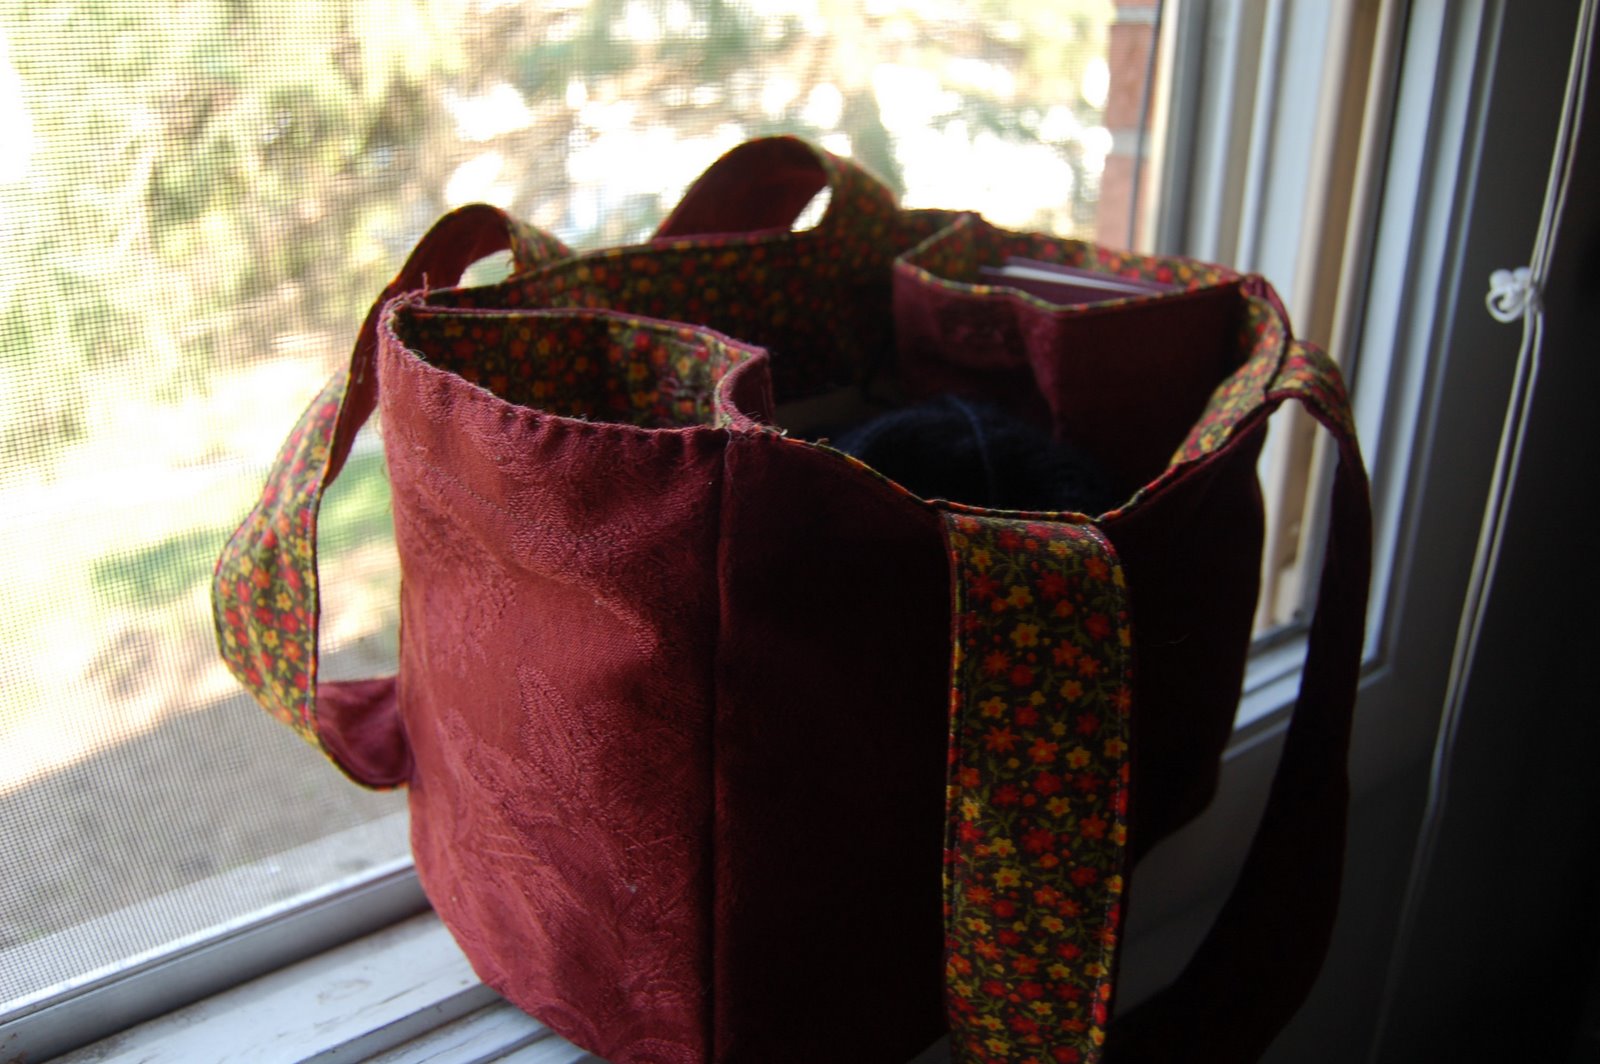
Fantasizing about riding my bike to the grocery store is a lovely image. A bit of a fresh air, get my legs moving, a handle bar basket full of …. too much? What. Wait, that wasn’t the idea I had in mind. I made this tote bag to fit right
Read More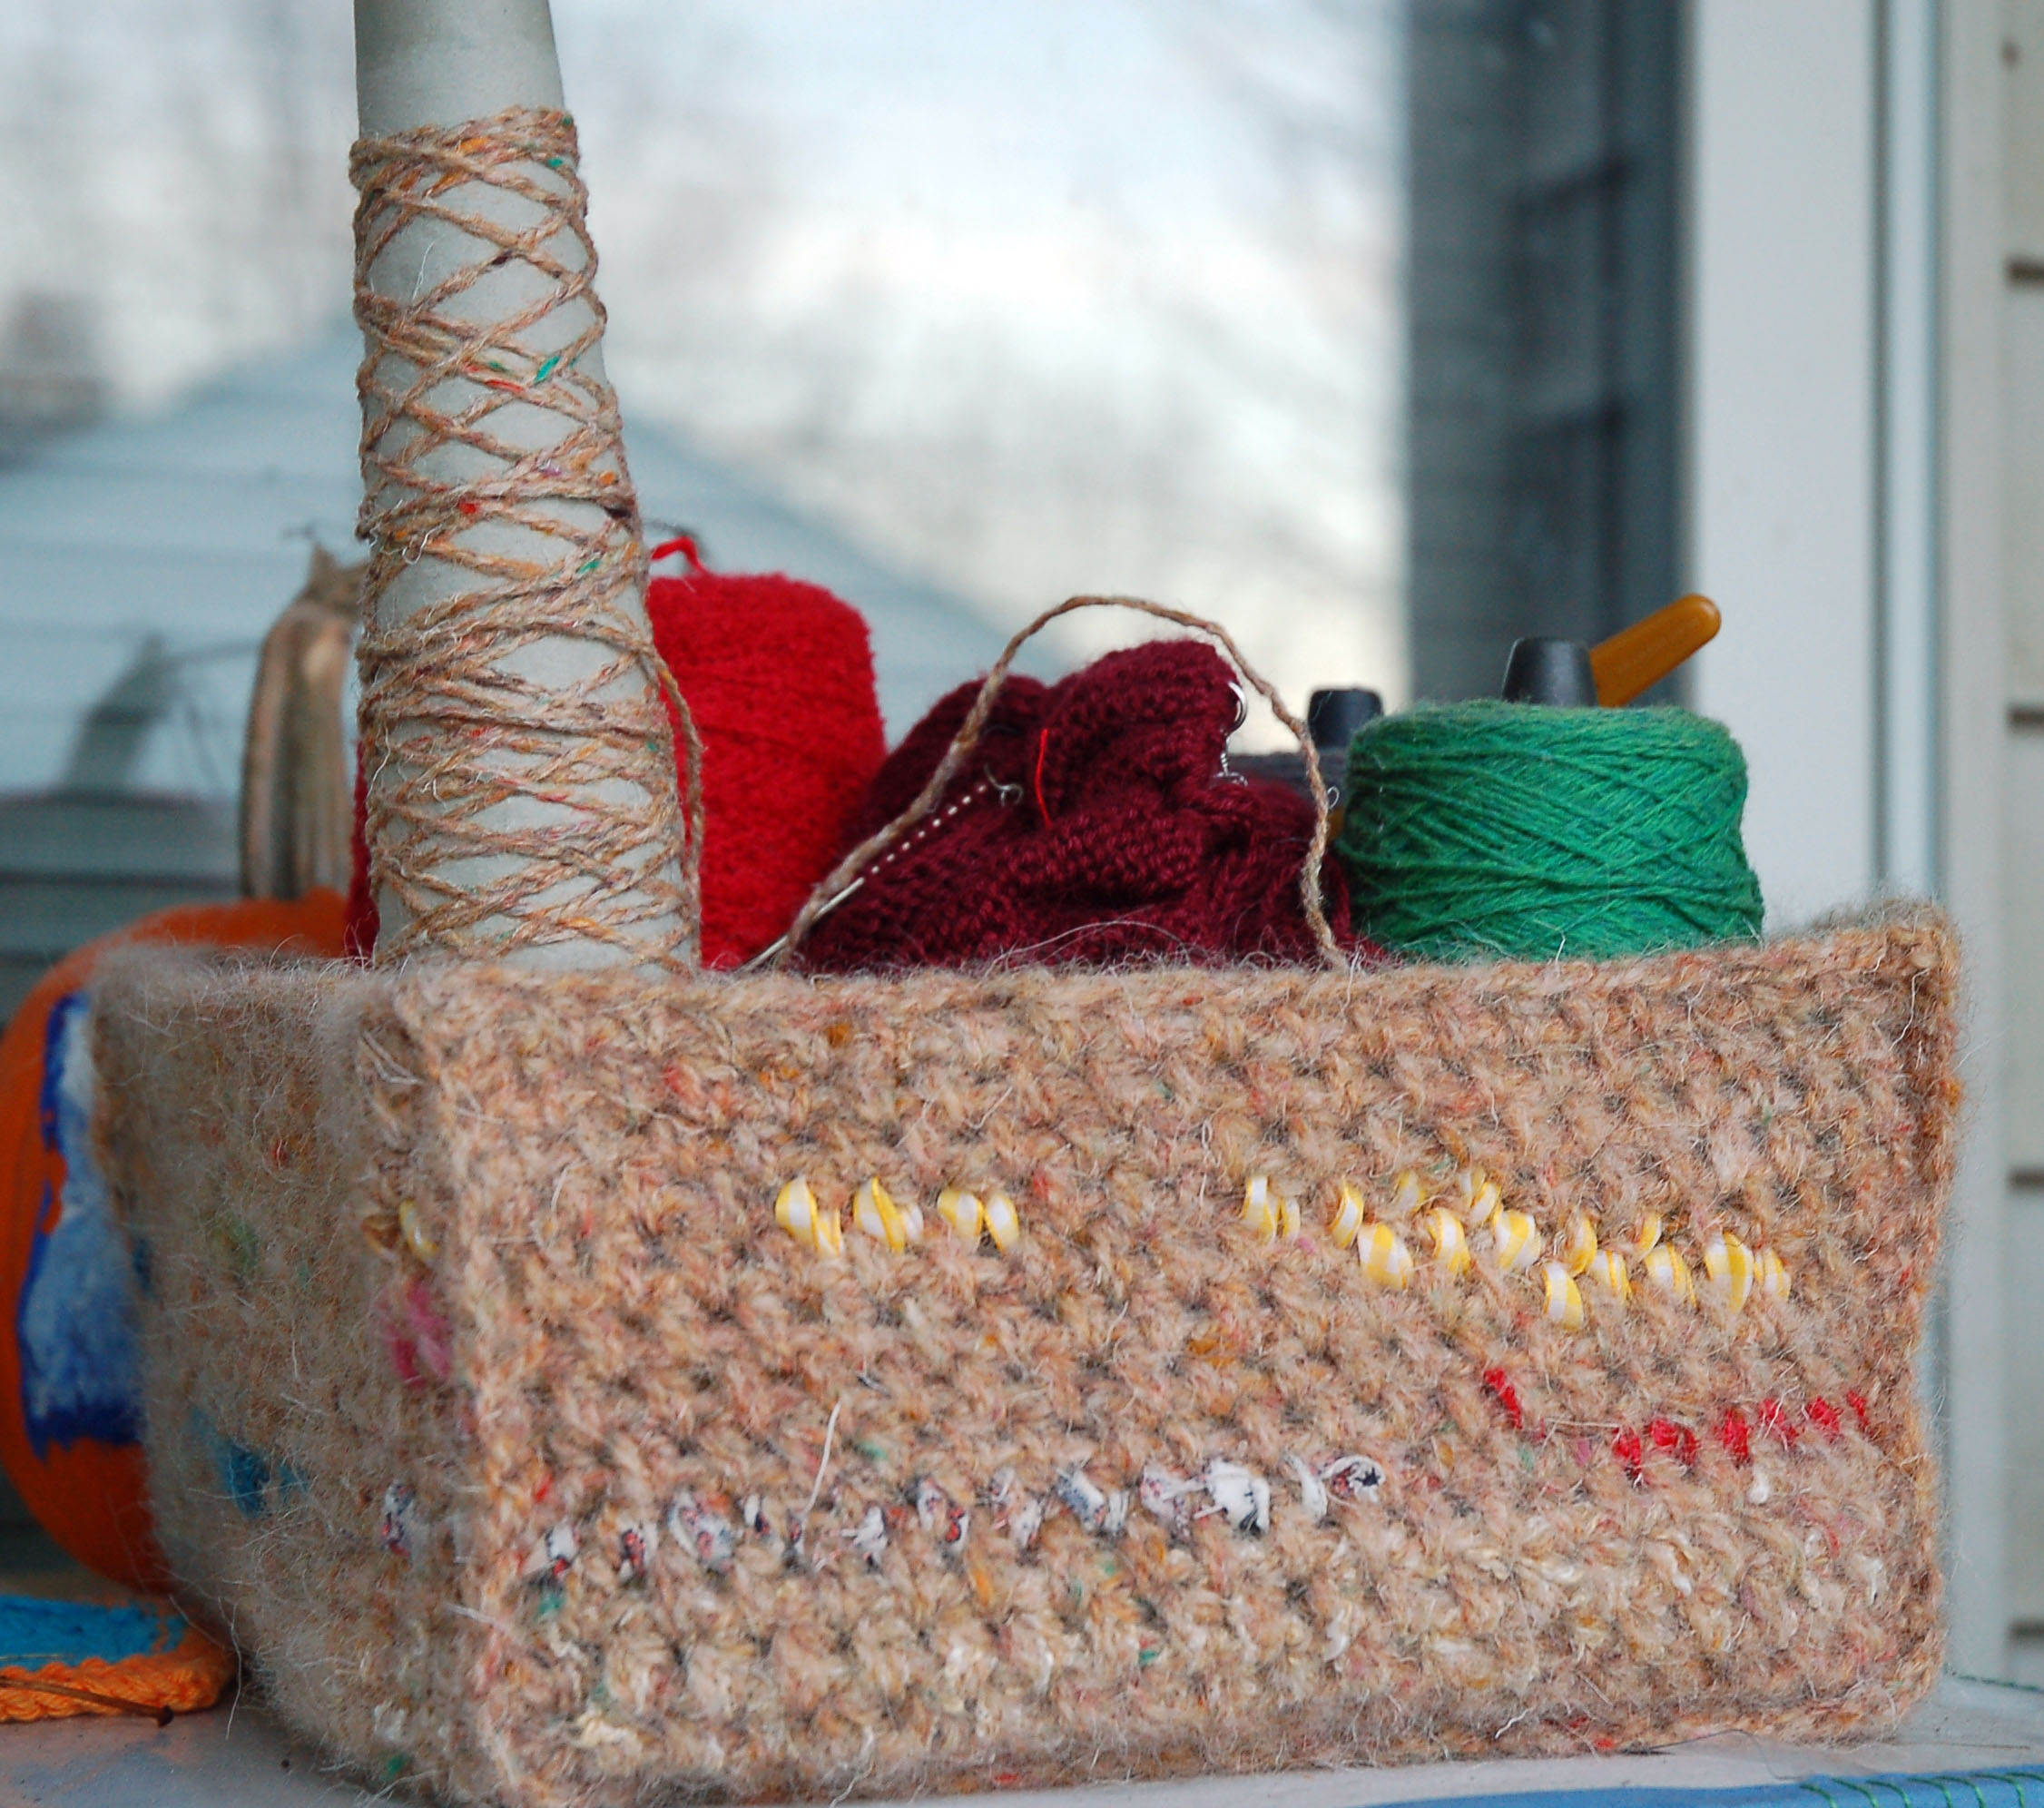
Special thanks to ravelry user theGoodNeighbor for letting me know the pattern link was broken. I’ve dug up the original pattern and put it all straight into this original post. But, if you’d like a tablet or printer friendly pdf version and help this and other Craft Leftovers patterns finding
Read MoreA common problem when working from the stash, is having only a small amount of each type of fiber left. How can you successfully combine cotton and wool in the same project? How can you combine acrylic with silk? Should you? Would you? Could you dare? (Yes, I totally stole
Read More

Create
1. Beautiful Fabric Pendant – I can just imagine a little fabric leftover being used for this.
Read More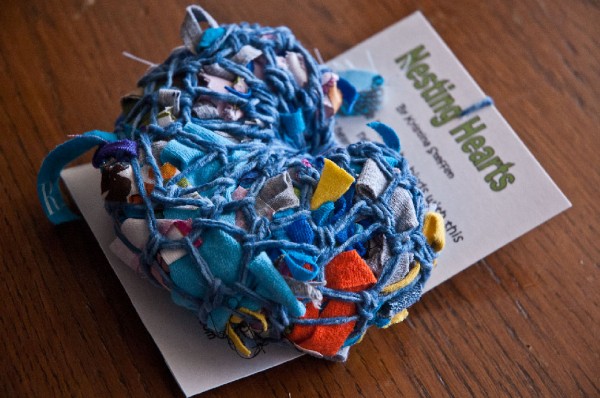
My local friend Tina (aka Kaotic Krafter) brought these great nesting hearts to this month’s Ames C.art meet up. When she first pulled them out and was like “look what I made”, I was all “ohh, that’s nice”. I had no clue what it was and was trying to be
Read MoreSince we purchased our first piece of grown up furniture I’ve really been wanting to make some pillows for it. Dashes of colors, coziness, and diy goodness. Now that I’ve finished the daybed too, we are in dire need of some extra piles of cozy around here. And I have
Read MoreC.L. Tice is a writer, poet, crafter, and mom. Her writing and creating adventures are inspired by the world around her. She can be found at her blog, Mused.

Recently, my workplace changed to having swipe card access rather than the punch codes we had been using. We’ve never required ID badges for employees and I’ve never worked anywhere where we had badges or cards. So this is a new experience for me.
Read More
Uncategorized

I love this little kit. I get to dig around in my box of favorite paper scraps and collect up a series of patterns, text, and pictures to inspire both you and me to play with collage. The pictured kit is an approximation of what you will receive. Each kit is unique but are made in batches so contain the same style and amount of papers shown. For me, it’s always a treat to put together and to read about and see what you come up with.
Read MoreLast week I talked about what the zine contains, Monday covered how I come up with content each month. And today I’m going to go over the nuts and bolts of how these ideas make their way onto the printed page and get to your mailbox. Writing and Editing After
Read MoreThis past Saturday my friend Crystal passed on what she called a “craft leftover” from the 70’s craft book. It’s such perfect timing since the July issue of Craft Leftovers Monthly is about using fabric scraps. This short book of just 132 pages is stuffed with whimsical patterns, advice, and
Read More
Today’s project is brought to you by the creative force behind Poppy Chic Designs, Taryn Sisco. Make sure to check out her super fun items in her etsy shop and on her blog. These cute little bracelets are super sweet and fun to make too. Whenever I wear one people always ask where I got it… well now you know!
Yikes! Look at that pile of tangled up mess. I have a bin that’s specifically for leftover yarn and over the last few months I’ve been slipping a little bit of this and that in and out of it. When I went to find a particular ball of yarn a
Read MoreI’m excited about this project. It’s such a great way to use up scraps – this whole pile was from my “end run” type pieces. And then there is also the fact that it’s the first push towards re-doing the living room area… one area I have yet to tackle.
Read MoreThe couch totally needs a redress. I really want to make a slip cover, but wow that’s a huge project. I think I need a baby step first. I want to do something to jazz up this bag boy on bricks (literally, but that is a story for another day
Read MoreI’m not sure how I missed the Scrap Buster Contest over on Sew, Mama, Sew! in October, but I did! October was a great month tutorials on using up little bits. Here are two of my favorites from the Sew, Mama, Sew contest as well as projects around the web
Read Moreby Alyssa Devanny from Refashion

My addiction to fabric means I have accumulated quite a stash of leftover scraps; pieces too small for most projects but too lovely to throw away.
All this leftover goodness can be utilized by making a table runner. As well as making your table look chic, a table runner is useful for protecting your table from hot pots.
Read More
I really love this clutch for 2 simple reasons – one it is so quick to make, just under a half hour and you have a little clutch; two it is perfect for holding pencils, pens, and crochet hooks! Perfect!
Quite some time ago I was in a Knitter’s Tea Swap and my swap buddy sent me this amazing card that was a little tapestry weaving in a card. I had always wanted to make my own and when I picked up Time to Weave at the library 2 weeks
Read More