
Nearly every 4th Thursday of the month, I’ve been co-hosting a monthly mending group called A Place to Mend at The Octagon Center for the Arts here in Ames, Iowa. This January kicks off our third year and we are excited to add in a bit of intentional instruction each
Read More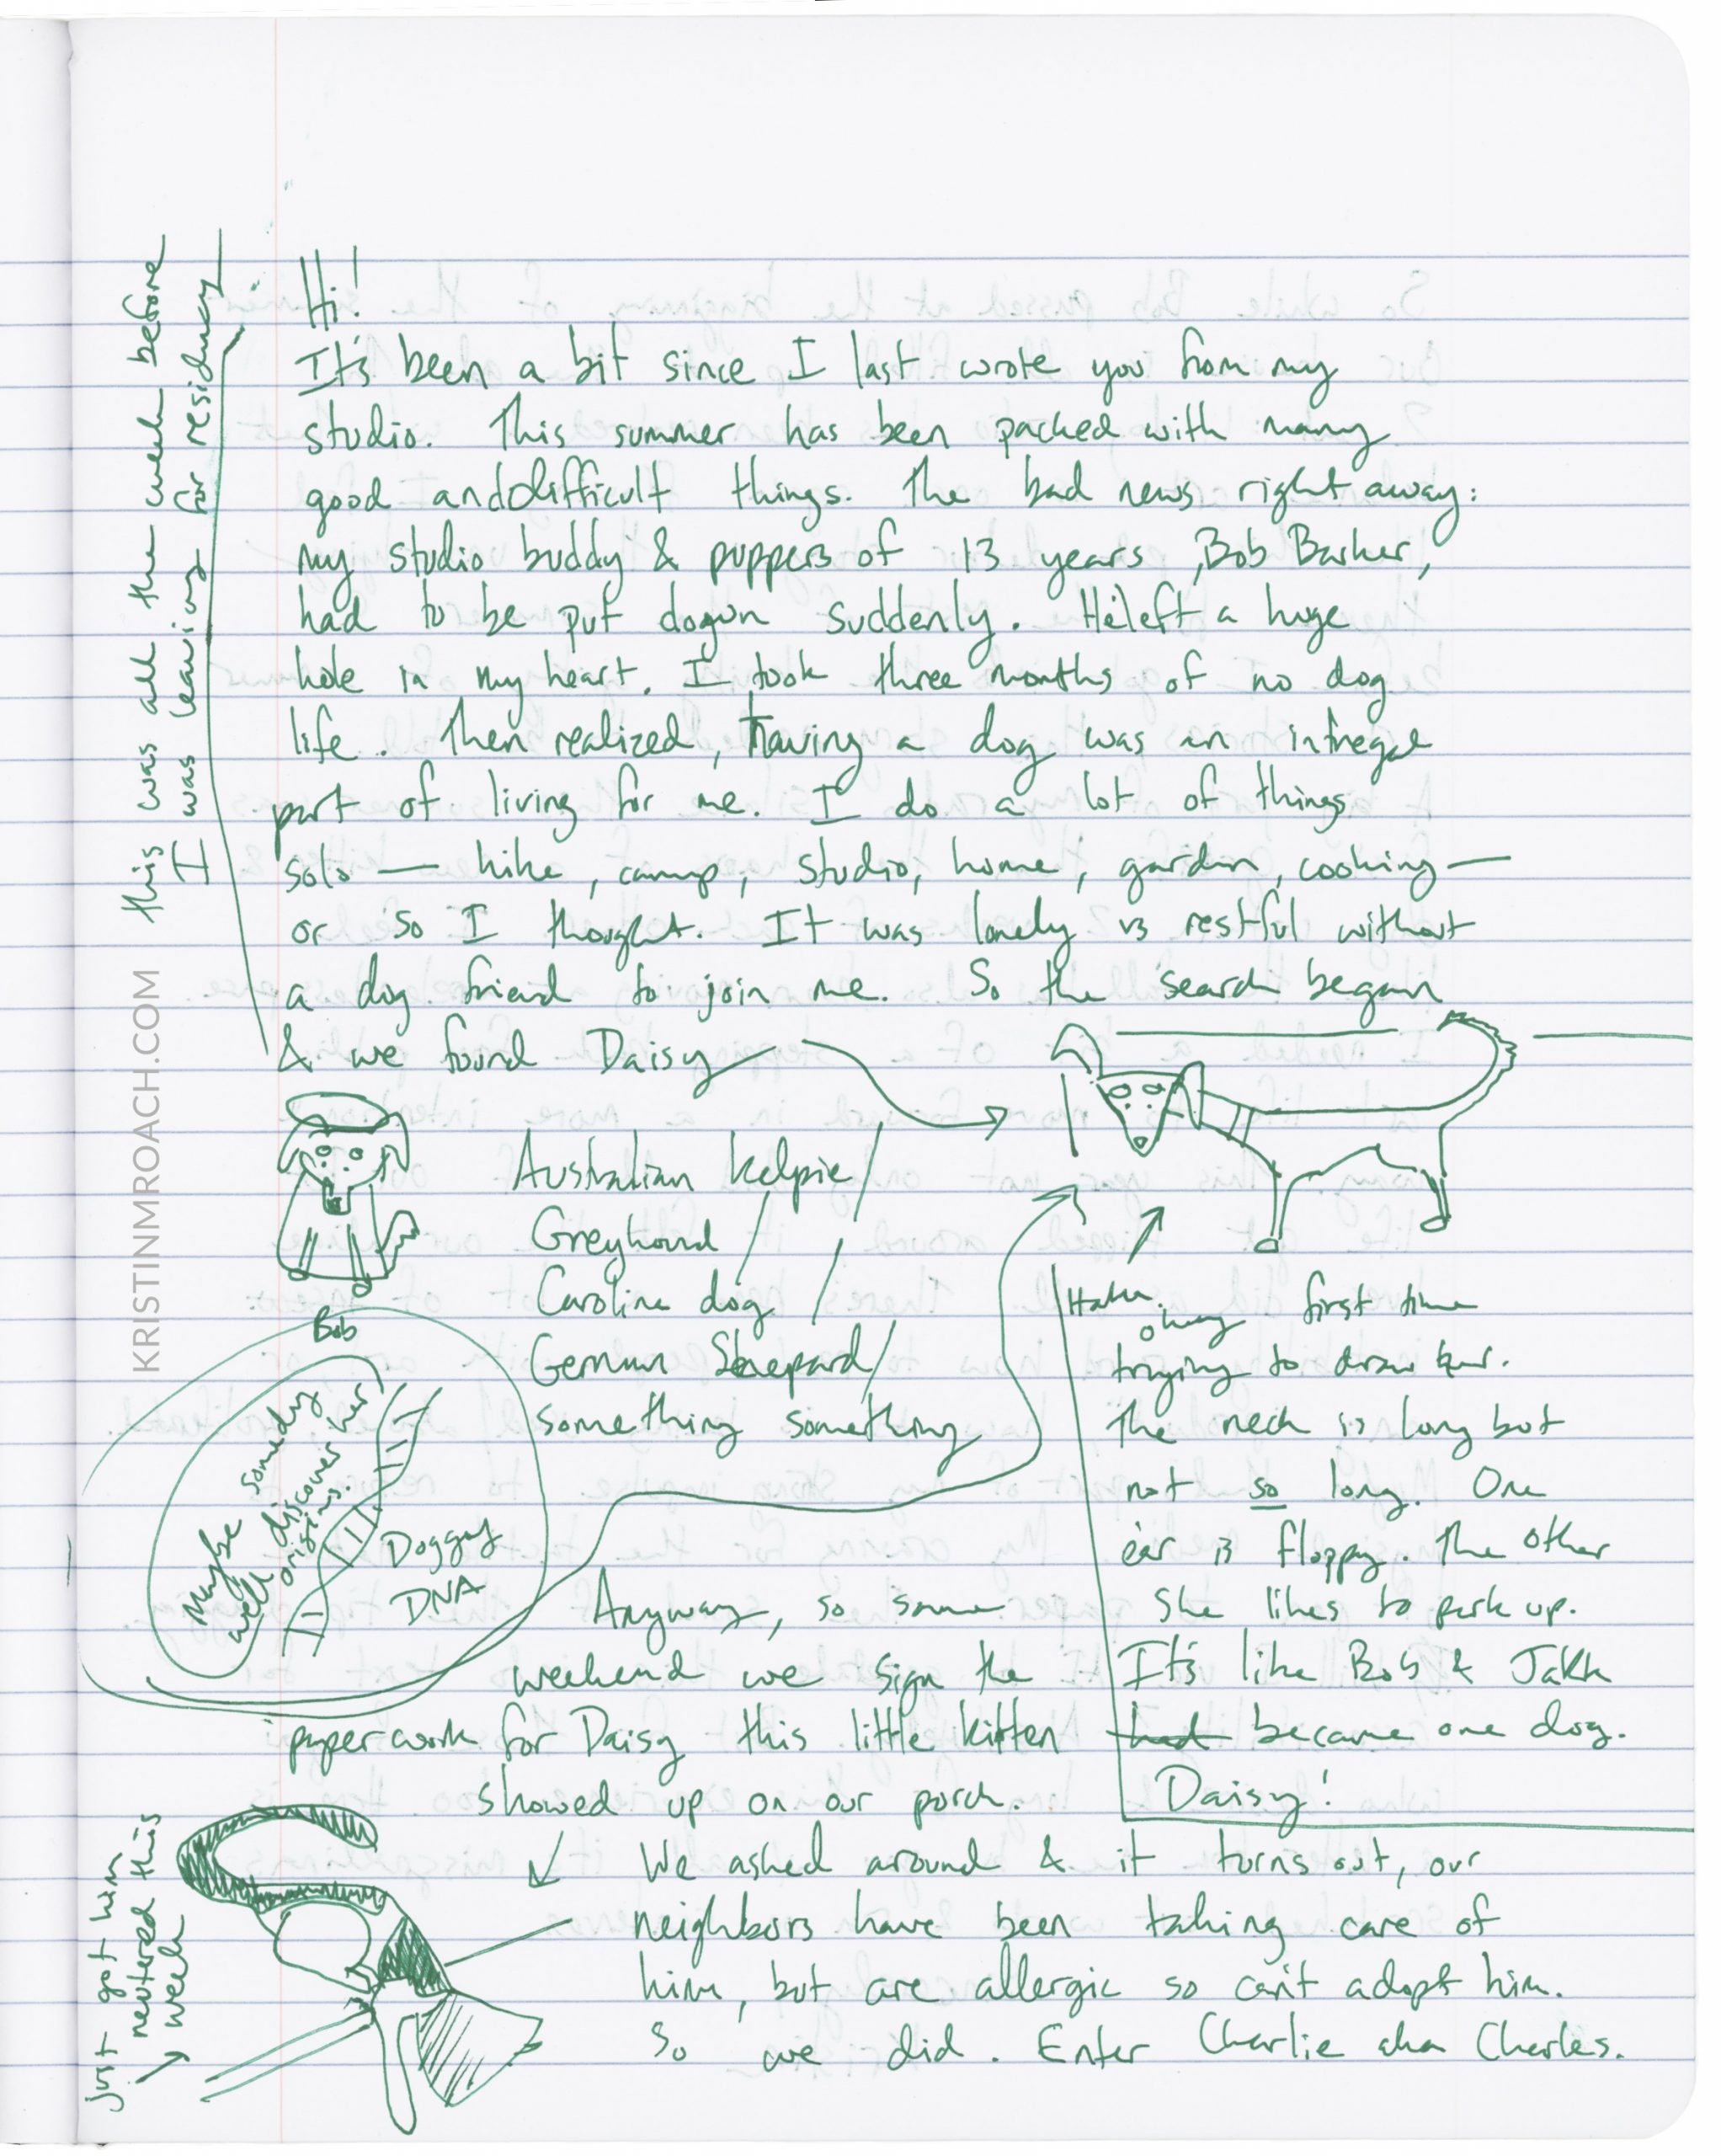
I’m excited to share a project that’s been brewing for awhile —something that finally came together during a recent flight home from Colorado. I intentionally had just a pen and a notebook, and with that bit of focus time I figured out how to bring my art, craft, and ideas
Read More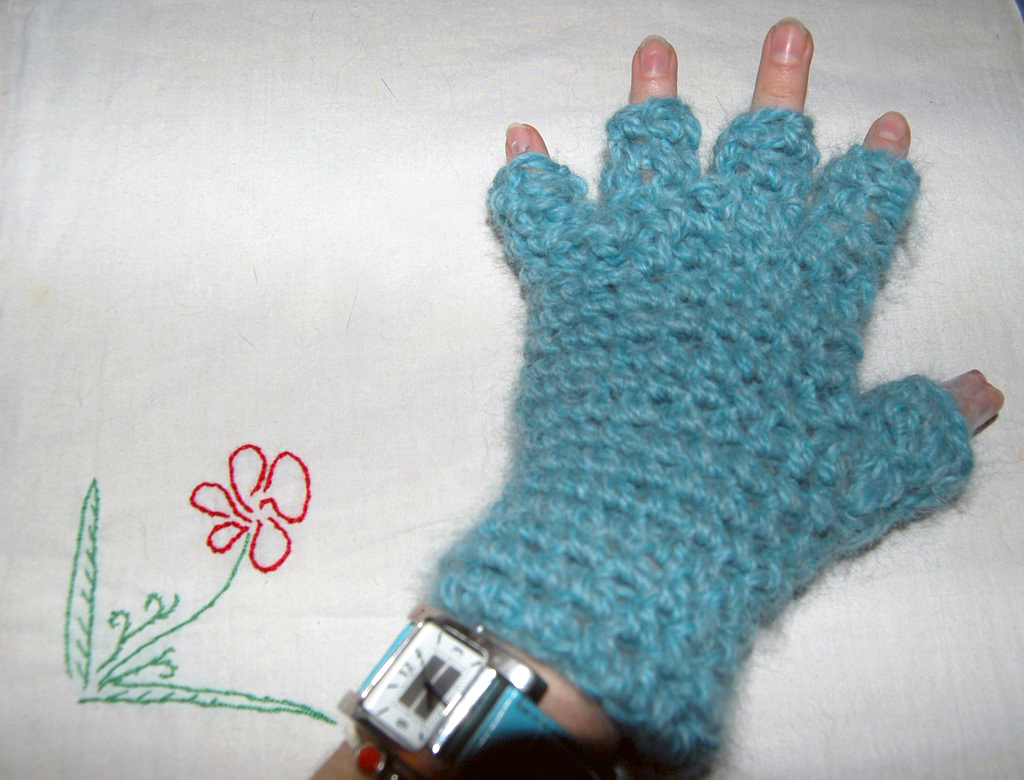
First published January 05, 2007; Oscar’s Crocheted Fingerless Mittens was my very first crochet pattern every published on the blog. I still remember typing up the pattern in my college apartment all those years ago — and my complete delight when my new friend Diane shared a photo with me
Read More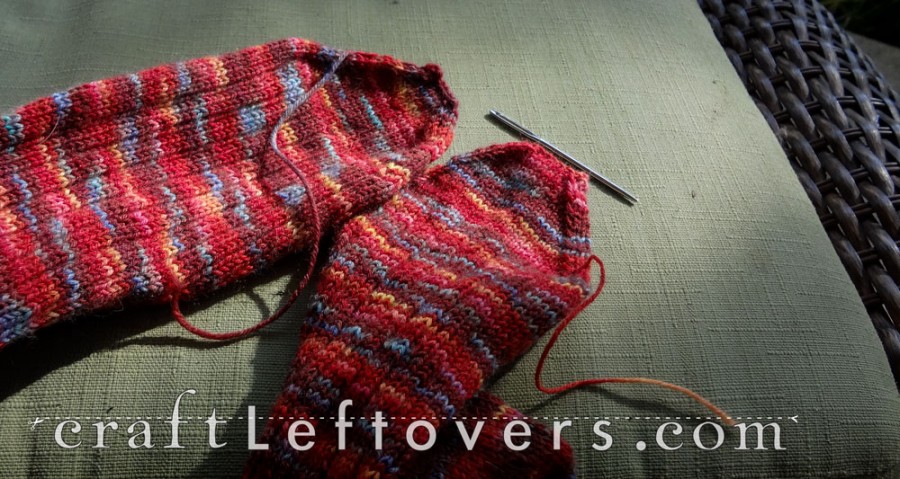
Gather up those textiles you’ve been meaning to work on and join me for some creative social fun. Bring any projects to work on, ie.. knitting, crochet, needle work, whatever. 5:30 – 8:00pm Thursday, May 25th, 2023 Octagon Center for the Arts, 2nd Floor Studio FREE IN PERSON EVENT |
Read MoreJoin me for 40 minutes of relaxed mending and afternoon tea. Today I reknit the top of my daughter’s hat that “exploded” at school. I also show off a few other projects in my mending basket and the socks I’m knitting up just for fun. Show Notes Sign up for the
Read MoreLast year I turned google ads on. This year I’m turning them off. Here is the why for both choices. Plus a little digressing. Craft Leftovers the blog has been around since that 2006 Hello World Post. Believe it or not, it was one of the OG blogs on recycled/upcycled/green
Read More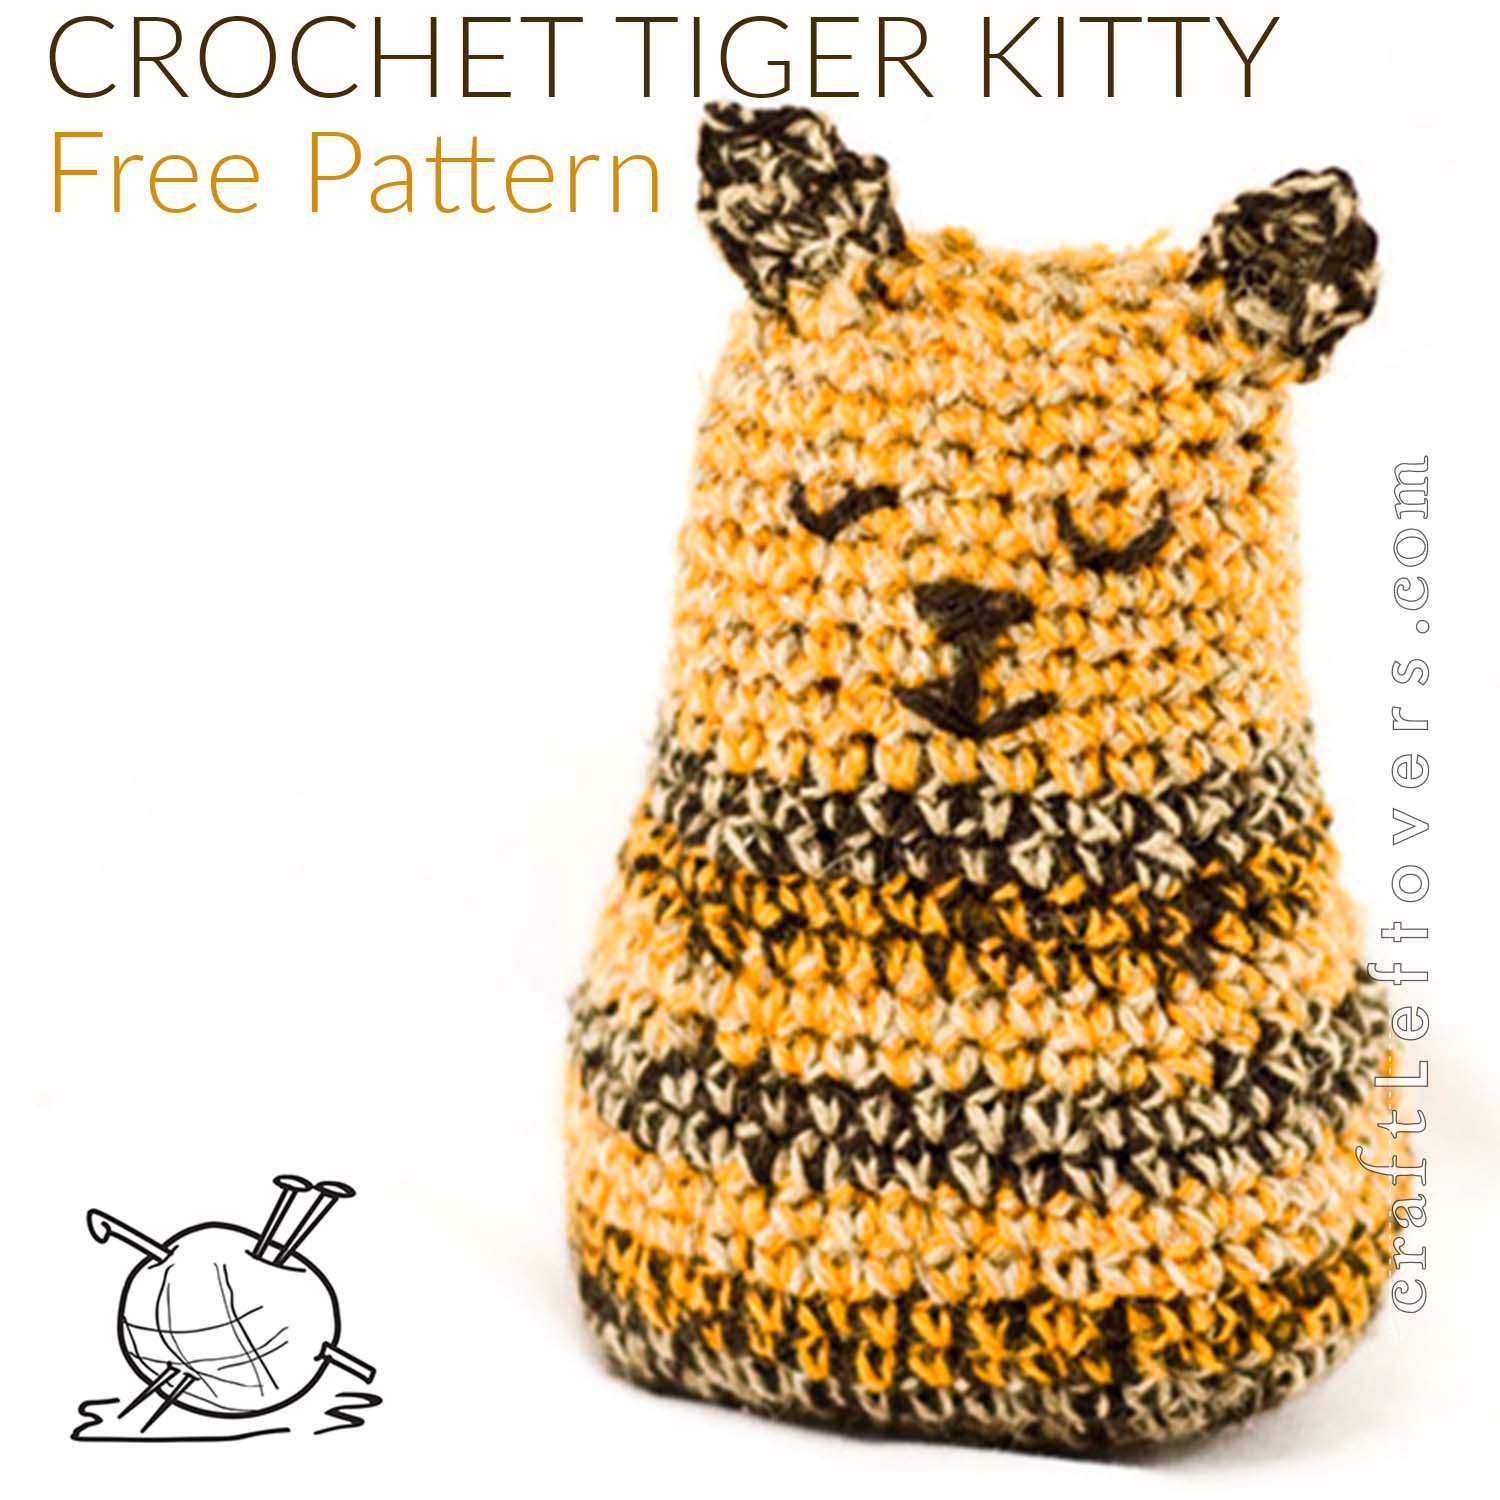
First published in the March Volume 2 issue of Craft Leftovers Monthly, this little Tiger Kitty spread its sweetness to Craftzine.com back in 2010. Get it here on the Craft Leftovers blog for the first time. Be careful though, he may be a little sweety when sleepy, but this Tiger
Read More
These small cozy mittens were made just for me. I wanted something warm and soft for long winter walks. And this clearance/discontinued yarn was just the thing. Using up just one skein for a small pair (my size), they are great for reducing my yarn pile. They work up so
Read More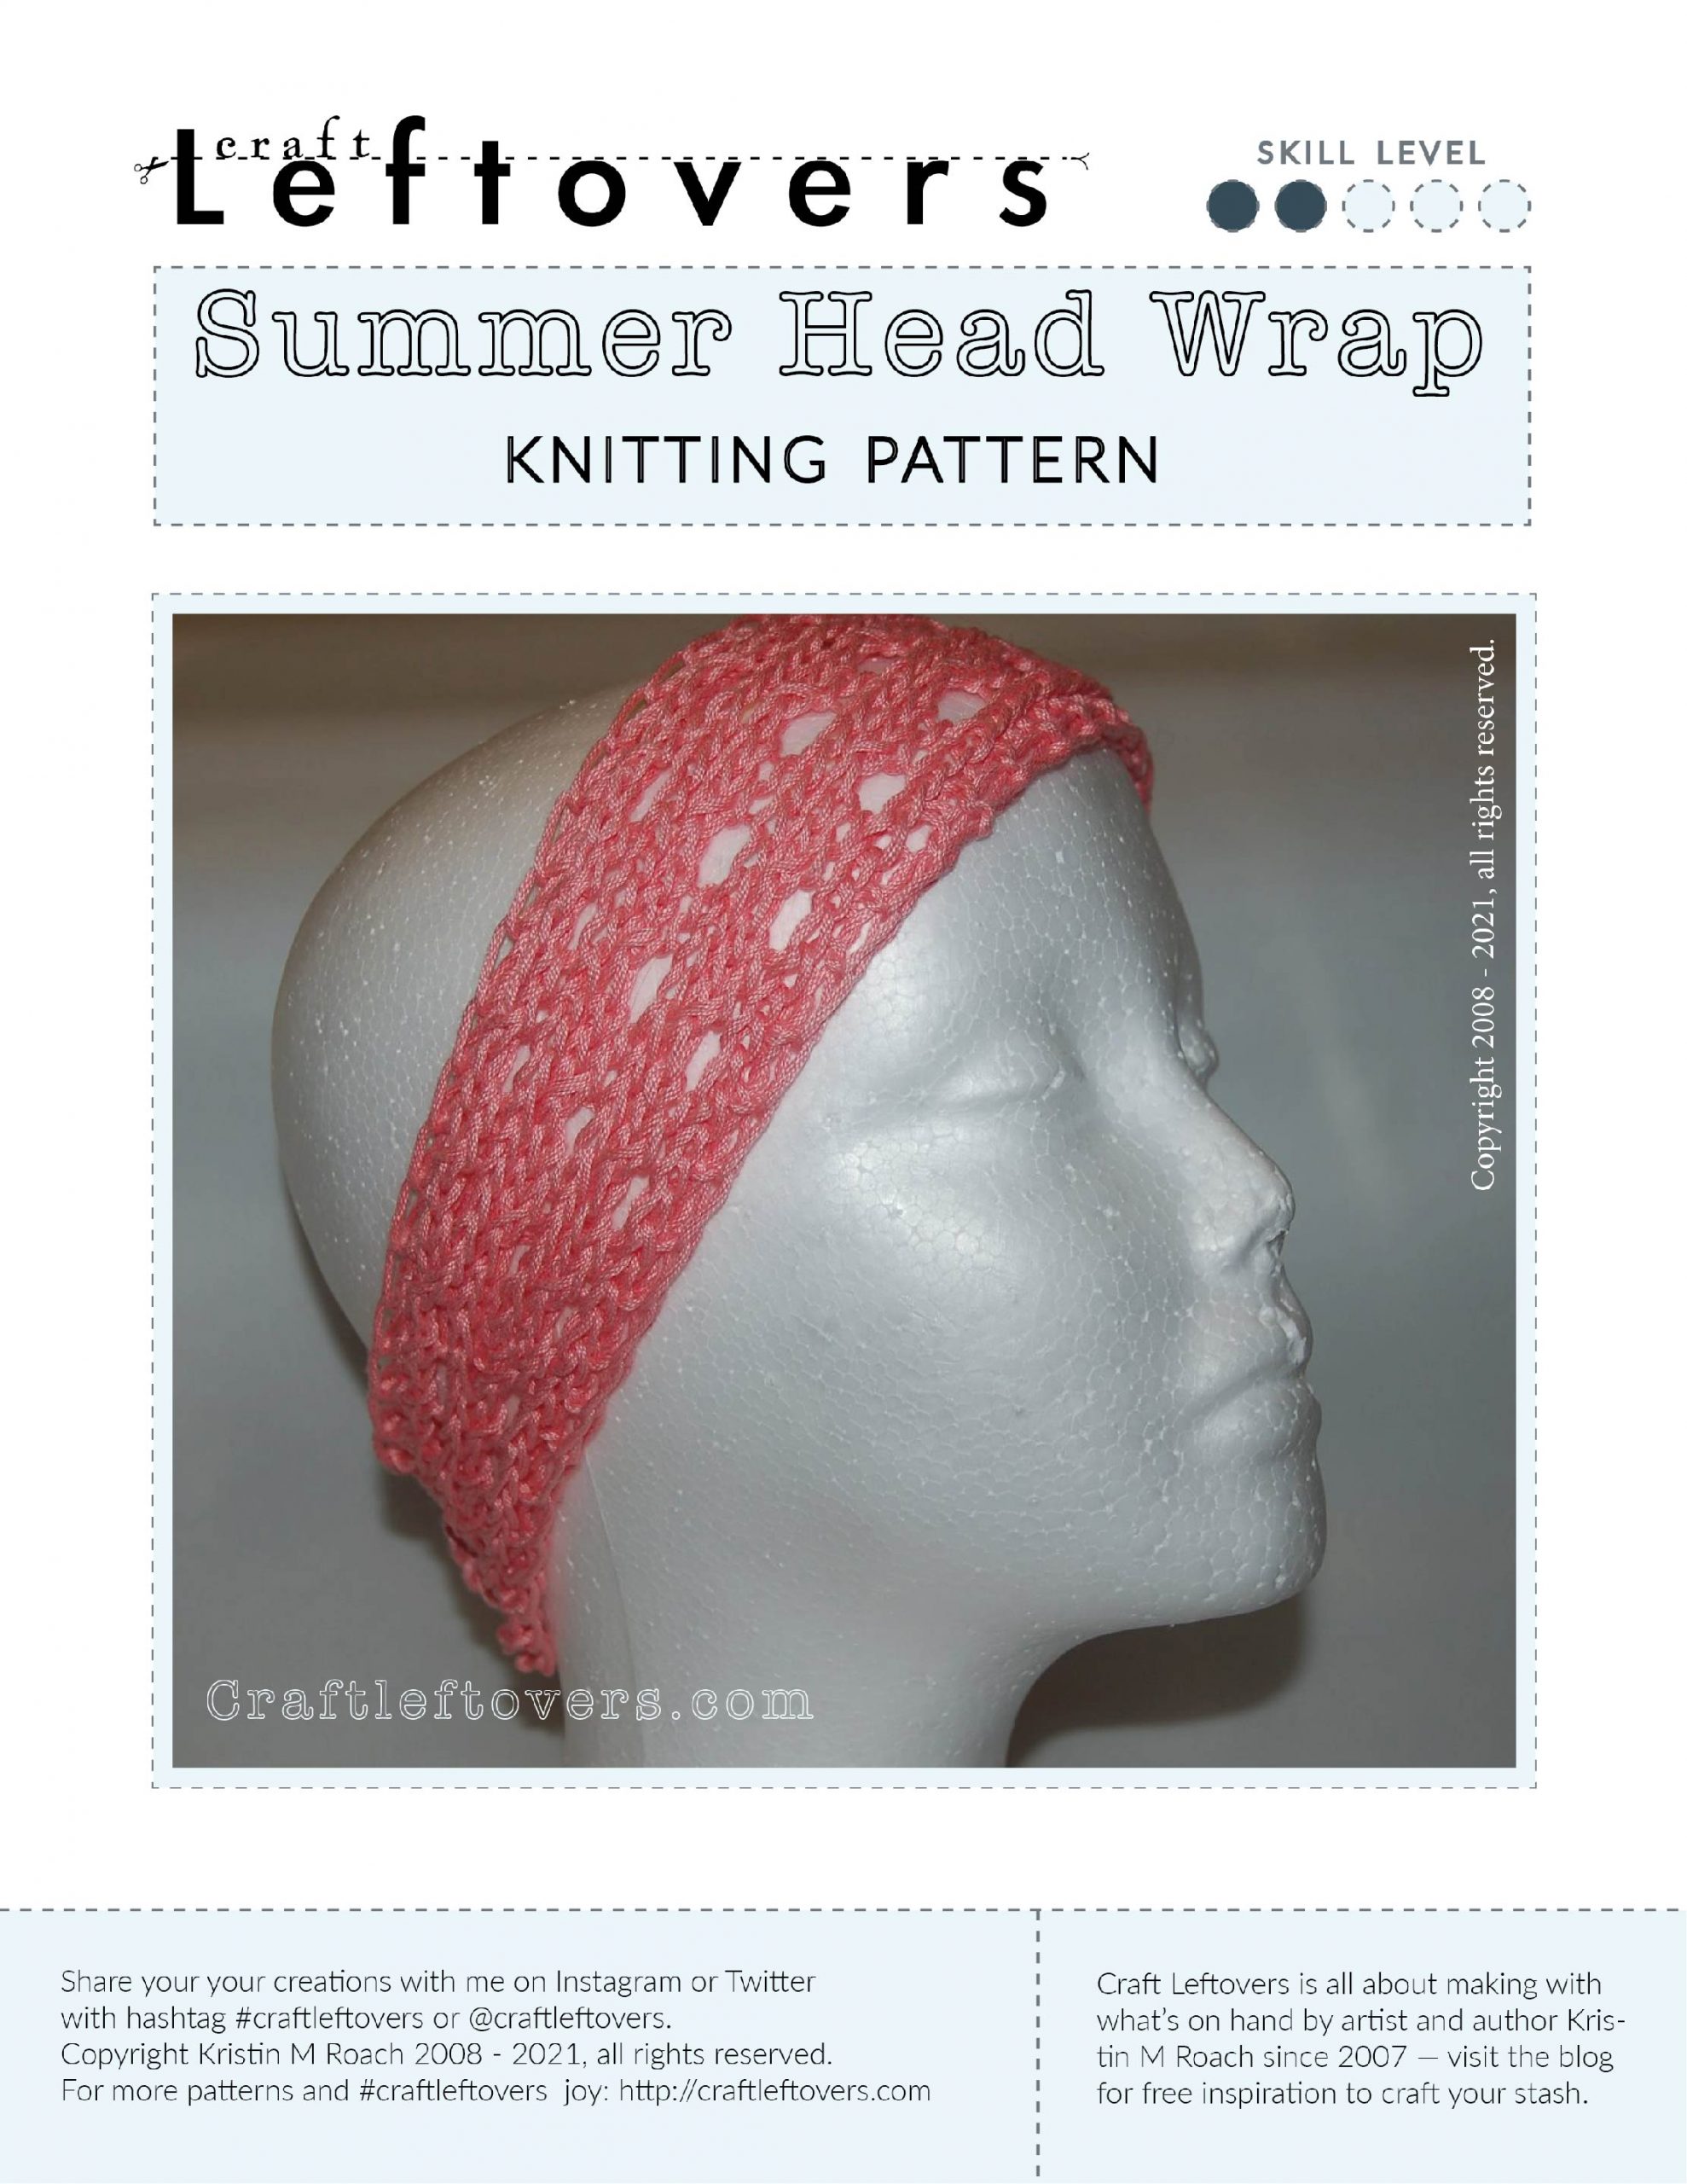
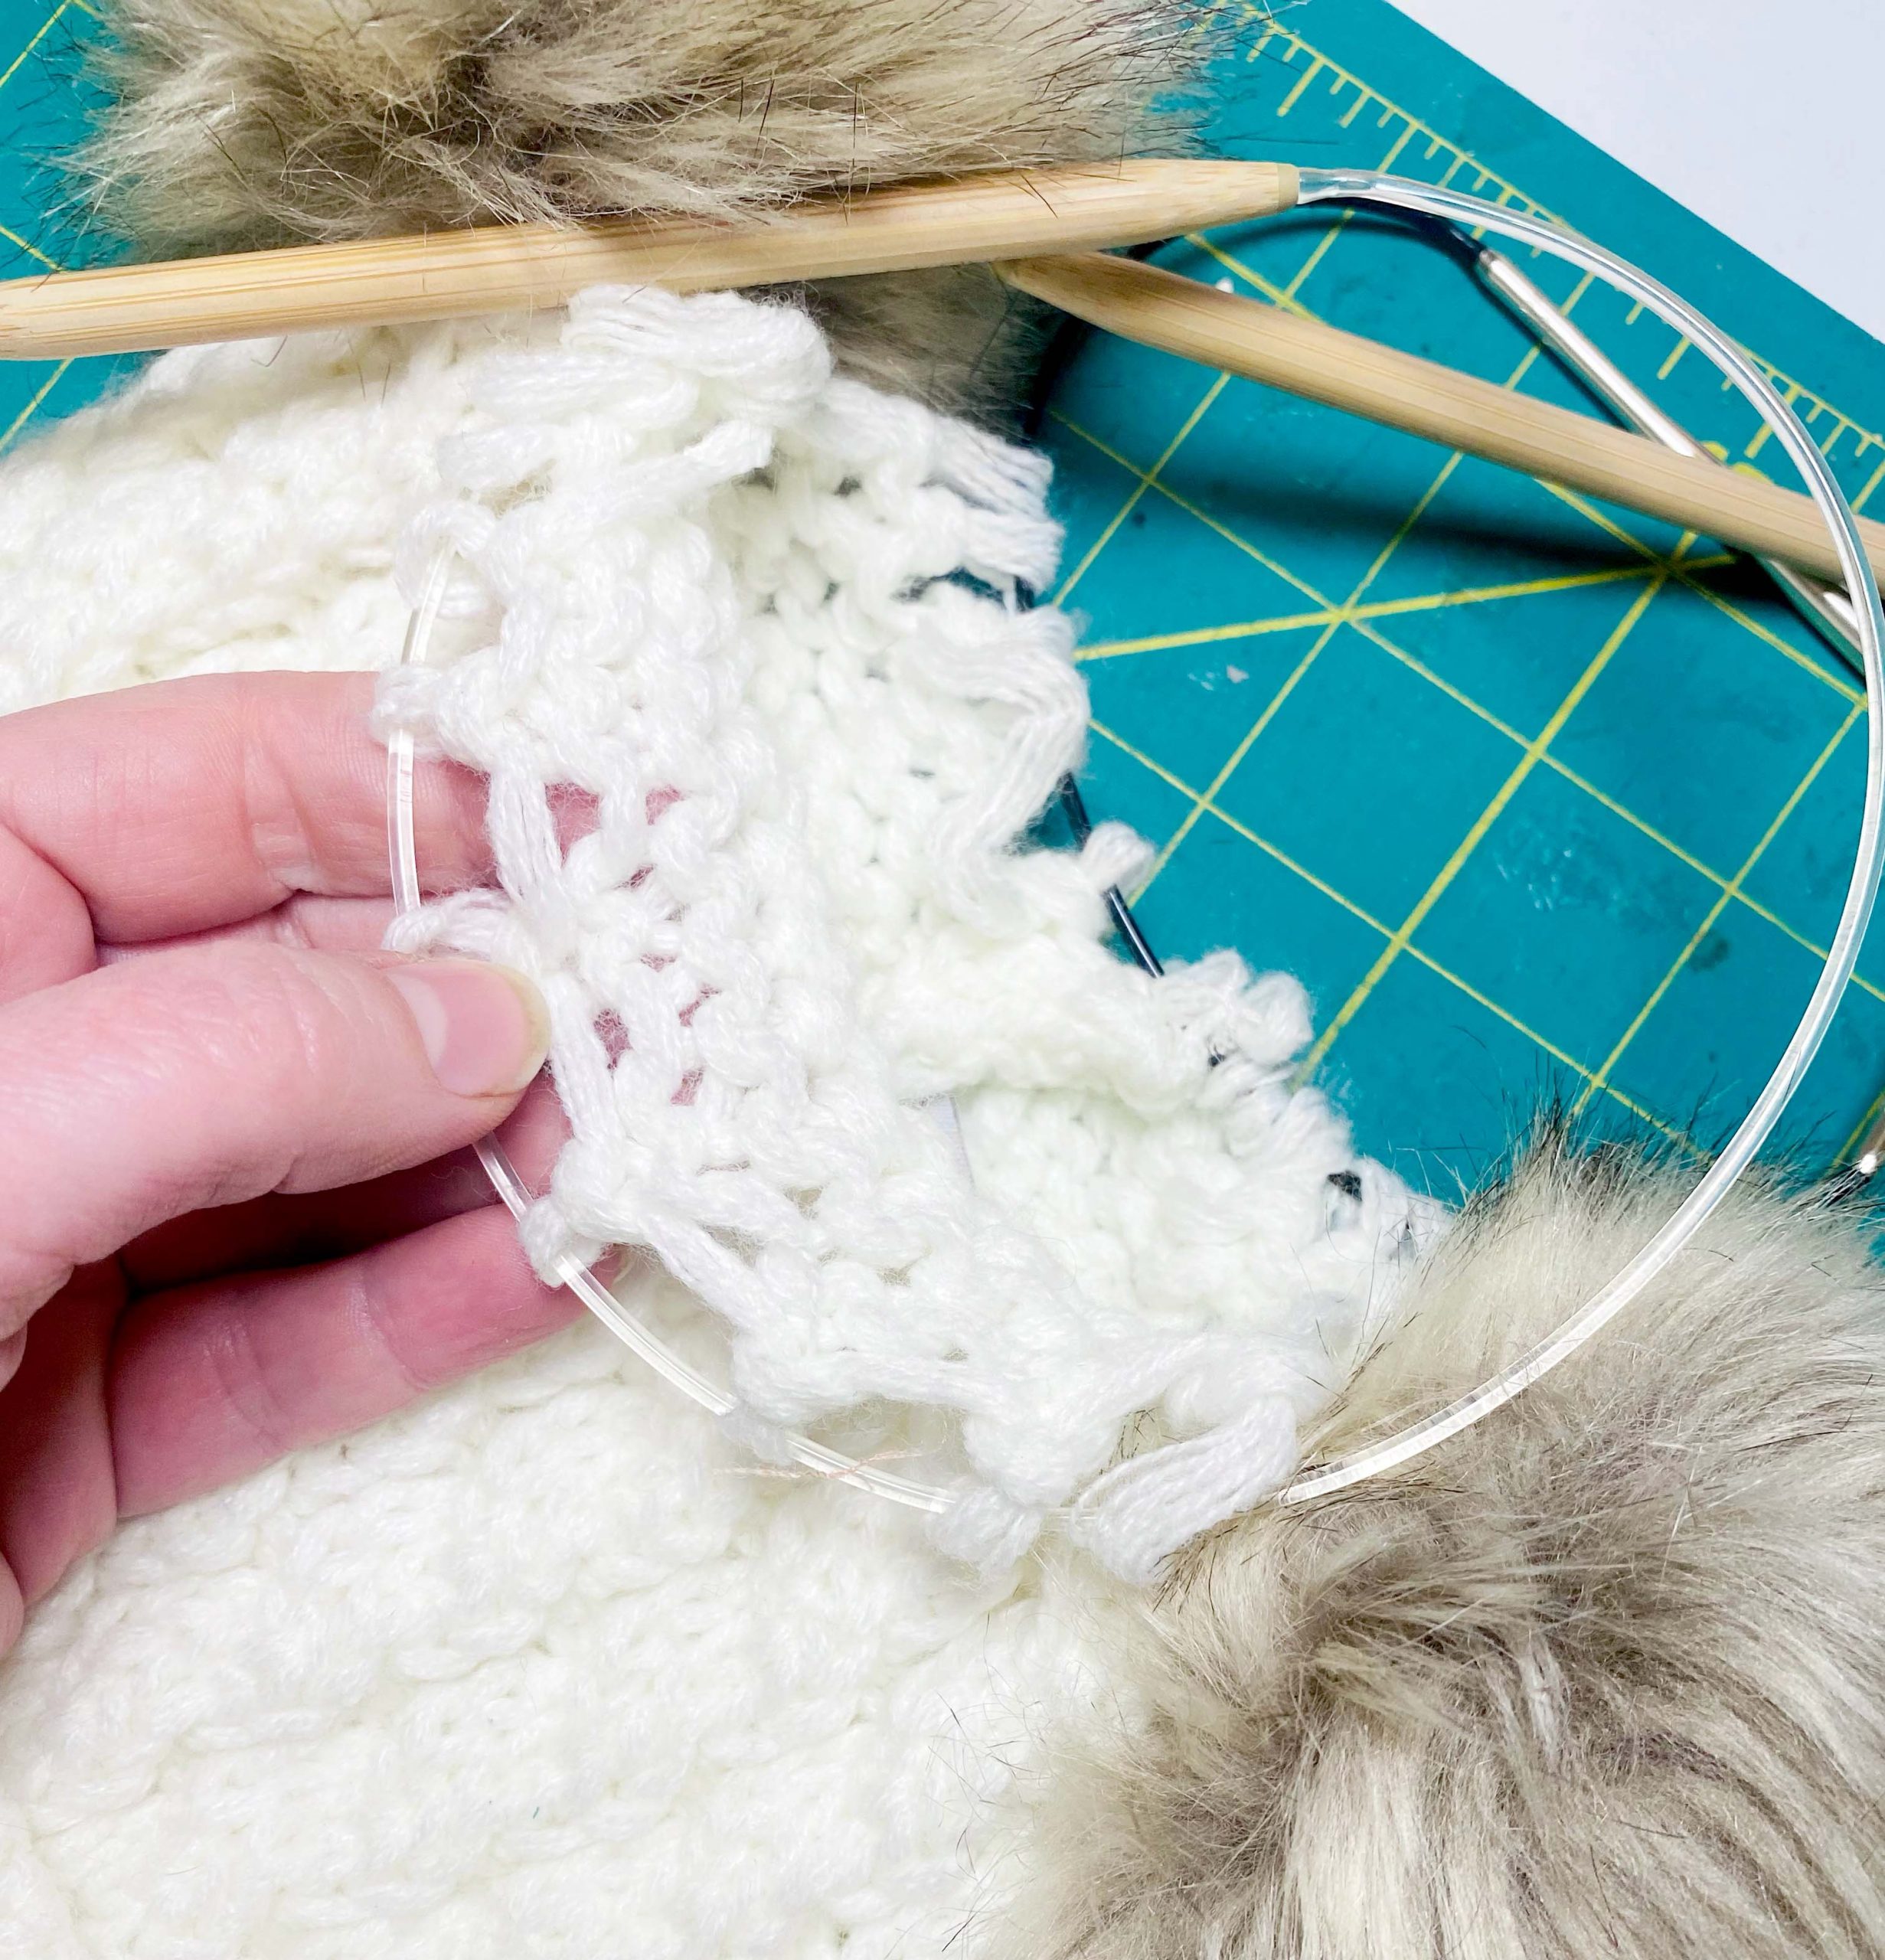
Special thanks to Ravelry member dc2go for requesting this pattern be next to update! I love this pattern for teaching begging lace knitting, making a last minute gift, or keeping my on the go project bag light and easy. It is a great little pattern to practice many of the
Read More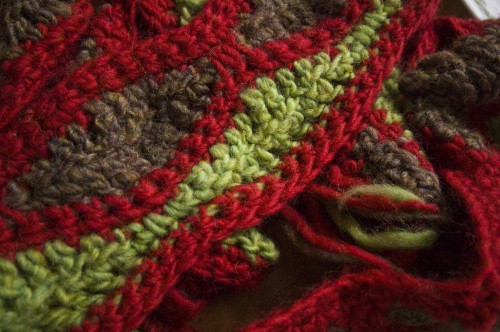
Special thanks to Nancy S. for requesting this pattern be next to update! I’ve dug up the original pattern and put it all straight into this original post. But, if you’d like a tablet or printer friendly pdf version and help this and other Craft Leftovers patterns finding their way
Read More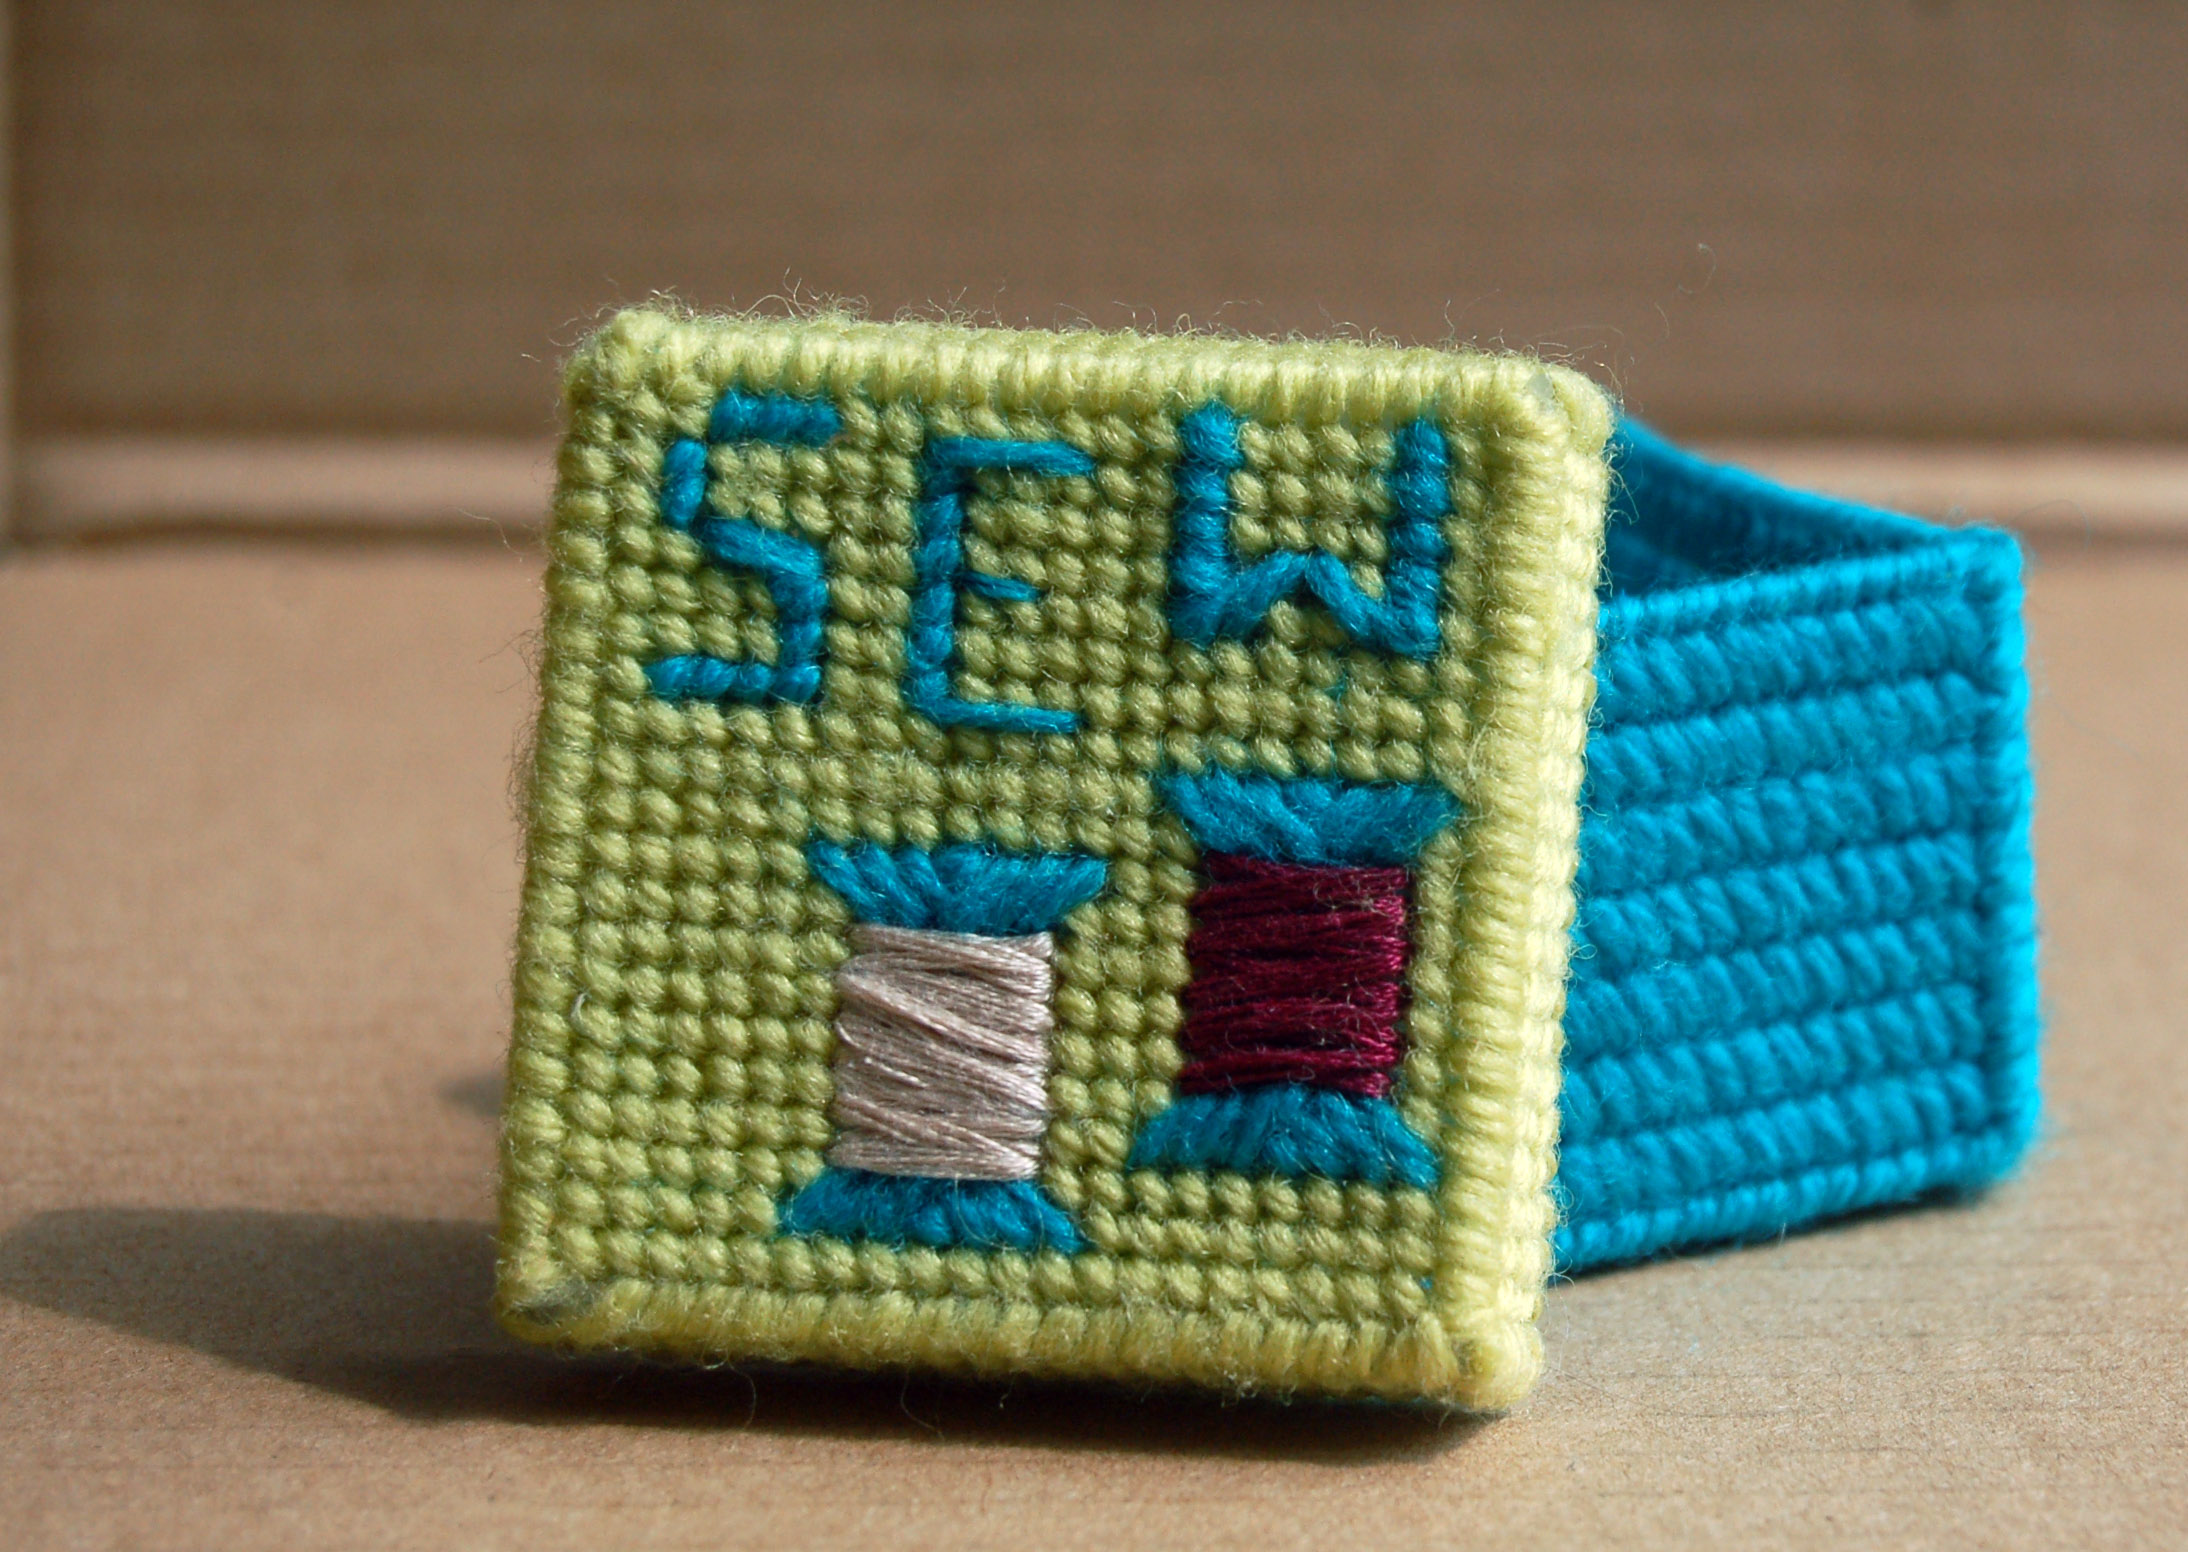
This post is part of the Pattern Archive Recovery Project. The pattern was originally posted back in 2009 and you can read the original content and get the full pattern on the original post. Enjoy the newly formatted, updated, and ad-free printer/screen friendly PDF in the Craft Leftovers Shop.
Read More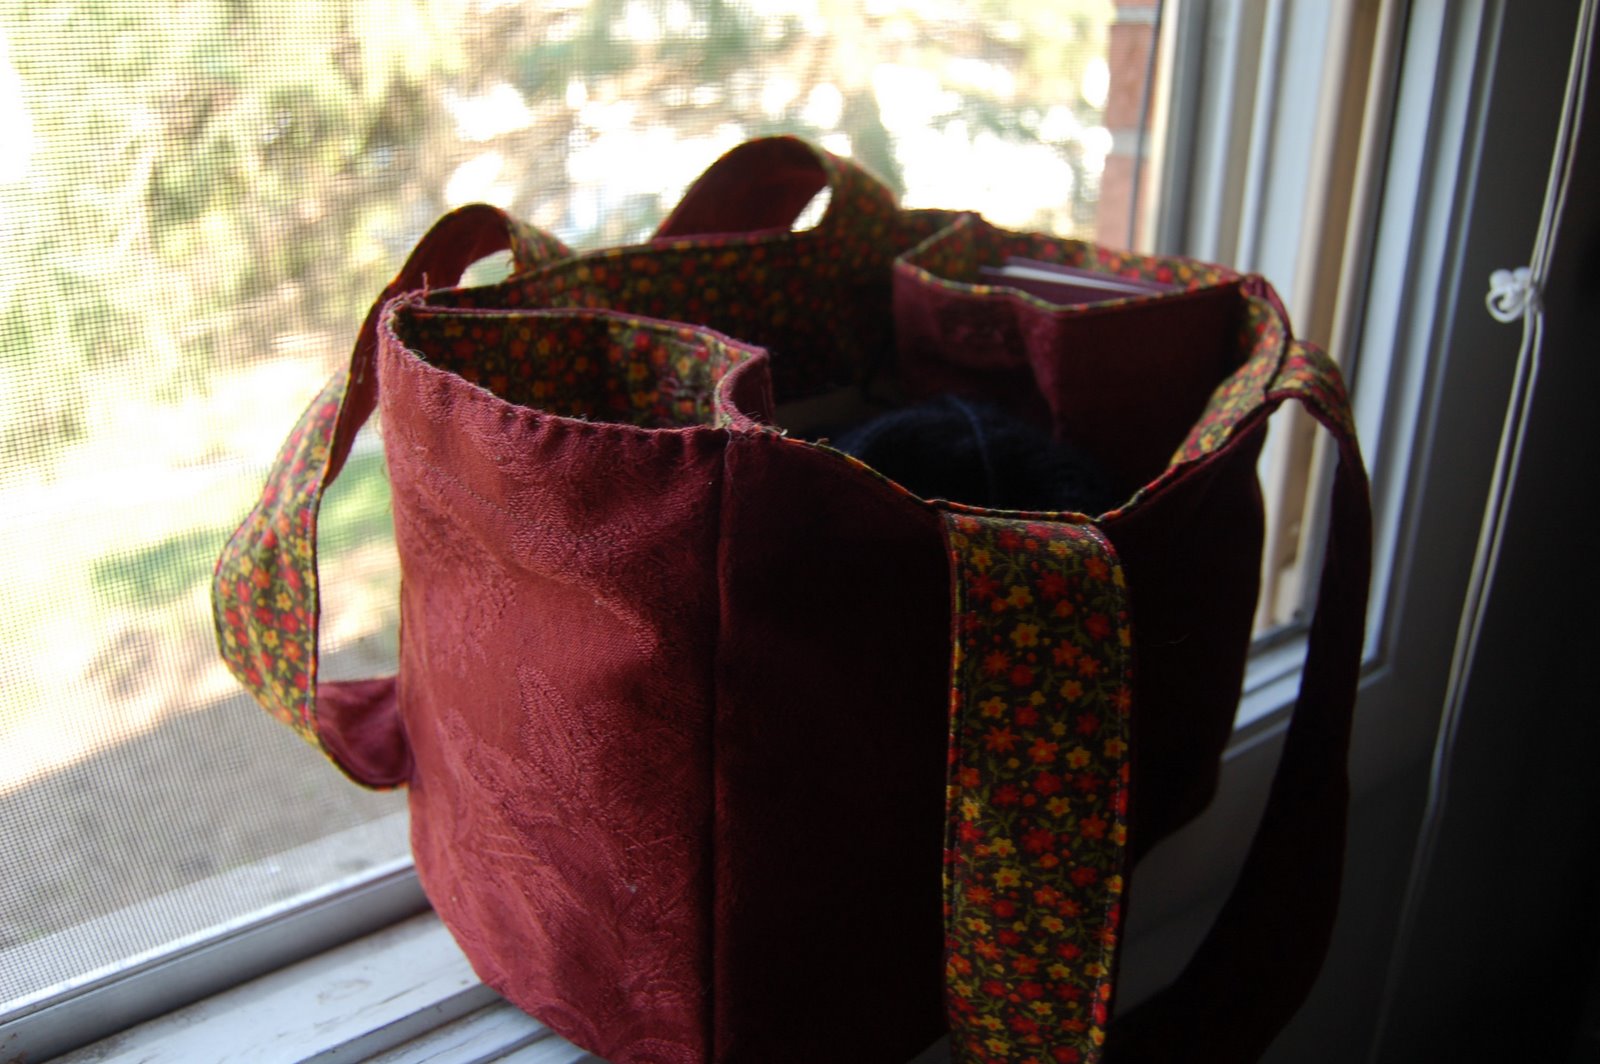
Fantasizing about riding my bike to the grocery store is a lovely image. A bit of a fresh air, get my legs moving, a handle bar basket full of …. too much? What. Wait, that wasn’t the idea I had in mind. I made this tote bag to fit right
Read More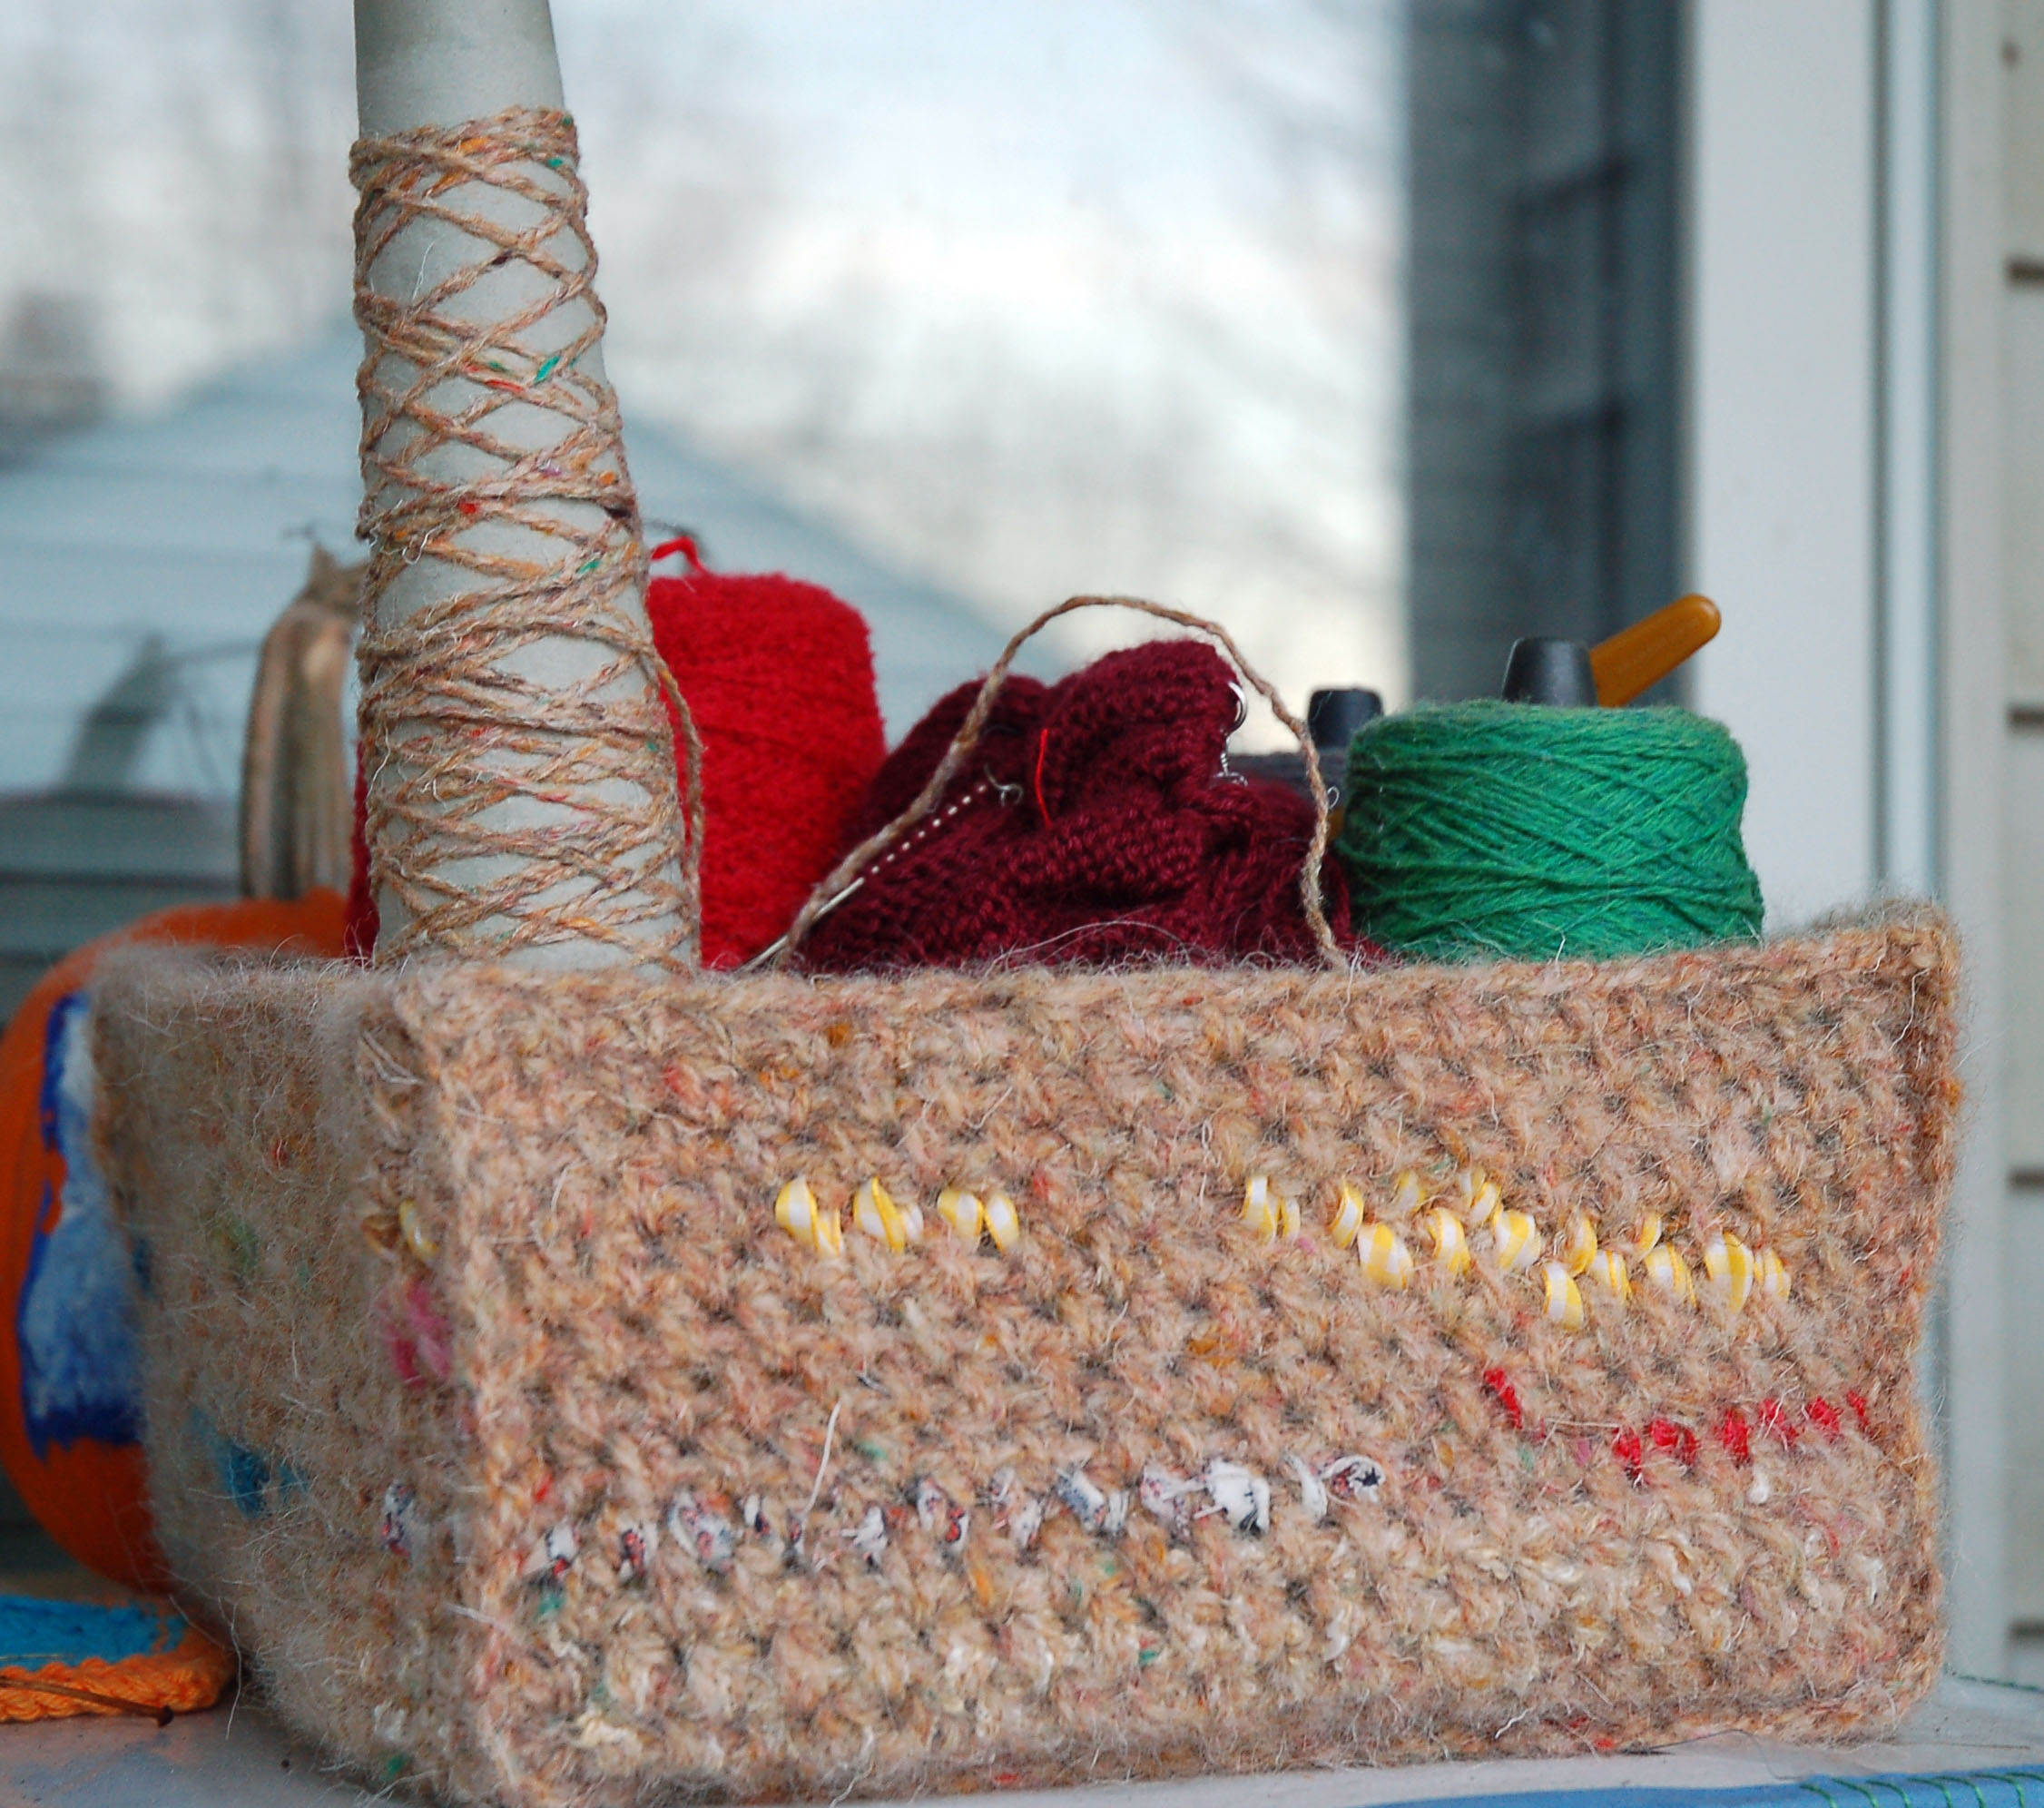
Special thanks to ravelry user theGoodNeighbor for letting me know the pattern link was broken. I’ve dug up the original pattern and put it all straight into this original post. But, if you’d like a tablet or printer friendly pdf version and help this and other Craft Leftovers patterns finding
Read MoreHere is the short story: Craft Leftovers was hacked shortly after Mend it Better was released, Jason found back ups 7 years later, we are rebuilding the archive, rereleasing patterns every Thursday.
Read More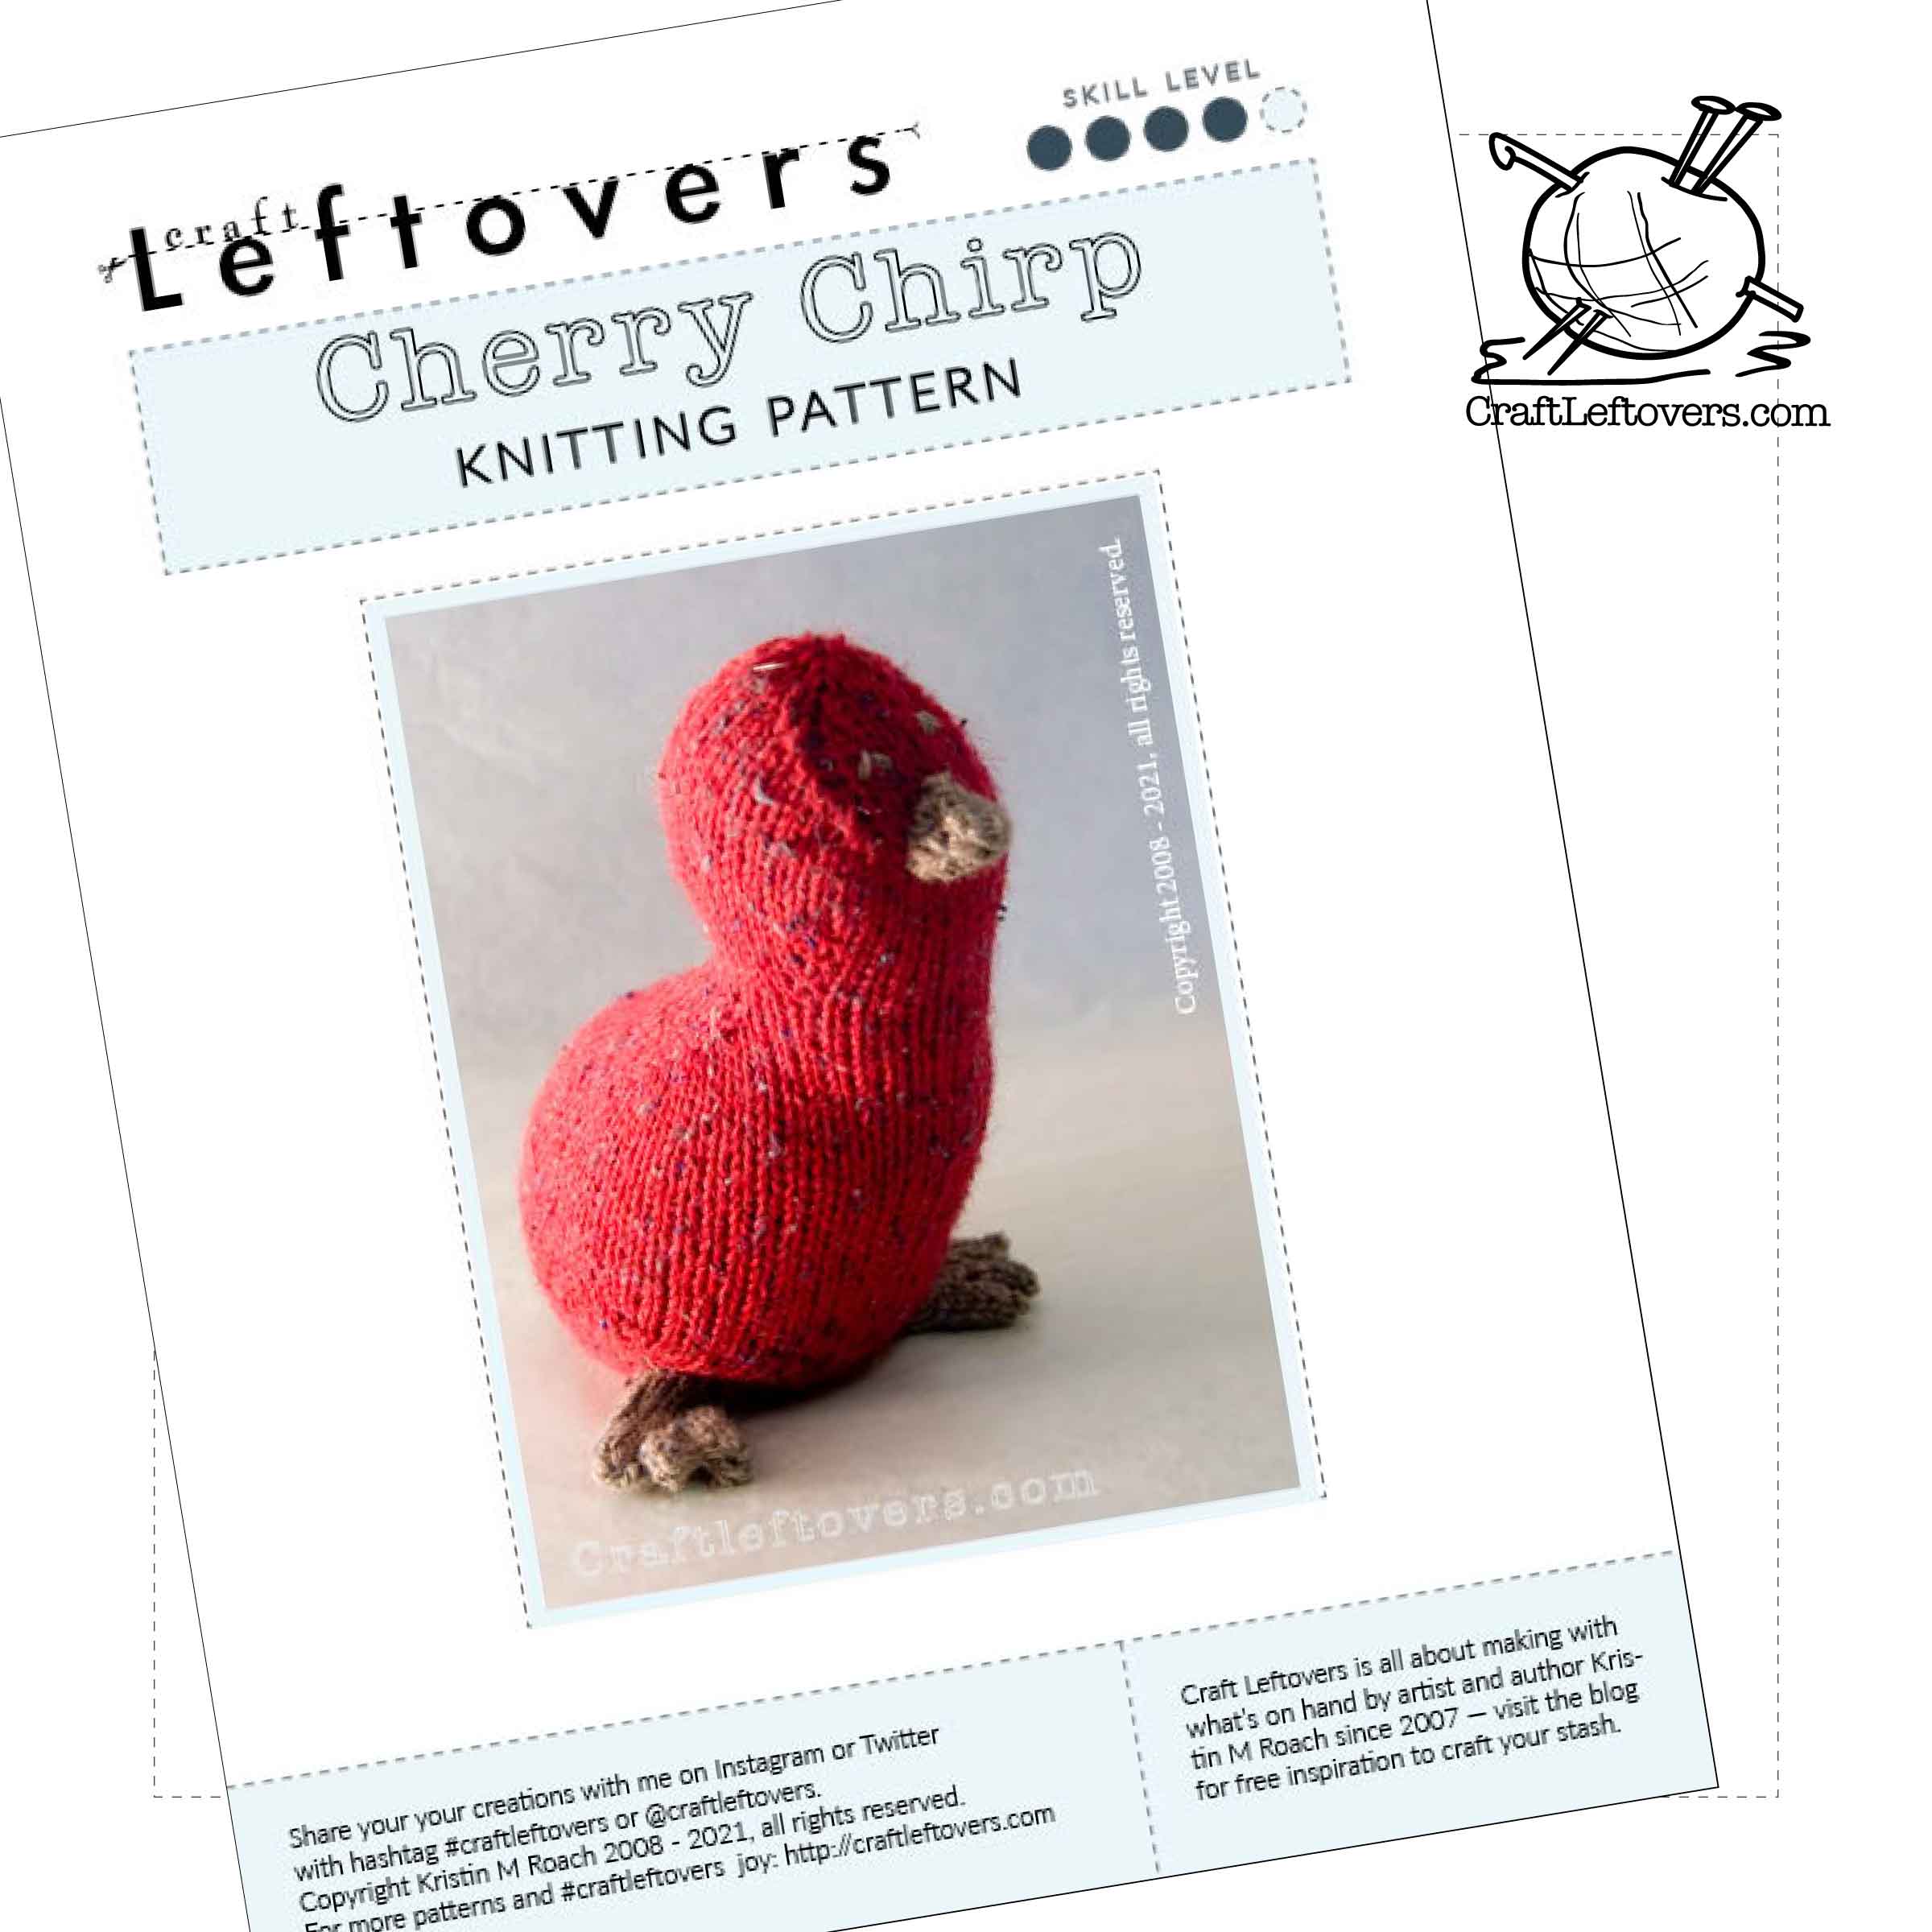
For the next addition of the Pattern Archive Restoration project, I present the Cherry Chirp Knitting Pattern! First published in February of 2008 and has been missing from the archive for quite some time. Welcome Back my little friend! Standing about 8 inches tall, 4 inches wide, and 8 inches
Read More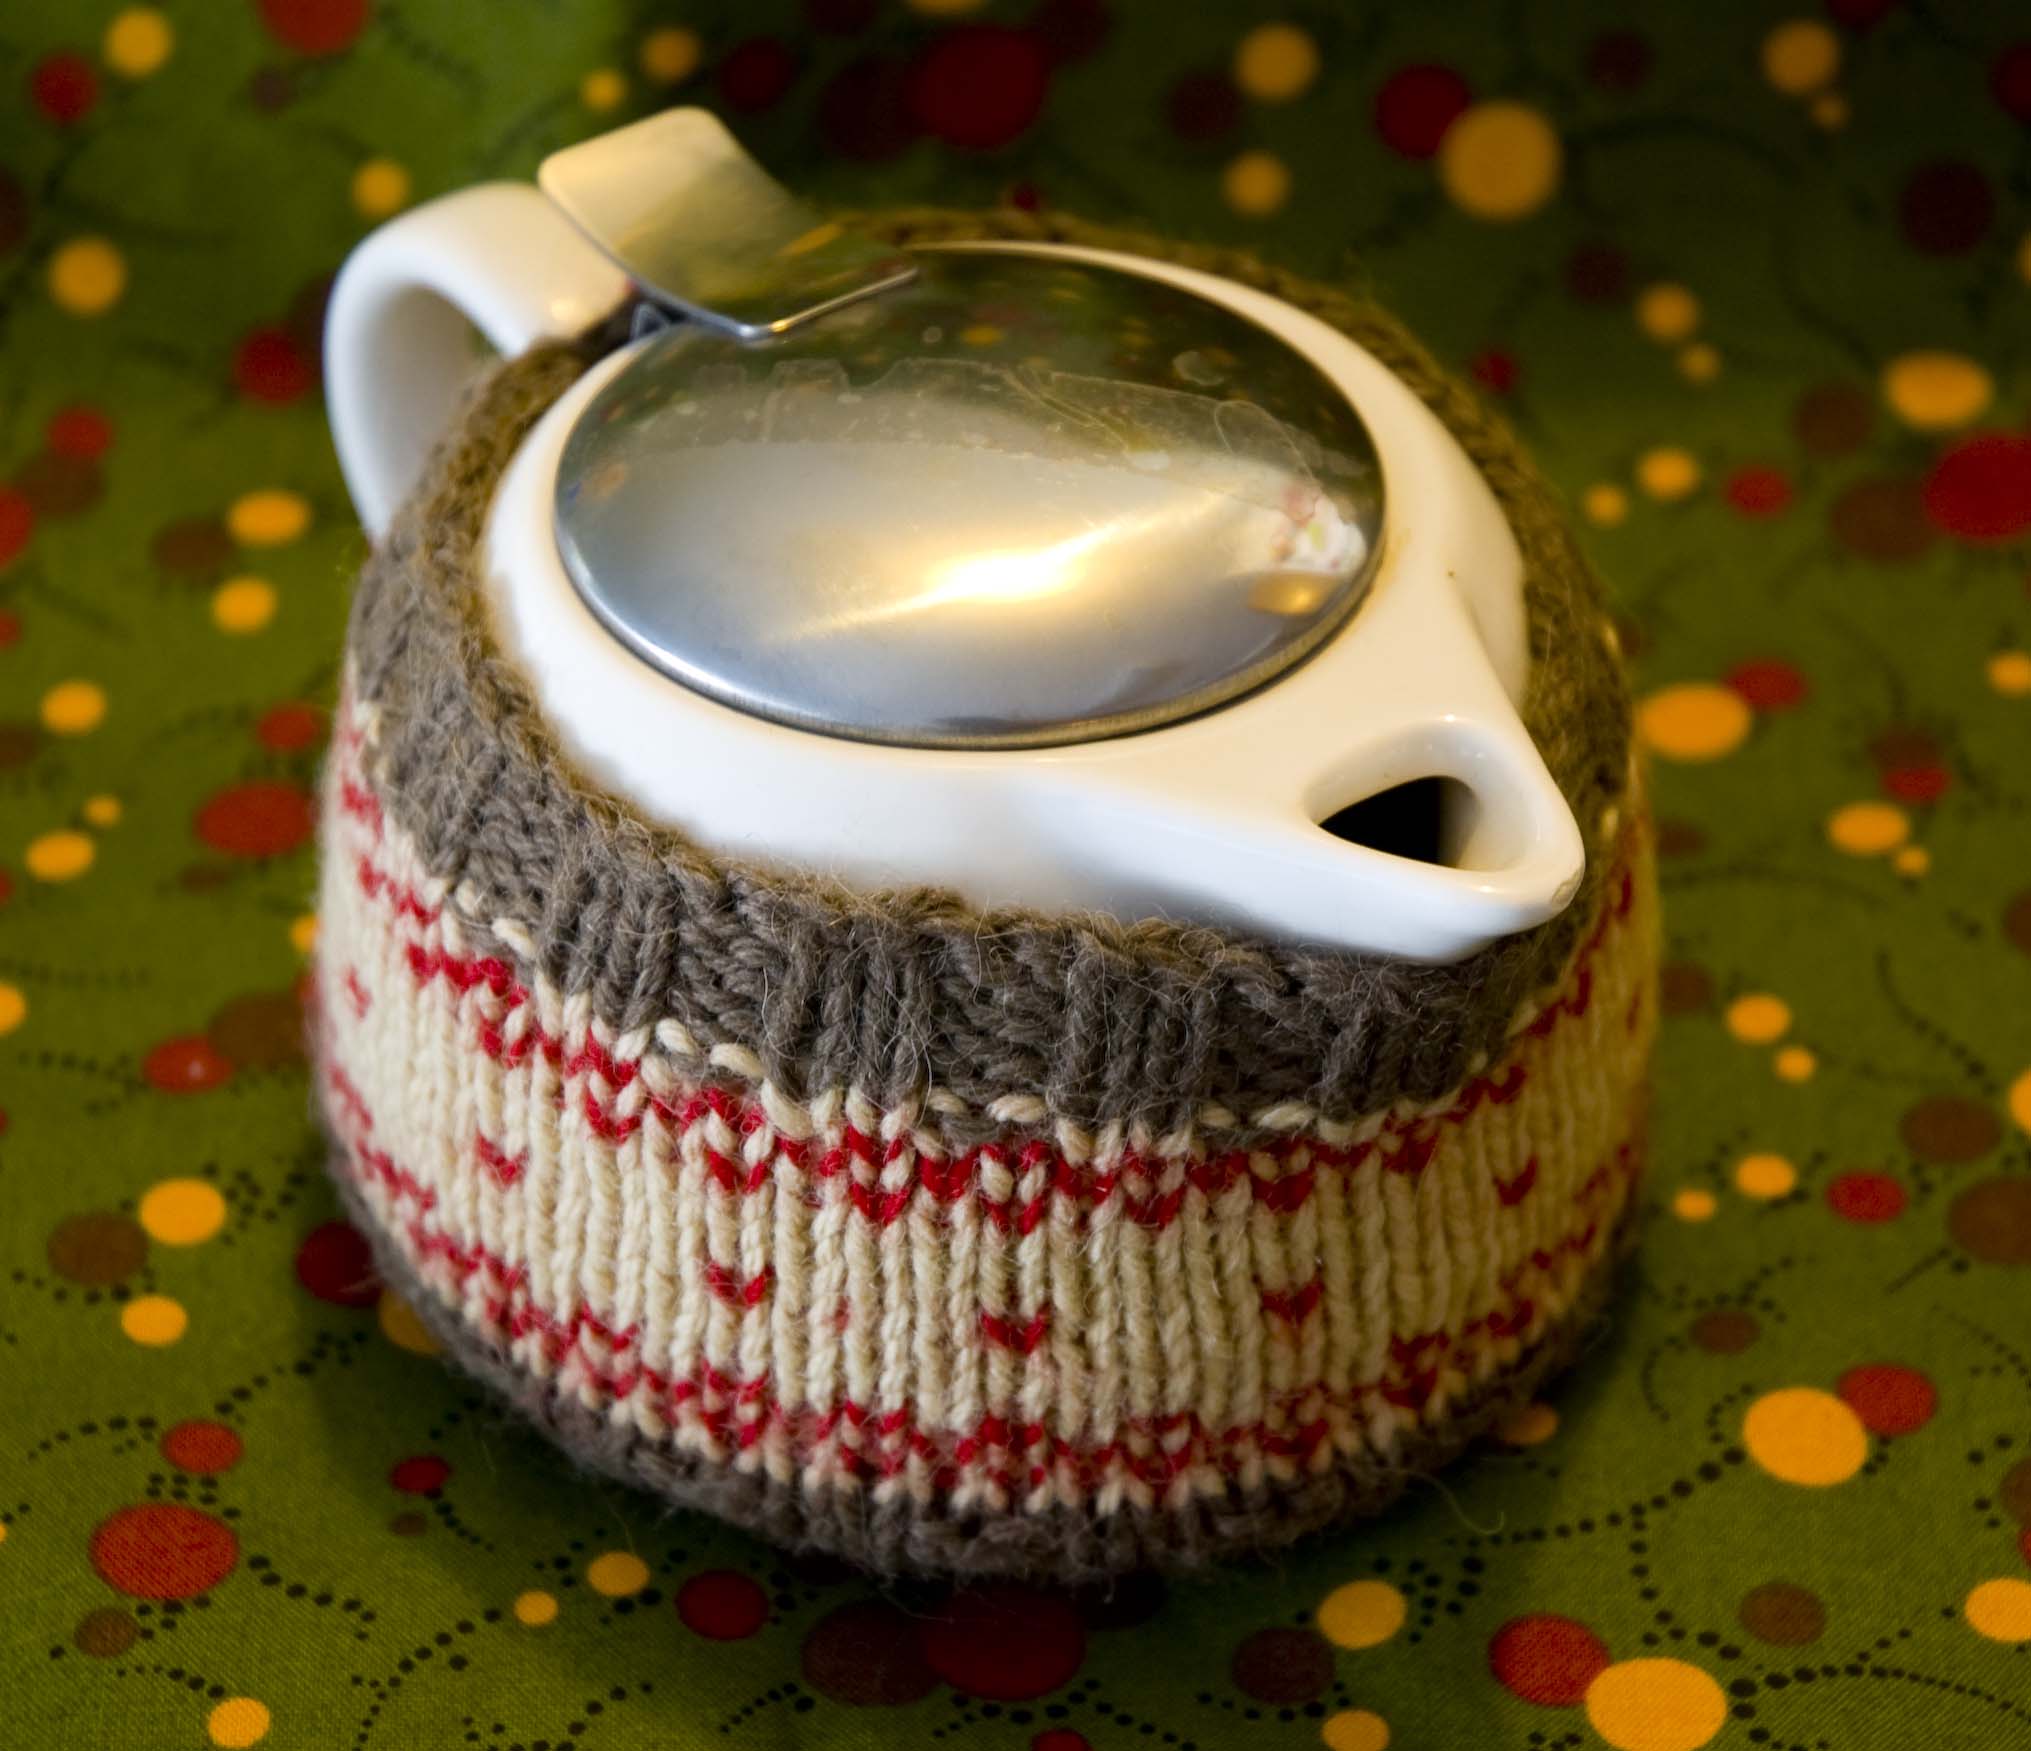
For the next addition of the Pattern Archive Restoration project, I present the Knit Tea Cozy. It’s not just for tea pots, it can also work for nice big 13″ circumference tea mugs. Knitted way back in 2008… I still find this little cozy immensely useful, cheerful, and cozy! Made for a Tea-for-One tea set, it fits well on a large mug or any other small pot.
Visit the original pattern post for the complete free pattern.
Read More
Special thanks to a Facebook message that let me know the pattern link was broken for the Vintage Project Basket. Now that it’s fixed, let me share with you this project that still has a home in my studio.
Read More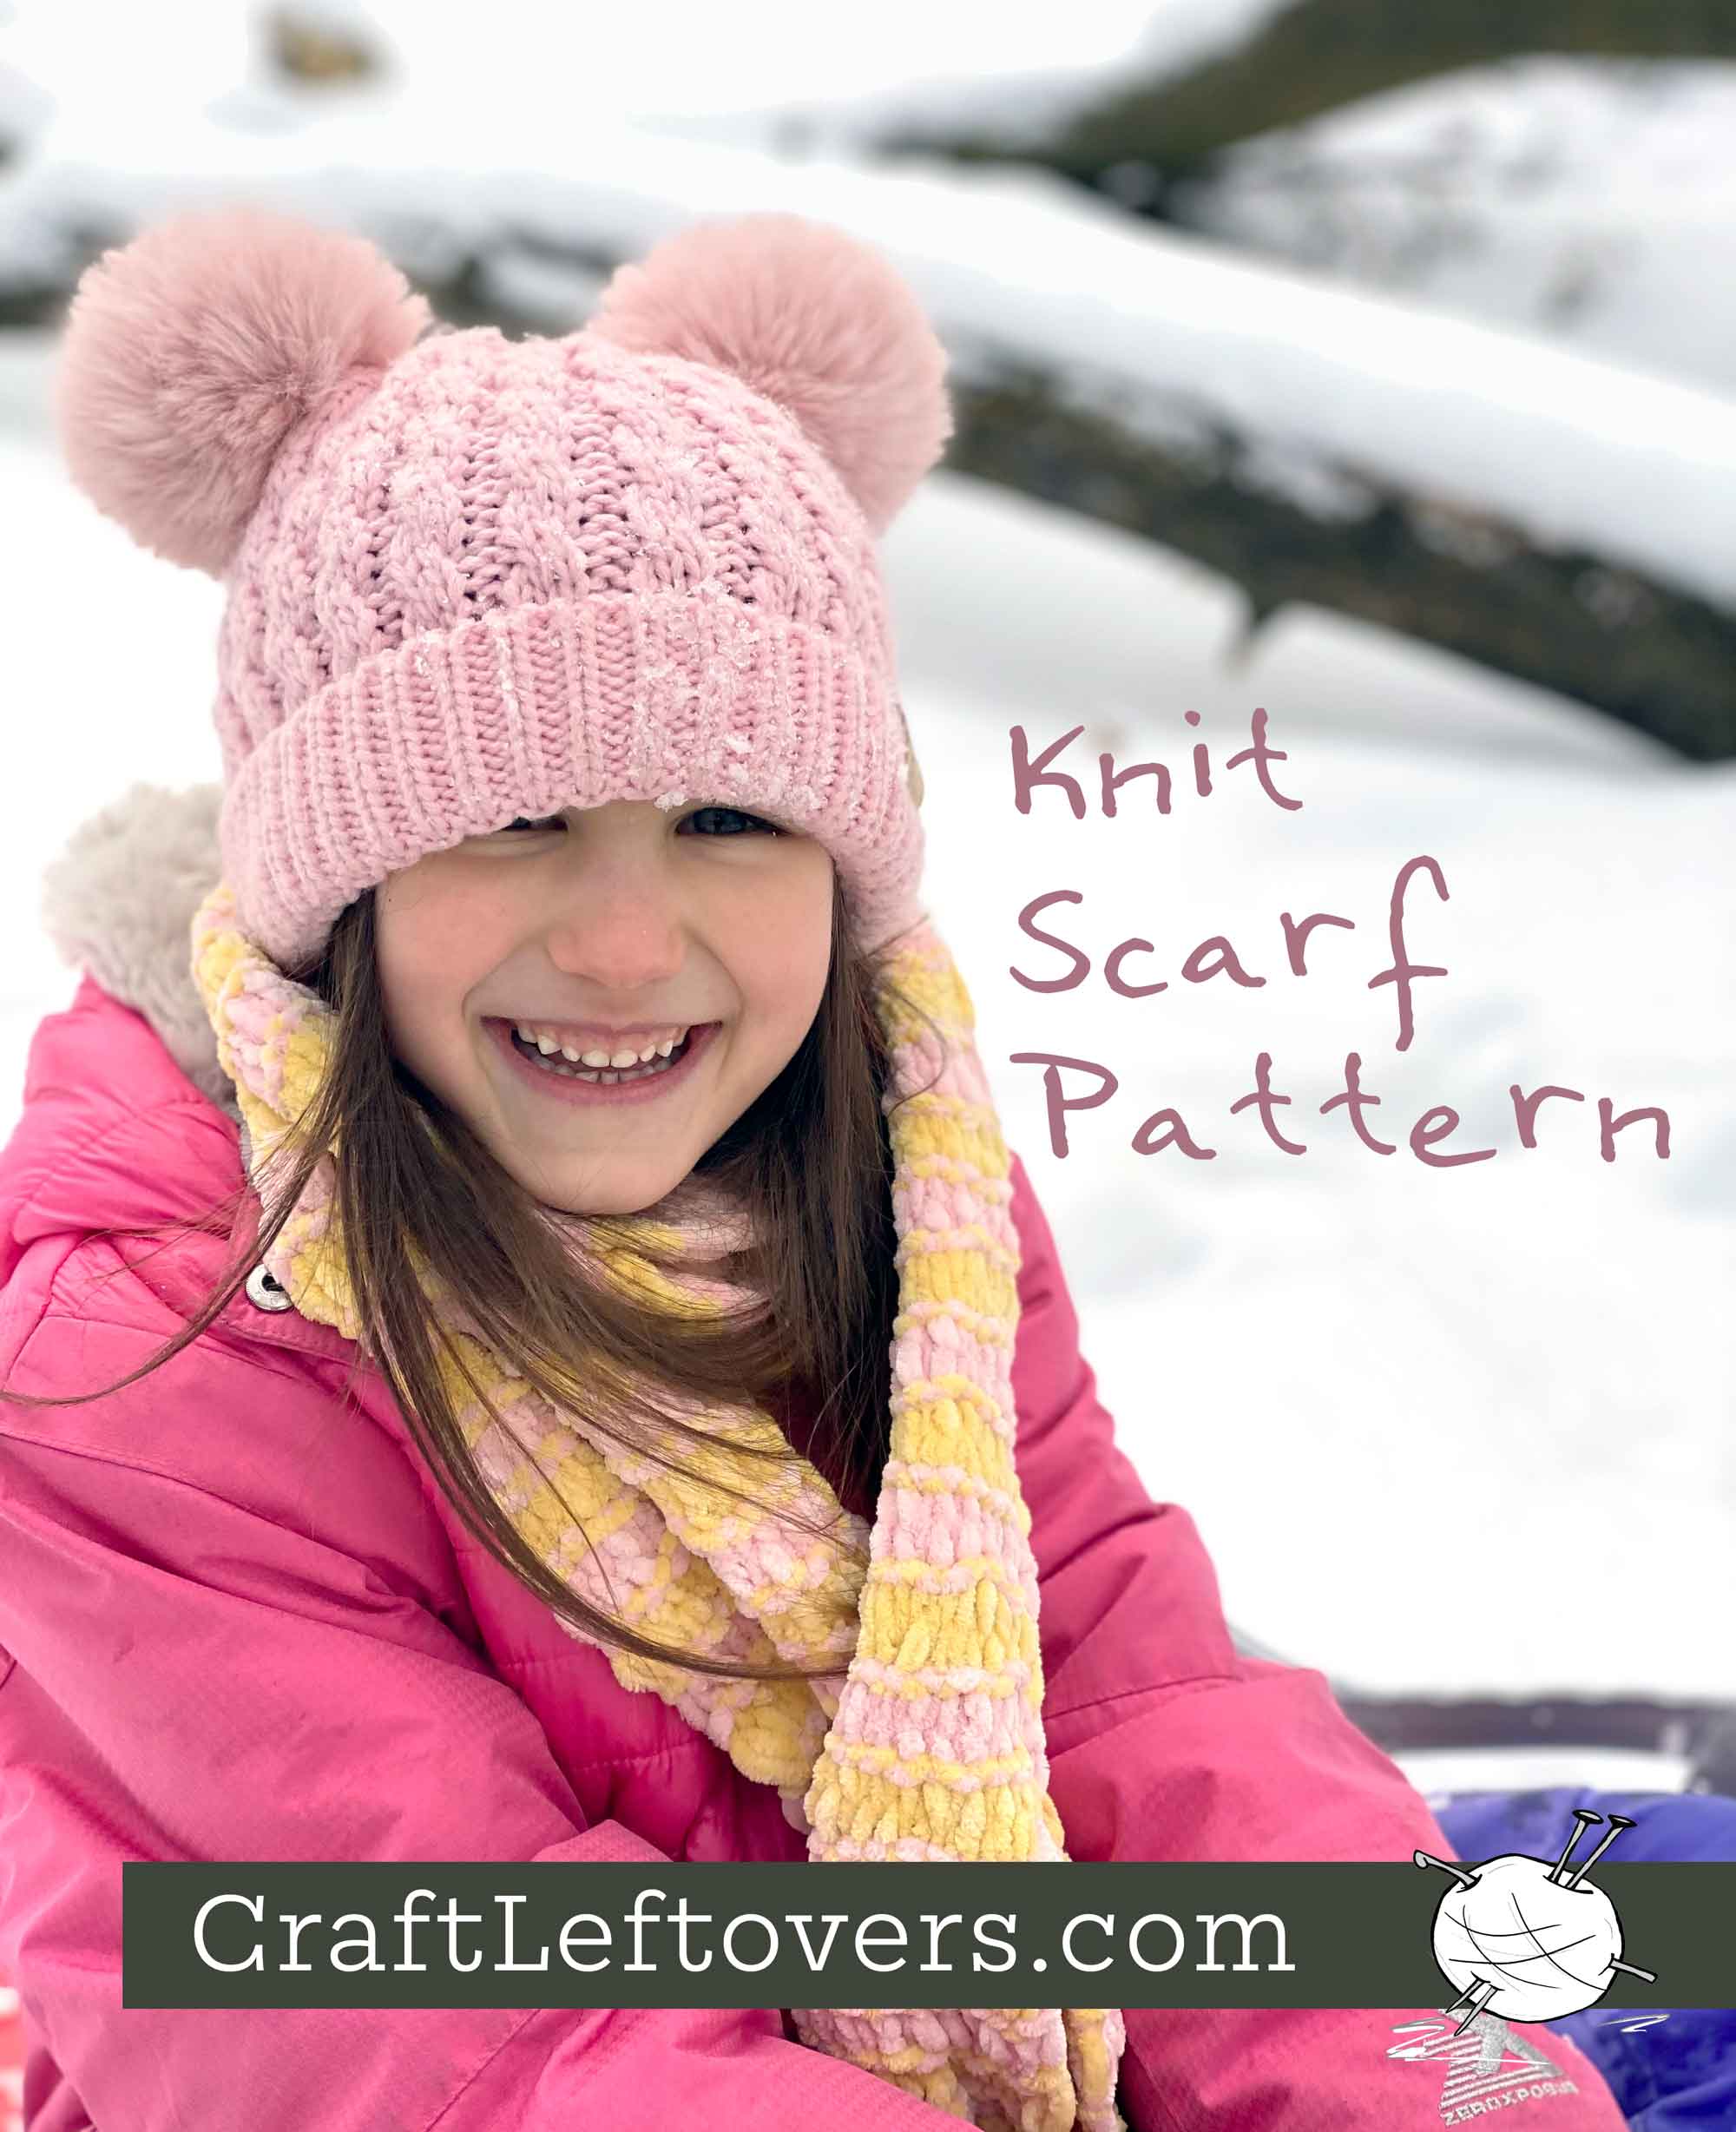
This scarf is a great for a beginner wanting to try knitting with two colors at the same time. For the more advanced knitter, it’s a simple garter stitch pattern so it’s perfect for knitting while enjoying a movie or waiting for kids to get done with sports. And only 4 ends to weave in on its entire stripy lengeth.
Read More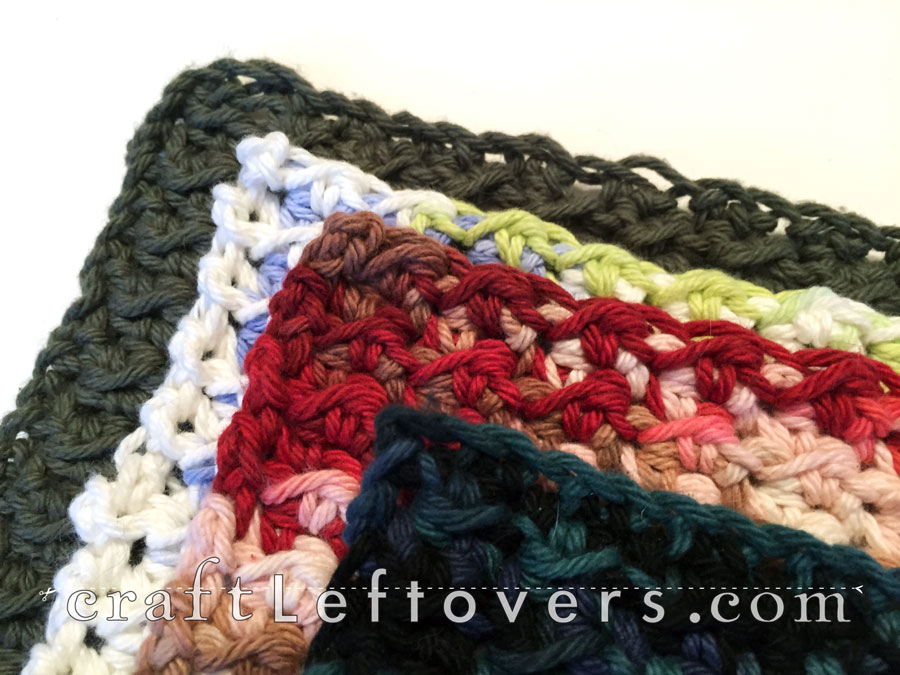
Coming up on Christmas – just 10 days of crafting/baking left – I thought it was the perfect time to give you all some ideas for some last minute gifts. This weekend I’ve spent some time on a hand full of things like scarves, hats, and bootwarmers (will shoot pictures
Read MoreA common problem when working from the stash, is having only a small amount of each type of fiber left. How can you successfully combine cotton and wool in the same project? How can you combine acrylic with silk? Should you? Would you? Could you dare? (Yes, I totally stole
Read MoreView More