
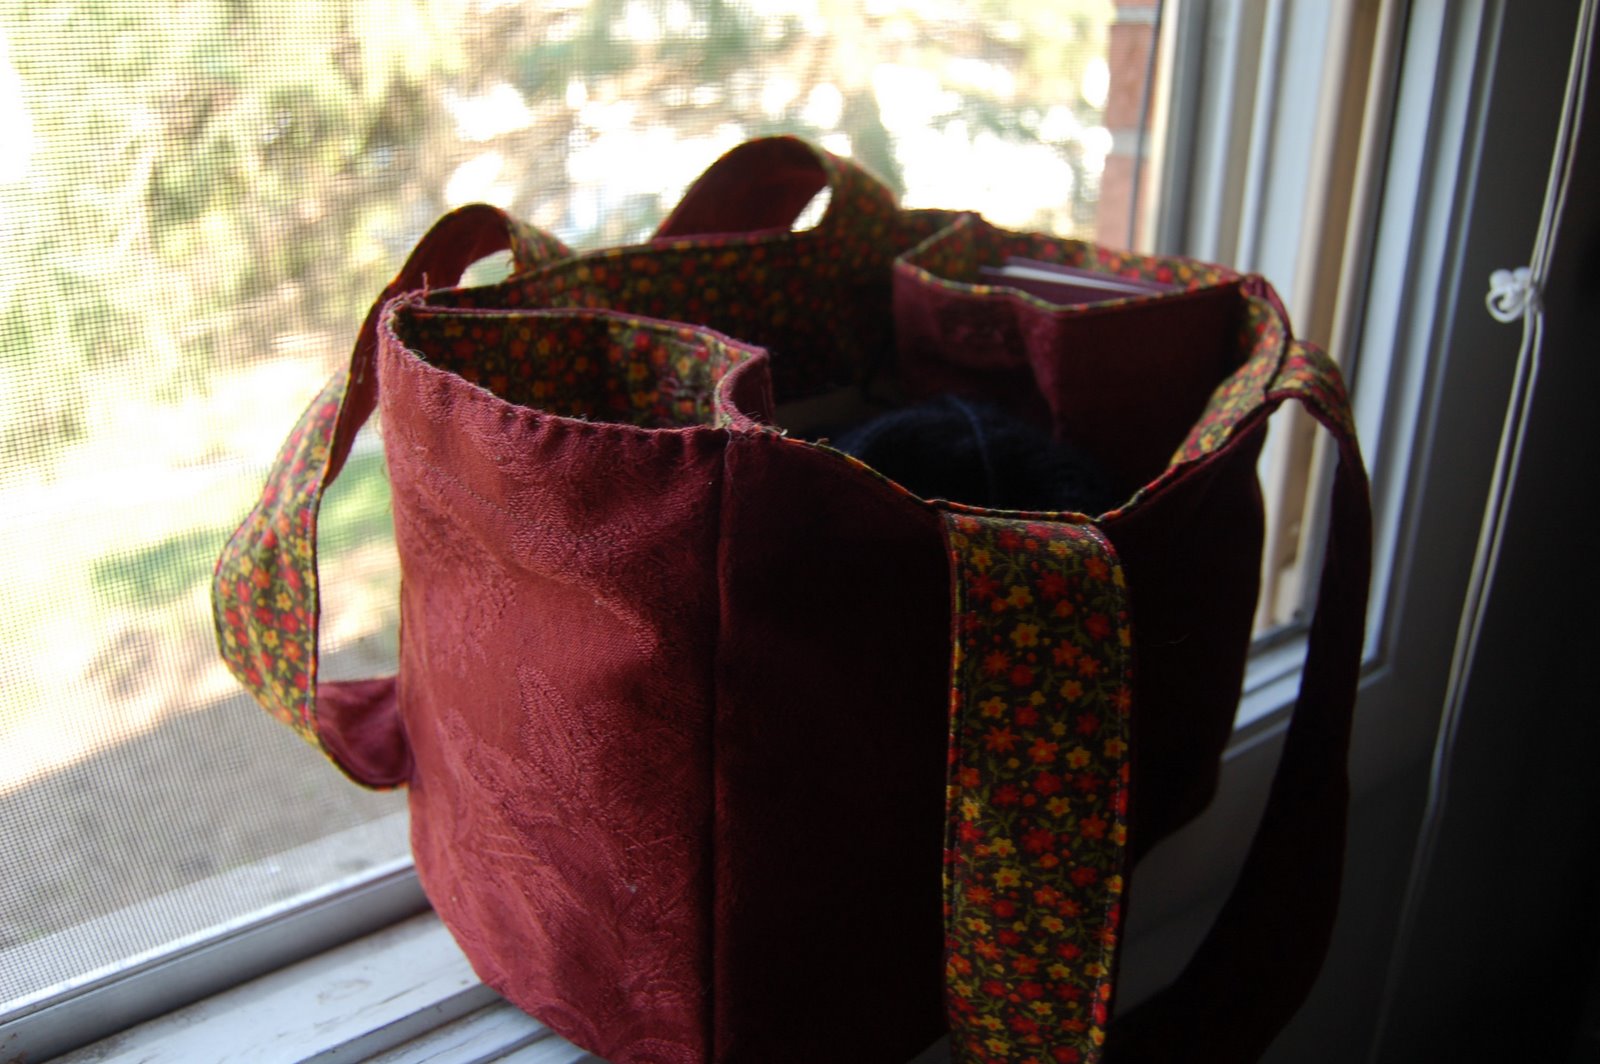
Fantasizing about riding my bike to the grocery store is a lovely image. A bit of a fresh air, get my legs moving, a handle bar basket full of …. too much? What. Wait, that wasn’t the idea I had in mind. I made this tote bag to fit right
Read More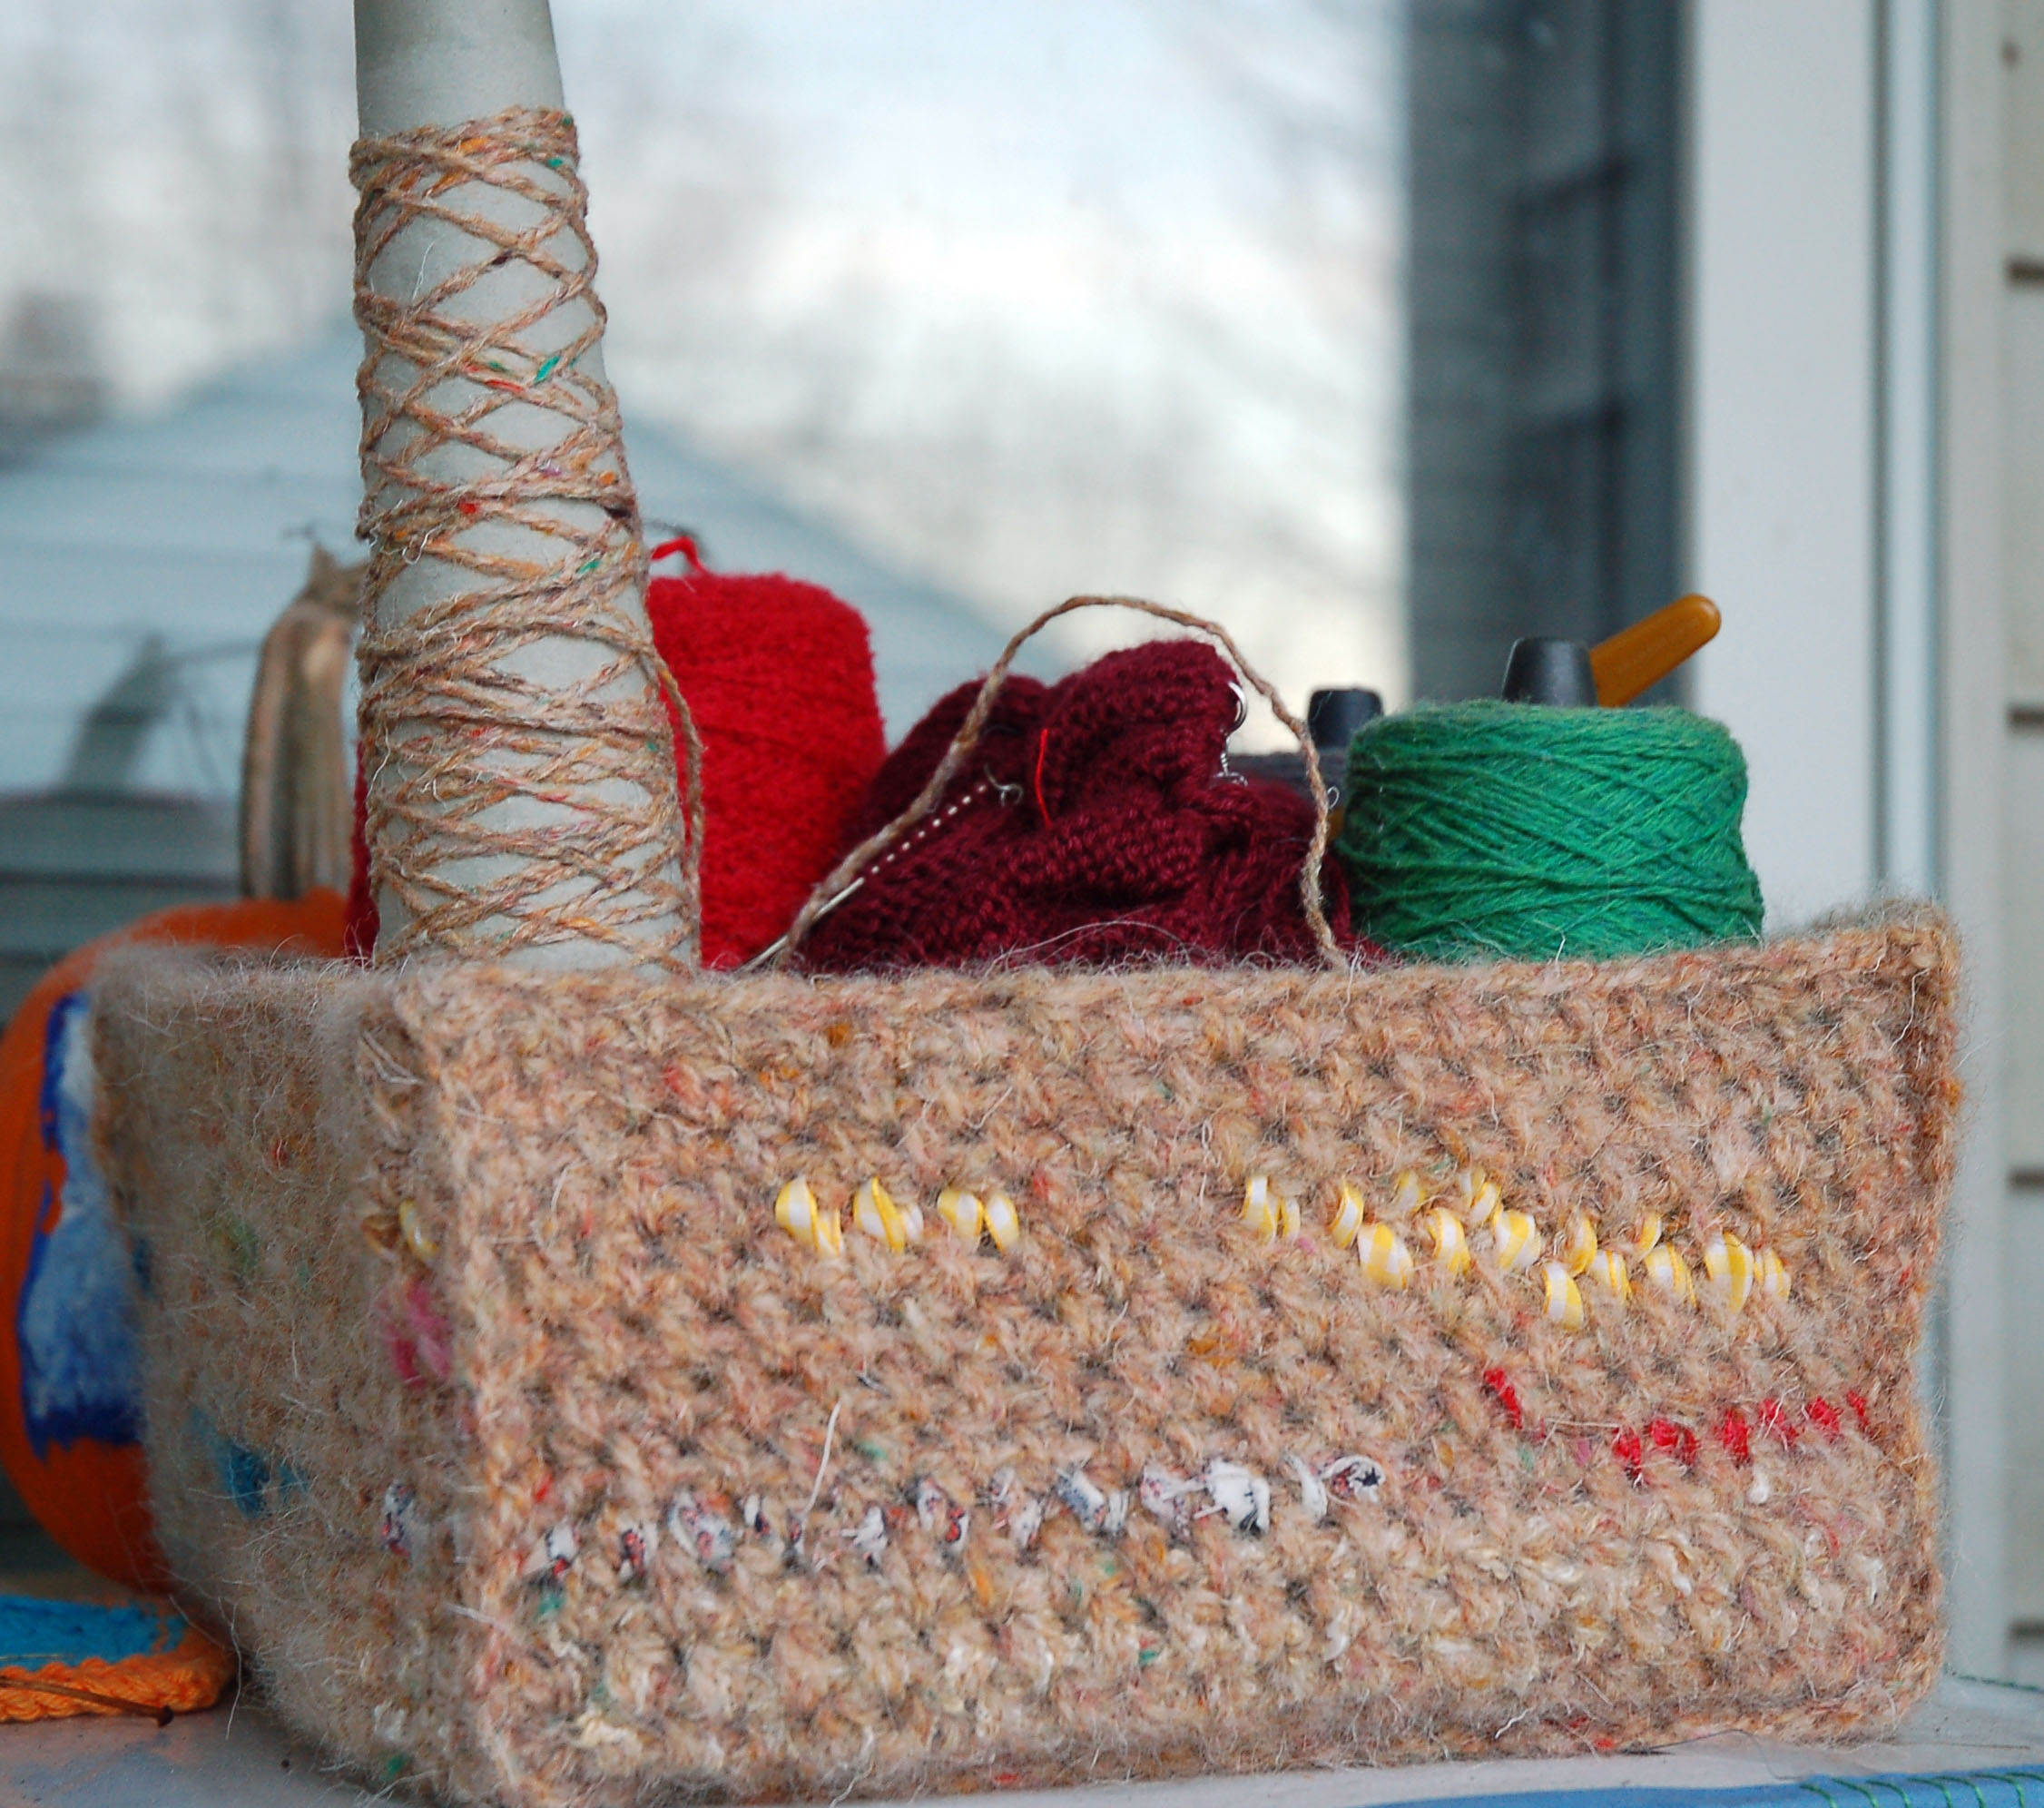
Special thanks to ravelry user theGoodNeighbor for letting me know the pattern link was broken. I’ve dug up the original pattern and put it all straight into this original post. But, if you’d like a tablet or printer friendly pdf version and help this and other Craft Leftovers patterns finding
Read More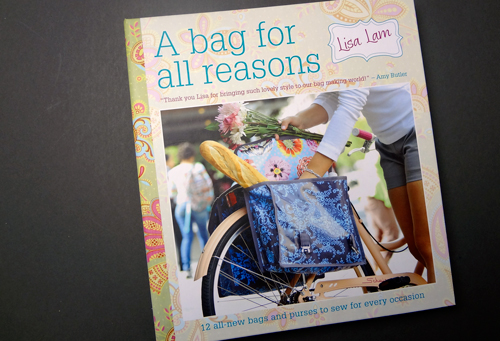
I can’t recommend Lisa’s A Bag for All Reasons enough. With great step-by-step instructions and clear photos, the author takes you through everything you need to know to complete many bag types.
Read More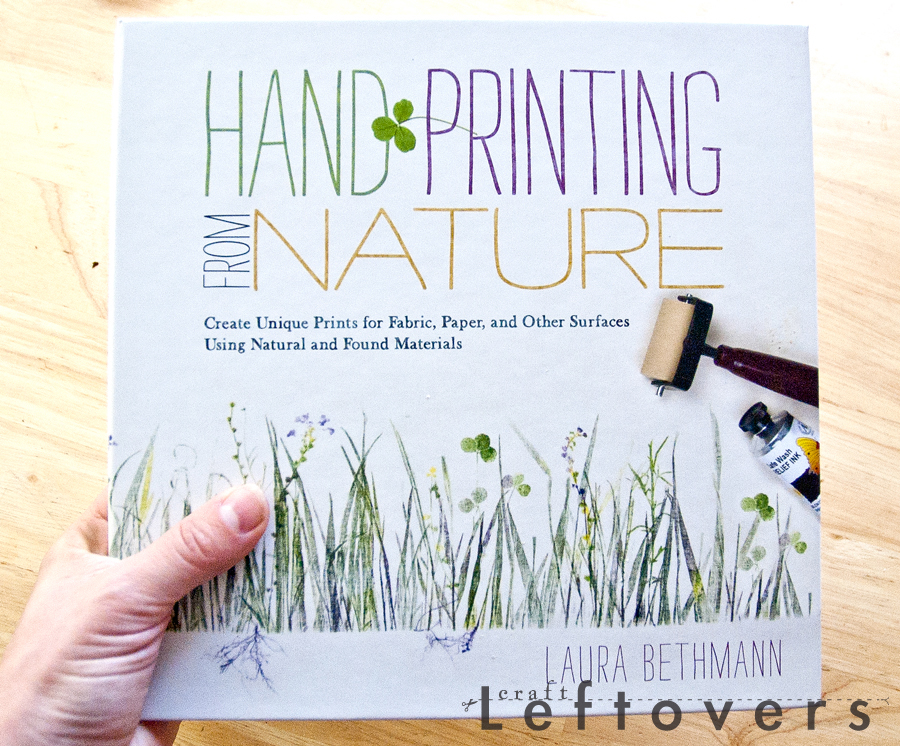
I was so excited when the package containing Hand Printing from Nature showed up unexpectedly from Storey. The note simply read, “Kristin, I think you’ll love this book, enjoy!” I suppose that’s one of the many reasons I love working with Storey Publishing, they really get to know their authors. Anyway, I realize
Read More

Create
1. Beautiful Fabric Pendant – I can just imagine a little fabric leftover being used for this.
Read More
Way back in 2006 I wrote one of my very first sewing patterns, a little quilted pot holder. The idea was good, but even back then it didn’t turn out quite right. So, as I’ve been poking around in the archive, I came across it and decided to remake it
Read More
Every 6 months or so I get to the point in my studio where my works in progress, stash, gifts, random house stuff, and hid-away-so-guest-won’t-see-it” completely takes over my studio. After this last clean out was done I got rid of: 9 boxes and 2 garbage bags of craft stuff
Read MoreIt’s been awhile since the last swap and I know I’m ready to change up some of my stash! And here’s where I go into info-mercial mode: Are you tired of working with the same fabrics, papers, and yarn? Is your stash a little “blah?” Could your fabric use a
Read MoreOh no, no, no! Since my last stash bust post my little tile room full of crafting supplies has become the dumping ground for a million different piles of things from my studio, office, and around the house. We were having company and needed the living areas to look more
Read MoreC.L. Tice is a writer, poet, crafter, and mom. Her writing and creating adventures are inspired by the world around her. She can be found at her blog, Mused.

Recently, my workplace changed to having swipe card access rather than the punch codes we had been using. We’ve never required ID badges for employees and I’ve never worked anywhere where we had badges or cards. So this is a new experience for me.
Read MoreThis past month I moved my studio to my home fully, finally, and officially. I really like our house. So does Jason. We decided not to renew the lease on our office. I’ve been slowly moving home the most used things. March 28th, we moved all the least used things.
Read More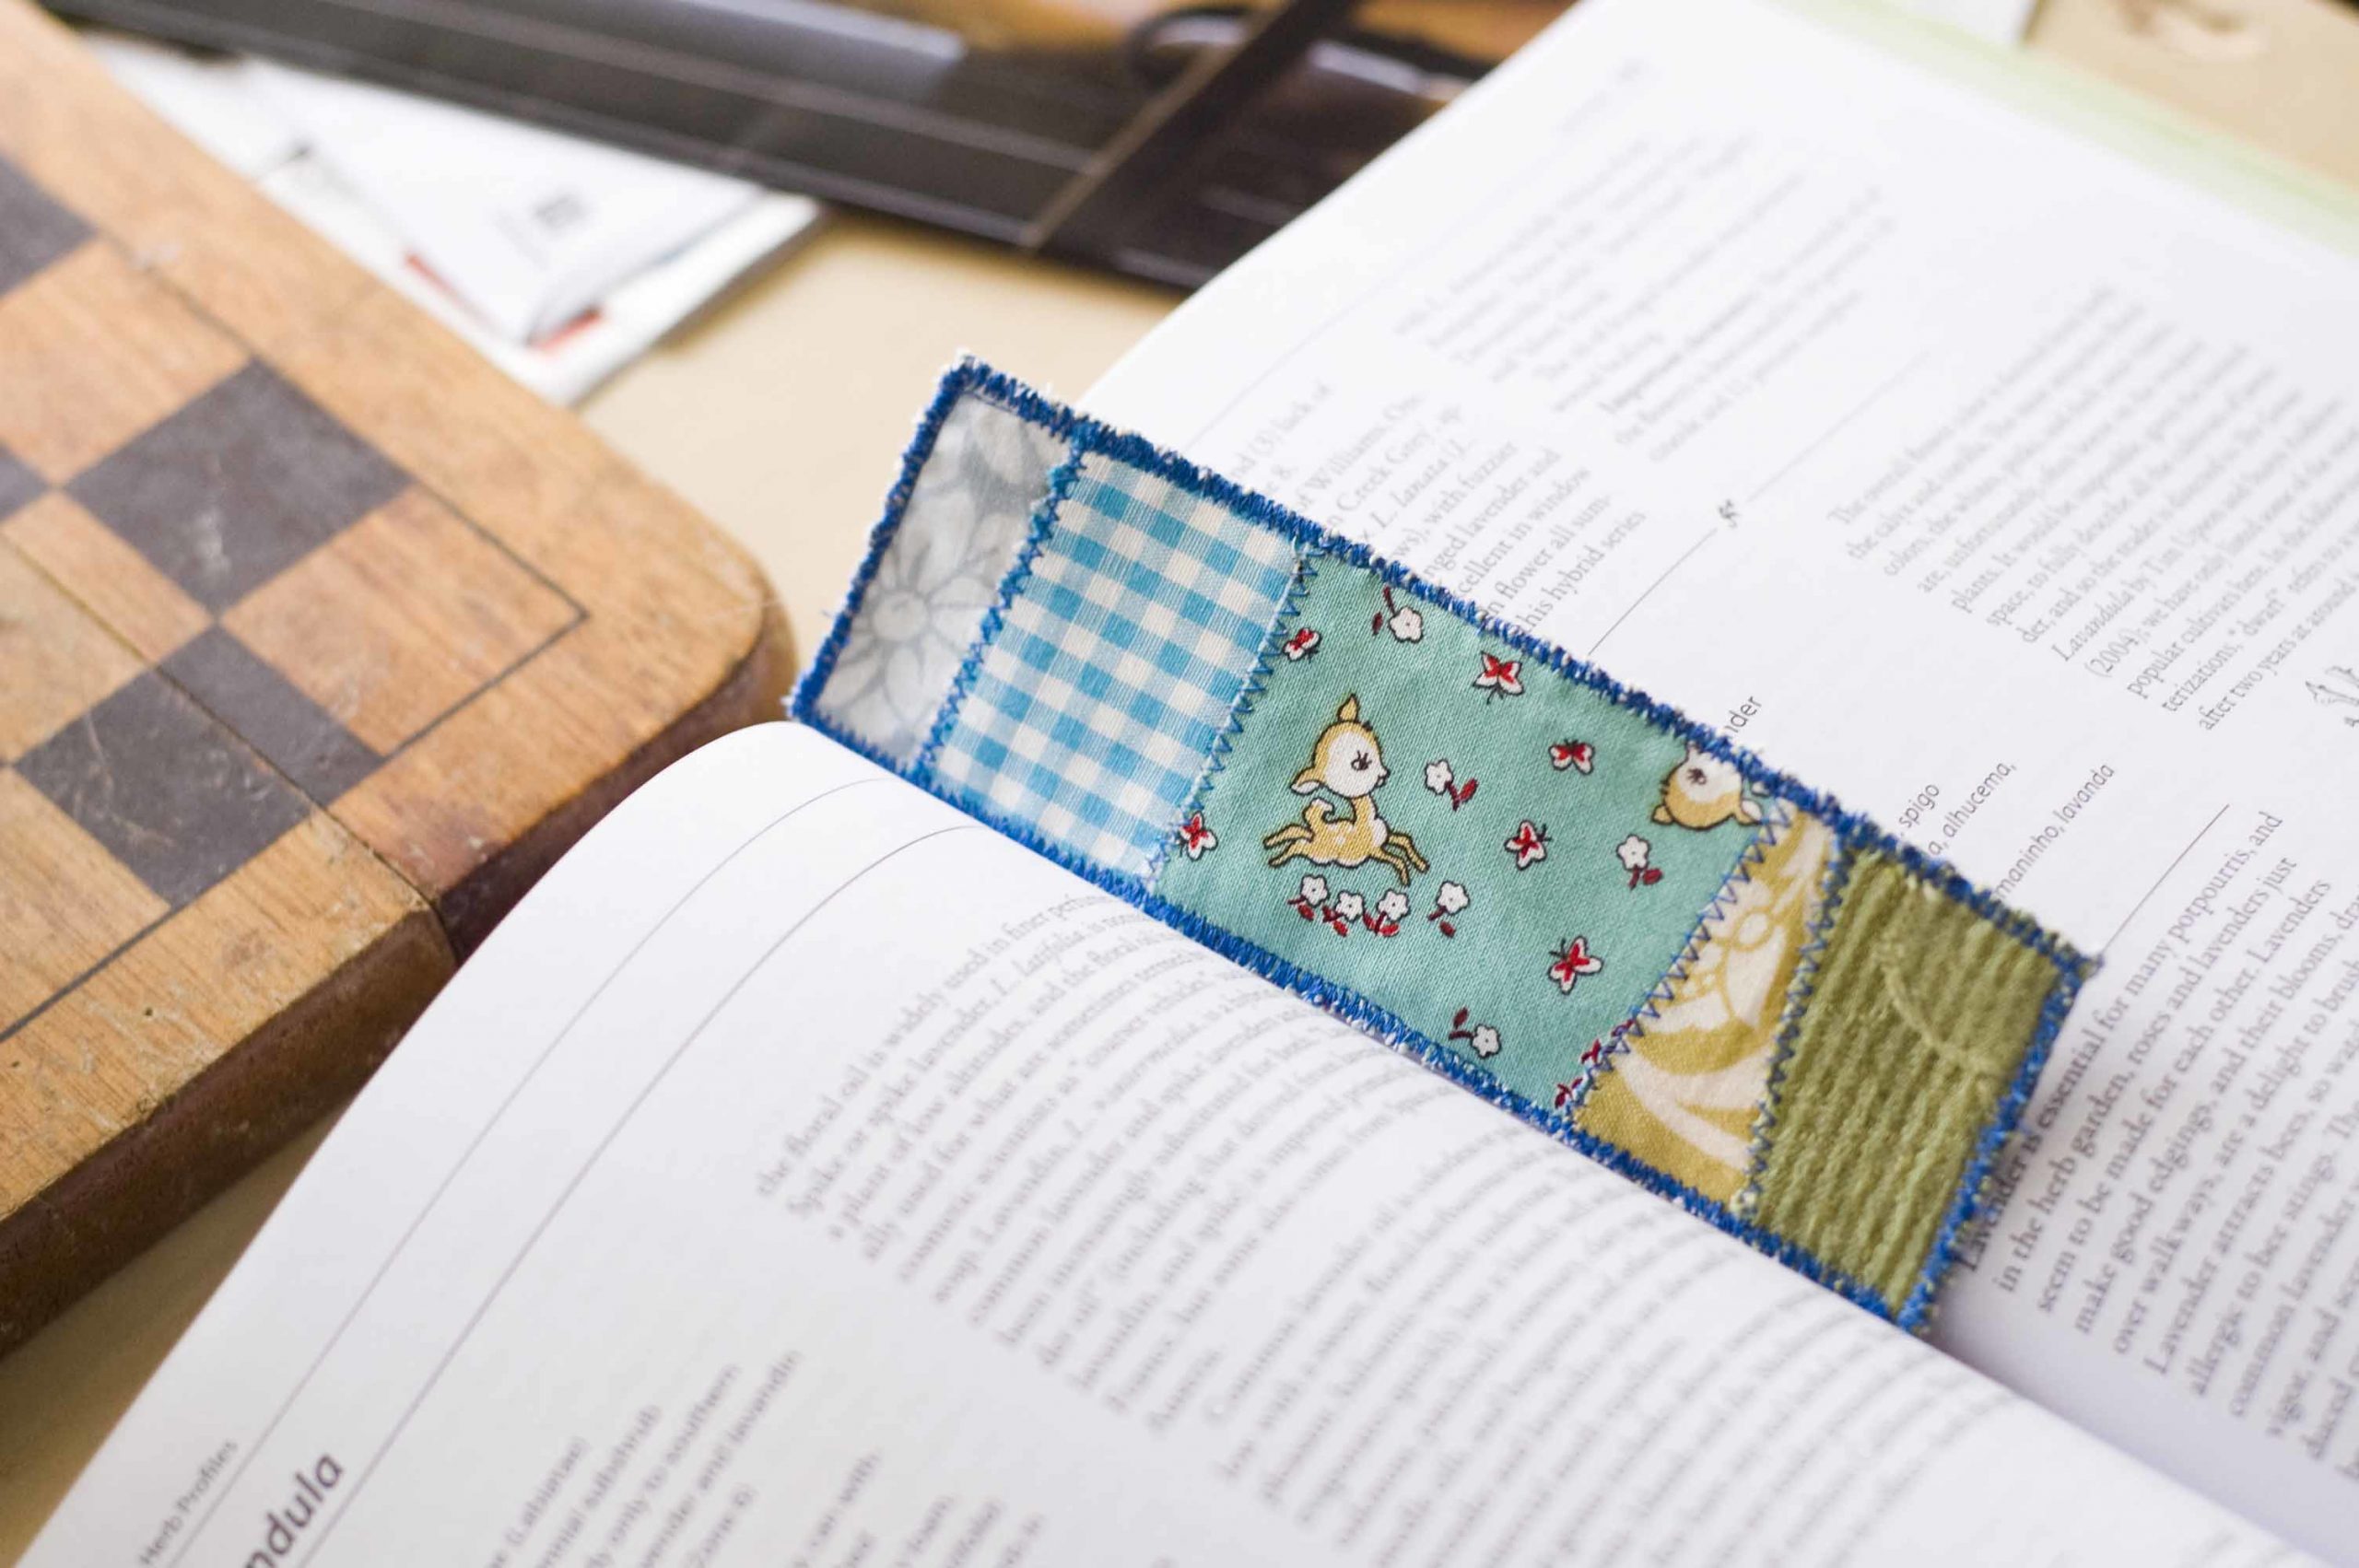
One of the things I wanted to work on this year was reading. And I have. In fact, I’ve worked on it a lot. It seemed only right to make a new bookmark to mark my place. I’ve already read more books this year than I did in all of
Read More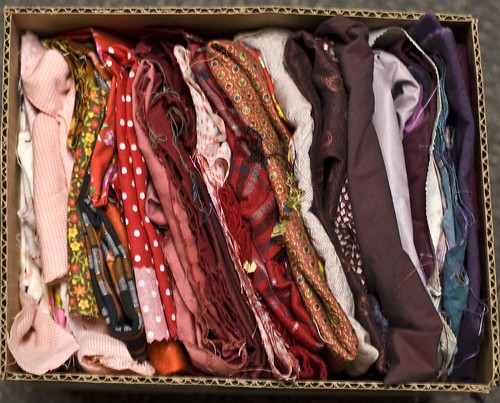
Friday’s post really inspired me to get my act together and organize my fabric. Each box is 11″ x 12″ x 14″. I opted to sort them by color, which seems to be my best organizing option yet.
In the spirit of full disclosure, Quarry Publishing sent me this book to review. That being said, I never review a book I don’t enjoy. Cut It, Paste It, Sew It: A Mixed-Media Collage Sourcebook (Quarry Books, September 2010, $17.99, paperback) arrived in the mail and I immediately read it
Read More
Jason knew as soon as we moved into our new house that we needed some blinds fast for the master bedroom and main bath. We just needed a little more privacy so we would stop having to get dressed in the closet, haha.
Here’s how I shortened, trimmed the width and length, and made these neatly natural blinds more private.
Read MoreOh of course I love Martha Stewart’s Encyclopedia of Sewing and Fabric Crafts. It’s a little touch of everything I love to dabble in: tutorials to learn the basics, projects to try out, and photos to tantalize the senses. There is really only one thing bad I can point to
Read More
Every so often, the bounty of swapping happens all in the same week, which is like Christmas everyday! Last week was that week! What a delight!
Hi there, it’s Karen again! A few weeks ago, Kristin let me share a few of my attempts to “fancy up” my wardrobe. This week I have two more projects to write about. Last time, I wrote about my two tactics: embellishment and reconstruction. I thought it might be interesting
Read MoreLast week I told you about the shirt frenzy I’ve been under lately, cutting out the patterns for 3 shirts in one day! Well, I actually got one finished! I did exactly as Design-It-Yourself Clothes spelled it out, and it worked! Check this out: Rah! The most awesome shirt ever!
Read More
Uncategorized
You see those zeros before that one? That means this is the first of many. Challenge 001: Fabric + buttons. That pink fabric, I love it! But, it’s so bright and busy that it’s been difficult to find the perfect project for. It decided to sprinkle in with it some
Read MoreView More