
How To: Fabric Covered Wall Panels
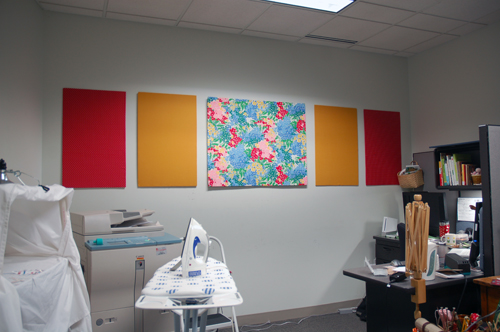
Two week ago I moved into my new studio and everything fits wonderfully, but this back wall was killing me. It was too office and not nearly studio enough. I needed color. I wanted paint. I ran though several ideas that were all overly complicated and overly costly. Time for a Redress project! I posted about it two Tuesdays ago and you all came to the rescue and helped me figure out a great way to splash some color around without splashing around cash.
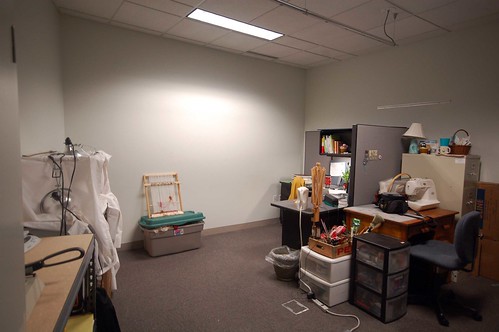
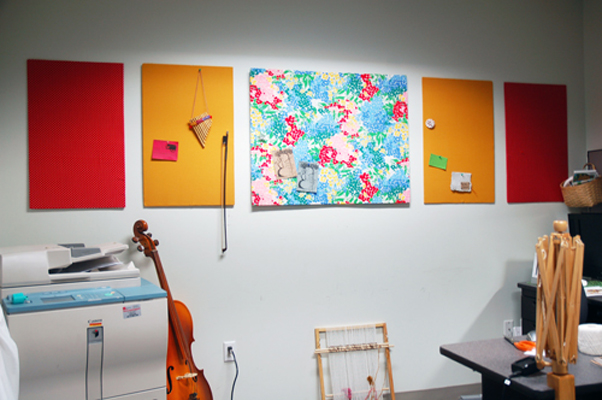
Isn’t that blah? Yeah it is (to answer my own question). I like the solution so much that I want to show you how to make your own burst of color in under an hour. And granted, I did 5 panels, so if you are just doing 2 or 3 it will take a lot less time.
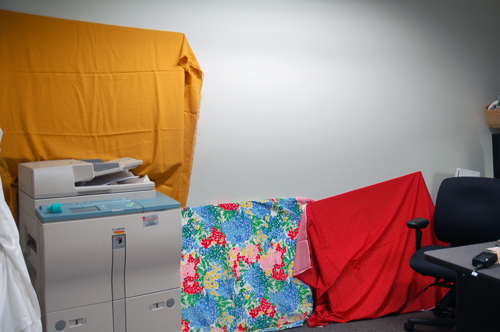
First I grabbed some foam core from the garage and some random yardage of fabric. I just kind of draped it against the wall and stepped back. “hmmm, how does that look?” “meh” I decided that the yellow was too dull to balance out the red if I just had the three panels. What if I broke it up though? Spaced the yellow between the patterned floral and the polka dot red? Perfectly balanced! Now to get started.
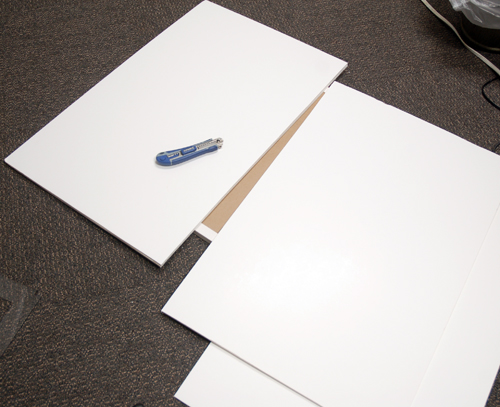
I had 3 pieces of form core – I think 40″ x 30″ approx. I cut two in half to make 4 smaller panels. Then I got down to covering them.
First, iron all your fabric.
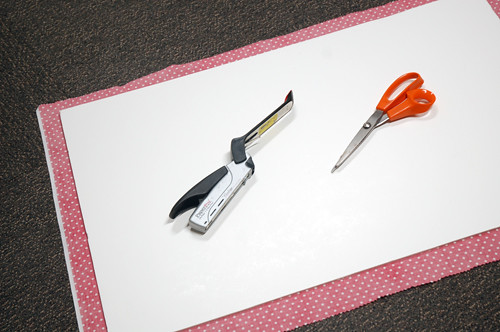
Then cut your fabric down to size, grab your stapler and get going.
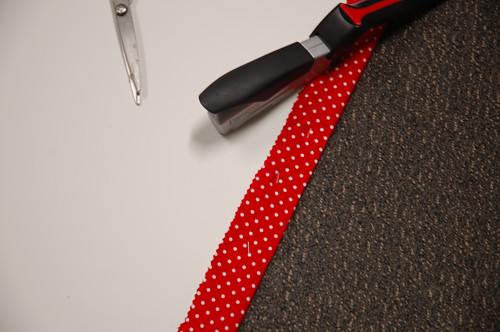
Start in the middle of the long side, then staple into the other long side.
Like so. Don’t pull too hard though, otherwise the tension will cause the staples to come back out, or the foam core to warp, both are bad things.
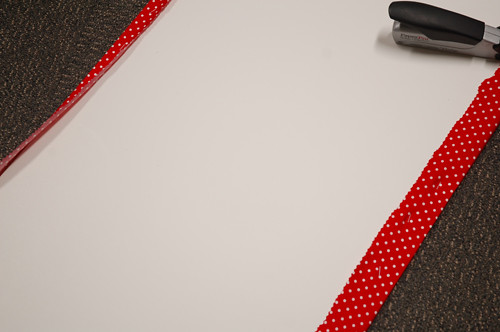
Staple the center of the two short sides and keep rotating the board back and forth so each side is evenly stretched.
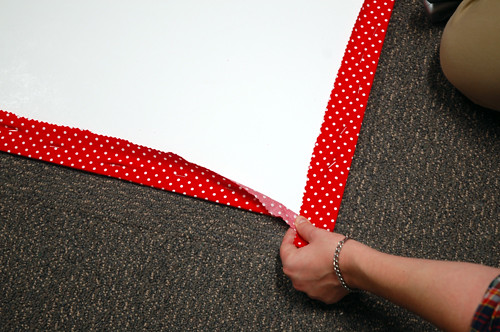
Once you get all the way to the corners, you want to fold it nicely in so it lays flat.
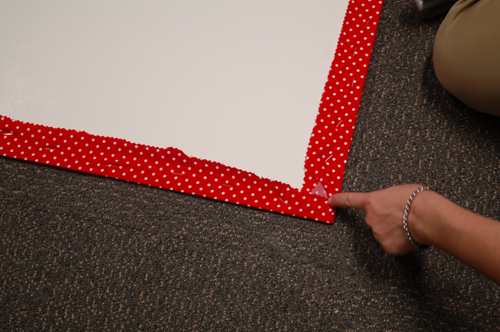
Tucking in all the excess fabric nicely into the fold.
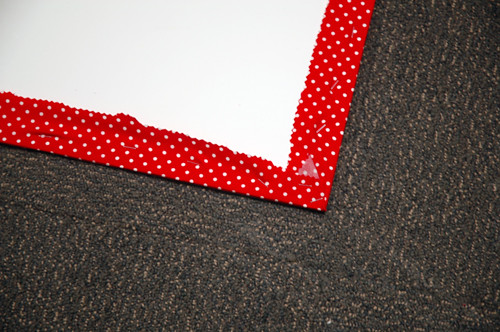
Load it up with staples and repeat for all the other corners.
And there you have it. Just do that for each panel and you will have instant fabric panels for any room. Oh and the really great thing about doing this with just an office stapler is that whenever you get tired of the fabric, or you want to use said fabric for a project, you can just take it off. The staples are so light weight that you can remove them without tearing the fabric. But that also leads to a disadvantage, you can’t hang too much on these panels, the foam core just won’t hold the weight. They are nice looking and semi-functional as a bulletin board, just don’t go crazy hanging stuff on it and you will be fine.
Have a great weekend! I’ll see you all on Sunday with the special Shop Grand Opening post!
Happy crafting!
Kristin

Wow, that really makes a huge impact, great job! Thanks so much, I’ll be lining to this.
That looks great, we moved this year and I’ve still got a few bare walls waiting for the perfect thing, I may go knock one out today with some panels!
Fabulous! I will definitely be using this idea at home.
However, I’m wondering, what did you use to hang them?
way to go! love this. looking for ideas for a homeschool bulletin board…i think i've found it. score!
Just curious, how did you hang the panels on the wall?
I just tacked them up with a few nails each. I only hang paper on them, so it didn't have to be really secure. If you want to hang bigger stuff, I would use screws.
Just curious, how did you hang the panels on the wall?
I just tacked them up with a few nails each. I only hang paper on them, so it didn't have to be really secure. If you want to hang bigger stuff, I would use screws.
Your panels look great! I am going to do that to a room, too. Thanks!!!
did these about 40 years ago using canvas art frames. Love the idea of ceiling tiles and push pins!