Last week I told you about my search for a new lunch box. I took a look around with *cough* what’s on hand before I ran to the store to purchase new fancy lunch box supplies.It turns out that when I really hunted around, dug things from the freezer, and made a point to wash it out everyday, we have plenty.
I was going to just get the lunch bag, but then realized what I usually do, “Hey, I can make that.” So that was a plan. A lunch tote that would be the perfect size just for me and my food dishes.
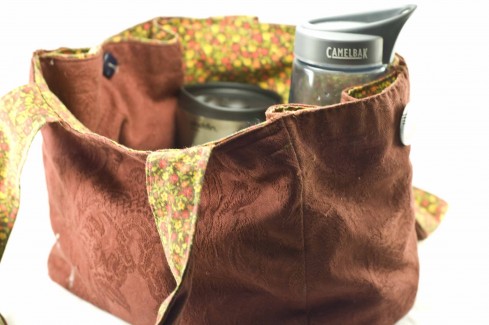
A funny thing happened in the last week though. While master minding my new glorious lunch tote, I started using my Shop n’ Ride bag to hold my dishes. And my coffee mug. And my water bottle. It’s the perfect size!
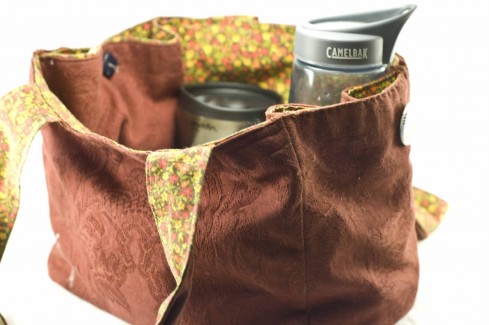
Come the summer, it will be guaranteed to fit in my bike basket too. That’s perfect because it will stay upright even while I’m riding around town. It even has pockets for my cloth napkin and fork/spoon set (camping stores rock!).
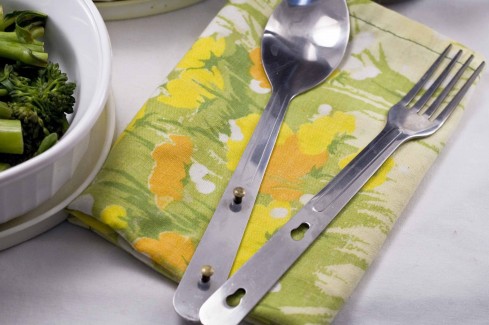
Turns out I should look at what I have on hand before making new things too. :)
I love this bag so much that I was thrilled to find it had another use.
Get the updated Shop n’ Ride pattern as a pdf
See the original post and free pattern here
Read about the pattern recovery project here
Check out this sweetness:
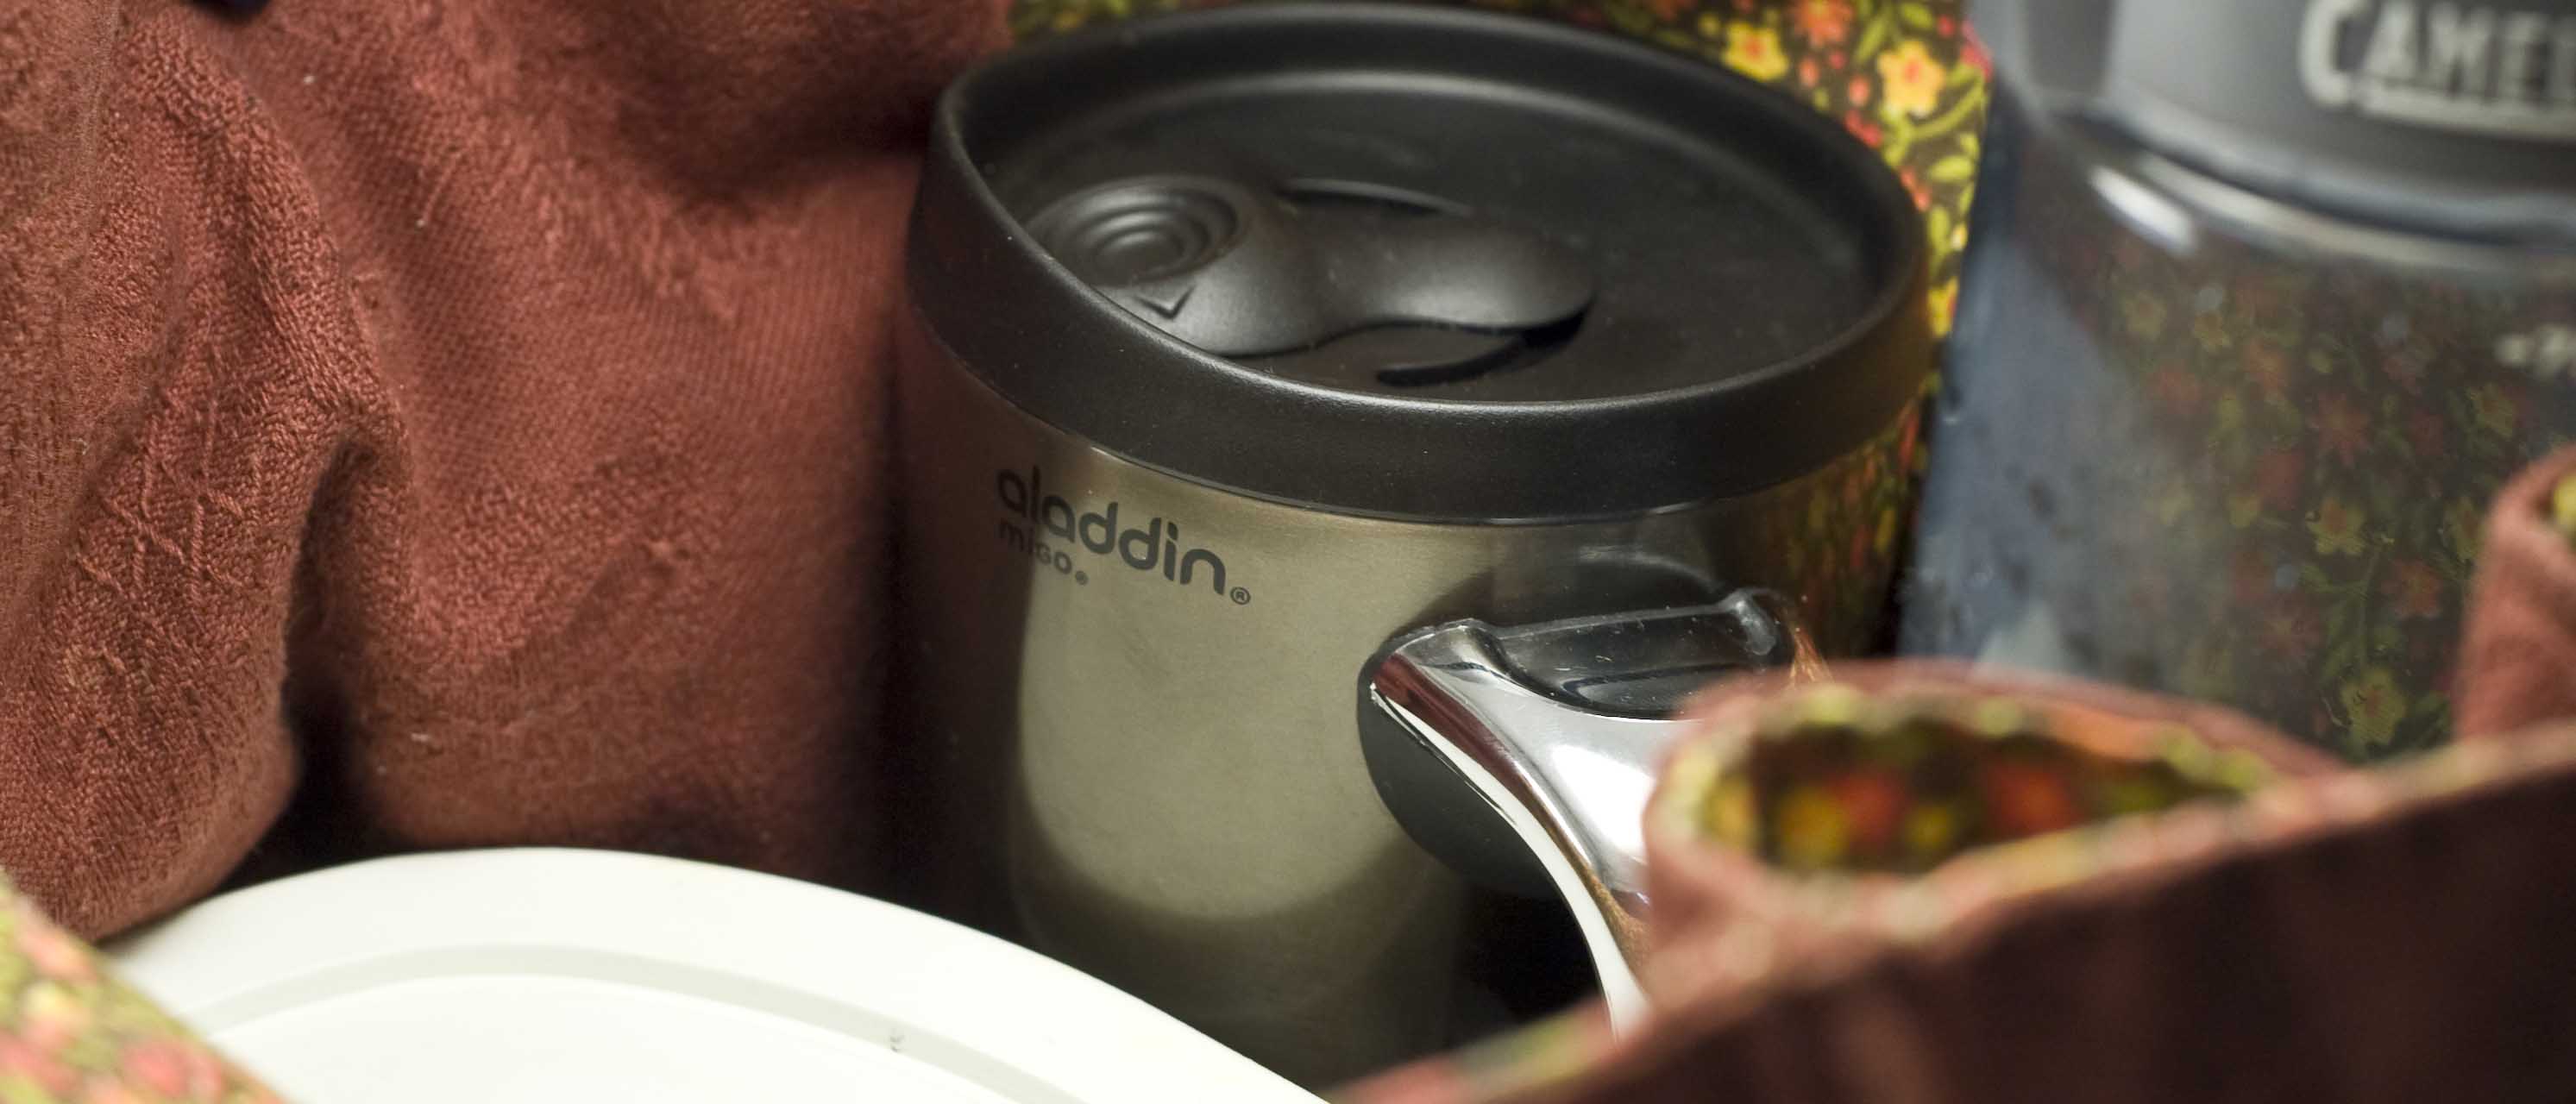
Pictured here is what I have in my box most days: CamelBak Better Bottle with Classic Cap, MiGo 16oz. Senja Mug
(This is the mug I bought after spilling my coffee on my laptop the second time in two weeks. I love it! It’s already saved me and my macbook at least twice.), Rubbermaid 1/2-Cup, 2 pack
(These are the only containers I ended up buying outright. I just needed something to hold sauces since my bento box one broke. And they were on sale for $2 for two.), CorningWare 15-Ounce Oval Dish
(Jason’s mom made the mistake of packing leftovers for him in these. That was before we even started dating, haha. I think after 5 years, they are officially ours), picnic cloth napkin, and a camp fork/spoon (I like that they lock together).
When I have soup, I pack my CorningWare 20-Ounce Mug instead of one of the dishes.
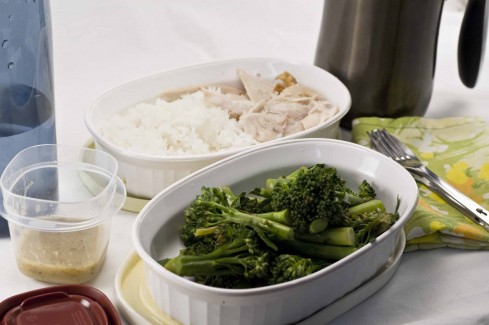
My general rule of thumb is to pack one oval dish with just veggies, then the other one with 1/2 protein (meat or tofu or bean type dish) and 1/2 grains (rice, bulgar, couscous, bread, etc).
Then in the little guy I pack either a sauce for the main meal (like salad dressing) or a snack (almond butter for instance). There is plenty of room in the bag for the second container if I want to pack a snack and a sauce or a yogurt container if I want to go that way. Sometimes I slip a cheese stick into the pocket of the bag. If I’m going on a long trek in the summer, I’ll use one of the pockets to house an ice pack.
If I want to keep things separate, I use baking cups to put things in (good for the oval or the snack sized containers). In the little 1/2 cup I can actually fit a little stack of crackers and then a baking cup of peanut butter which is nice.
Once I run out of the paper cups I’m going to upgrade to a silicone set. Those will be nice for baking in general anyway.
The only thing this bag didn’t have already going for it was a sturdy flat bottom, which turned out to be a really easy fix! I just cut one of those “reusable” grocery bag bottom pieces (usually black) to size. I had one laying around that was cracked, so I just cut it from the uncracked side. It works perfectly!
Sign up for the Craft Leftovers mailing list to get a monthly update of new content and re-releases. You can also follow me on Instagram to check out the crafty projects I’m crafting.
And of course, if you make something with one of my patterns, just tag it (#craftleftovers). I love seeing what you’ve made with your unique leftovers!
I had a deja vu moment reading your post about your lunch bag. I have the same corningware oval dish; it’s great for enchiladas & spanish rice. And I took chili to work on Thursday in the same corningware soup mug for which you posted the link. Thanks so much for the sewing pattern. For lunch right now I’m carrying my bento components in a cute little Lucky Pig bag that my granddaughter chose for me in Japan.
Thanks so much for this! Ever since you mentioned bento boxes I have been obsessed with finding one I love. I just can’t justify the cost, though. This bag will be a great solution to that since I also have a TON of totally usable plastic containers.
That is soooo cute! I need to make one of these for my husband. His lunch usually has 4+ Pyrex containers in it and he lugs it around in a canvas shopping bag that now has a hole in the bottom. Thanks so much for this, I’ll be linking.
<— serious case of bike basket envy
Holy Cow! This is too cool! I was checking out the “one pretty thing” website and ran across this. Thank you for sharing the pattern! I cant wait to make one! Super Handy!
I made your Shop & Ride Bag a year or so ago.
I loved it so much I made a second one. :)
I gave my first to my Mom and my current one is a knitting ‘toter’.
Thanks so much for your great ideas and sharing your ‘Ah Ha!’ moments.
Thanks everyone for your nice comments! Totally warms my little crafty heart to hear that you enjoy the shop n’ ride as much as I do! I’ve actually picked out some fabric for a second one. I might just go on a sewing binge soon :)
I was so pleased that in the end, all I bought was the coffee mug and the little containers, go me! And thanks to Jason to for pointing out “hey, use what we already have”! Ha.
thanks for reposting too and spreading the word!
Fabulous idea! I have tons of stainless containers that I believe will fit perfectly in here. I love it. Printed out the pattern and look forward to linking to you once I get some done. Thanks!!
Blessings,
Val
I just made your bag, using quilting cotton for both layers with Insulbrite batting in between to give it some heat/cold retention. After a few stressful moments navigating the corners with all those layers, it turned out great… thanks for sharing the pattern! There just aren’t that many patterns out there that will hold wide containers. I used an elastic ponytail holder sewn into the seam and a vintage button to close it (again, to keep the cold in, Midwest heat out in the warmer months).
Just wanted you to know that I thought this post fantastic and linked to it from my blog. Thanks for the great reuse!
I have so many leftover home decor fabrics from the work that I do. This is a great little project and will make a gift for someone! Thank you so much for sharing!
Wow this looks cool, & I can't believe how much you can fit in. I have bookmarked the pattern, & hopefully will make it one day!
Wow this looks cool, & I can't believe how much you can fit in. I have bookmarked the pattern, & hopefully will make it one day!
Looooooove the idea of digging through my copious drawers of leftover containers and just pulling something together. Love it. Such a great heads up–love your ideas and your site.