
Wardrobe Redress: One shirt, two ways
Hi there, it’s Karen again! A few weeks ago, Kristin let me share a few of my attempts to “fancy up” my wardrobe. This week I have two more projects to write about. Last time, I wrote about my two tactics: embellishment and reconstruction. I thought it might be interesting to see how both techniques can be used on the same shirt for different results.
the shirt
A few years ago, I was running errands with my kids and saw this shirt. (Yes, it’s another wrinkly picture.) It came in a few different colors/patterns and I couldn’t decide between two. Time is of the essence when out with my boys, so I tossed them both in the cart and hoped for the best. Unfortunately, I wore it a few times and decided that something wasn’t quite right. The neckline and fit are a bit off for my build but not so bad that it can’t be worn.

embellish it
I got my hands on a copy of Crochet Adorned by Linda Permann and kept being drawn toward the “Pretty Petals Tank.” It’s a really fun and inspiring read with clear instructions. Even as a beginner, I was able to crochet the pattern below.

(I found this picture on the web. Nice, eh?)
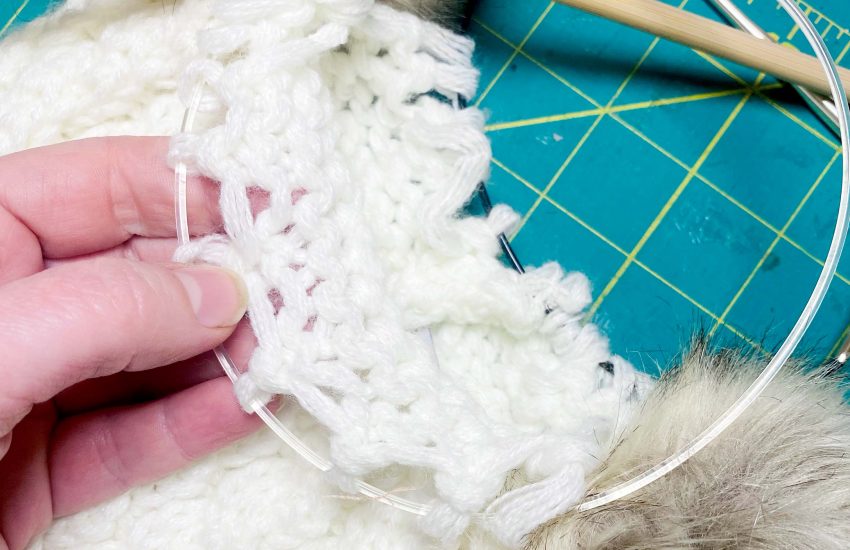
Somehow, I connected my not-quite-right shirt with this tank top. I followed the Permann’s instructions for the crochet and then used the elements to change the neckline on my shirt. I had to use fewer of the motifs but I like how it turned out. The most difficult part of the project was finding a yarn that was a perfect match. I ended up with a yarn that was close enough. Since the shirt is a gauzy fabric, it’s passable.
reconstruct it
For the second of the two shirts, I decided on a reconstruction. What I ended up doing was rather simple but it took three tries to get there. The second shirt had this fun pattern. I’m not a tall person–5-ish feet. So I think the print was too overwhelming. Still, I thought if reduced the visual impact it could work. First I tried using some elastic to make an empire waist. That didn’t look right. In the photo below you can still see the crease marks where I added and then removed a casing for the elastic.

A few months later, I was out shopping for my kids and found the blue tank in the picture. It was ultra cheap and the right size and color. Instead of trying to make a “new” shirt, I decided to make a dress. The rough sketch shows where I made my cuts. I used the bit from the bottom of the shirt to add ties to the sides of the dress to give it a bit more shape.

It took two attempts to get it right. The ties aren’t visible in the picture, but are sewn on the side seam where the two fabrics meet.

And, sadly, this was the best picture I could get. I probably should have dusted the mirror too but dusting is in the same category as ironing. You get the idea, right? It’s a very light and airy dress. It’ll work nicely for a beach coverup on a sweltering summer day. It’s not to early to talk about the beach is it?
**********************
Karen Liao is a lifelong crafter and online editor for the Craft Leftovers blog. She sells her handmade goods for charity in her etsy shop, TurtleStar.
[ad#Adsense-post]

Yay! I’m so glad you made the pretty petals shirt (that’s my book!). I’d say one of the hardest parts of writing that book was matching clothes to yarn and vice versa– it’s seriously tough, even with all of the colors available. Nice job!
That’s a really great idea!! After spring cleaning I have mounds of goodwill bound clothes in every corner of my bedroom! I’m totally gonna try this on some of it before giving them away!