How To:
Jason knew as soon as we moved into our new house that we needed some blinds fast for the master bedroom and main bath. We just needed a little more privacy so we would stop having to get dressed in the closet, haha.
We went to Lowes and were absolutely shocked (we are newbies to all this after all) the blinds and shades range from $4 to $400. Of course the ones yours truly picked out were on the $400 end. Well crud. We just don’t roll that way.
After browsing around the internet, I found these great shades that were almost identical to the ones at Lowes for 1/10 the price. And you can’t beat the $3 for shipping from Overstock.
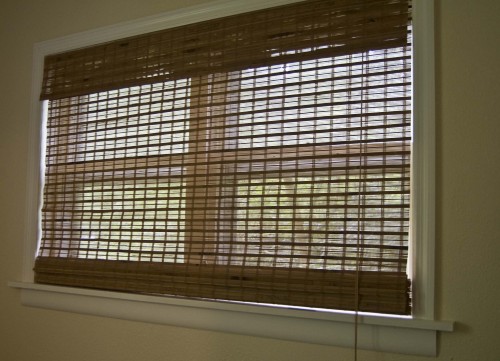
When they arrived we promptly hung them up and realized they were near transparent–ah ha. I remember this now. Bamboo shades are pretty and great at filtering light, but not so great on privacy unless you spend that $400. And you want to know why? They aren’t backed with fabric.
The other issue is that the shortest they had were 72″ long and our windows are just 36″. That’s a whole lot of excess bundled up. A trim was in order and good thing for me it looks like what they used to “finish” the shades on the bottom was a touch of hot glue.
The bathroom shades are a whole other issue, they are 1/2″ too wide! Annoying! Our window in the bathroom is 26 1/2″ inches. Our doorway is 27 3/4. What is up with this fraction fetish! Anyway, so I decided to trim them shorter, trim them thinner, and back them with some fabric so we can pee without peepers peeping in.
I have hot glue. I have fabric. Totally doable.
::Materials::
- Fabric cut to the size of your shades
- Scissors
- Tin Snips
- Sand paper
- Miter box and saw – clamps help too
- Tape – masking or packaging works great
First things first, trimming. Why make myself by back a 72″ shade when I was going to cut it down to half that length. I decided on a length os half + 1″ for a “glue allowance”–where I’ll fold it over and hot glue it.
- I untied the drawstrings and pulled them aside so I didn’t accidentally cut them.
- Then I laid down a bead of hot glue where I wanted to cut the blinds. Snip snip snip, and the strings were cut.
- My friend Sarah came over and had a really great idea on how trim them width-wise. She said, “Oh, why don’t you use that miter box and hand saw out in the garage.” Duh. Then she said, “We should roll this up and tape it before trying to cut it.”
I should mention Sarah is an engineer and worked at NASA for a term. She is an AMAZING problem solver (thanks for coming over yesterday, I had fun). So that’s what we did.
I should also mention that since Sarah has turned her engineering sights on home repair, she’s become a home repair goddess. I love consulting with her on all my projects – from knitting to the best way to remove paint from the window tracks. You should check out her new home repair blog Building Expectations – love the name she picked for it.
- Cut a piece of fabric that is 1/2″ larger in width and length than your shade.
- Folded all the edges under by 1/4″ and pressed. Straight stitched to hold in place.
- Laid on the back of the shade and marked where the rings are with a straight line.
- Made button holes that are large enough to fit the rings though.(I should mention this was also Sarah’s great idea. Thanks lady!
- Fit the rings through the button holes to double check the placement.
- I lifted up the fabric and put a dab of hot glue on either side of the ring.
- Glued along the top, then the side, then the bottom — pressing down the fabric as I went along.
- Time to finish up the bottom: Dabbed hot glue along the bottom edge and rolled it over. Repeat again.
Note: I thought I would be able to trim down the width with scissors or garden shears, but that was not the case at all. I was thinking about using some kind of saw, but I was coming up blank.
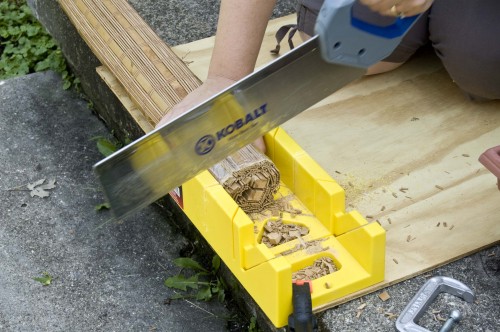
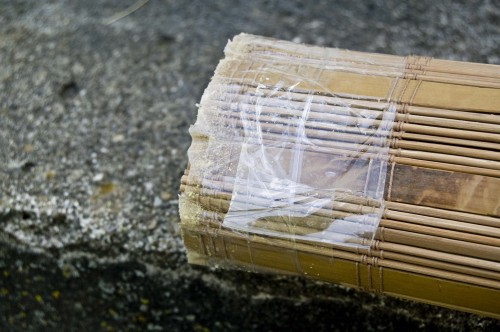
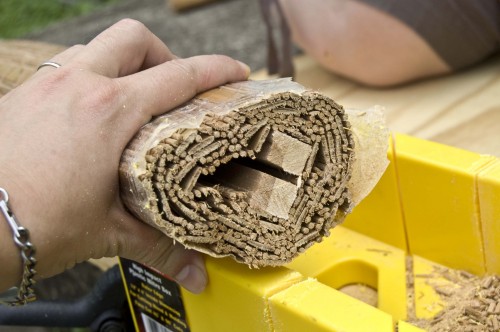
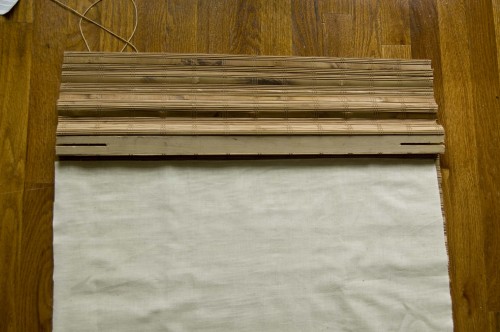
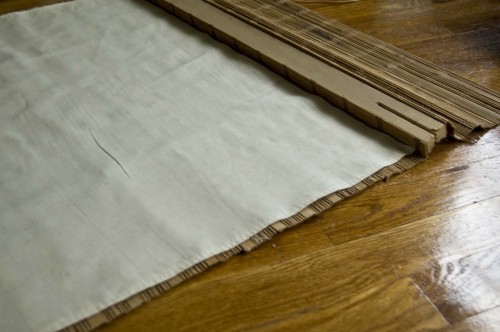
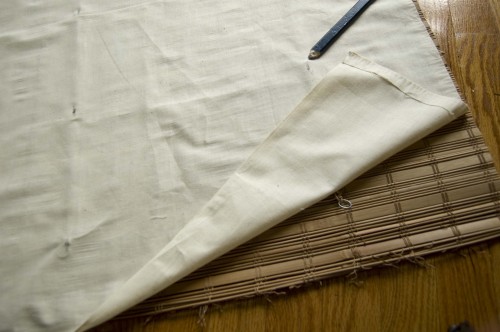
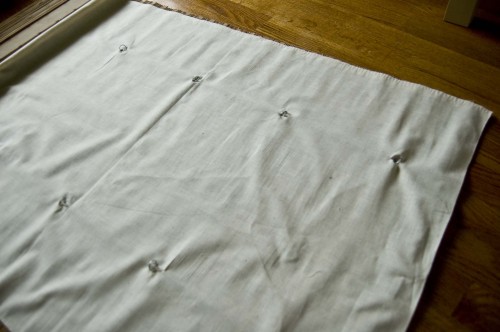
Then it was time for my favorite part–hot glue!
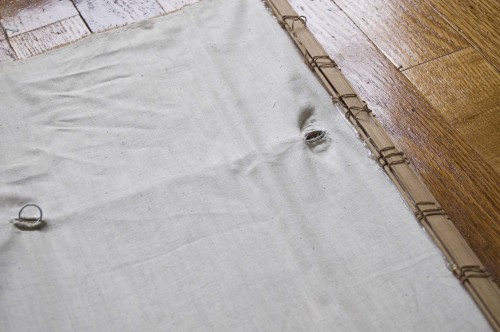
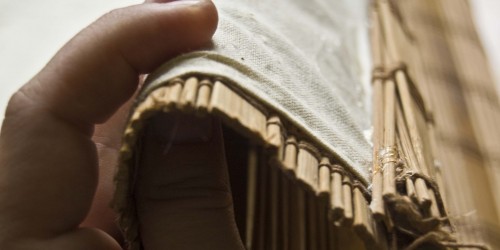
If you butcher the edges of the blinds while cutting like I did. No worries, you can even them out with sand paper and a jigsaw.
And that’s it! All finished!
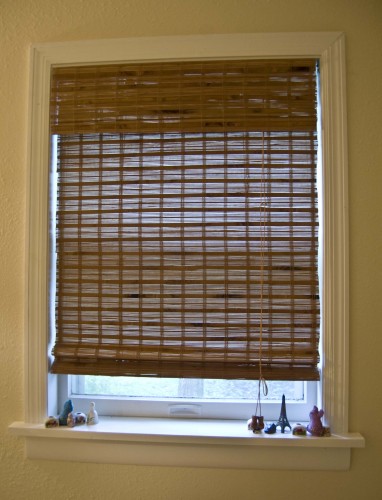
And since I used muslin to back the shades, they still let quite a bit of light in. But not so much that you can see me taking a shower or getting dressed.
Now that I’ve worked out all the steps on my little shades, backing and trimming the bedroom shades will be a snap. I’ll take pictures and post them to flickr when I get them finished up.
Happy Crafting!
Kristin Roach
[ad#Adsense-post] [ad#Flattr]

Dang, this is pretty amazing! Thanks for the how-to. I have a couple of windows that NEED coverings and are currently adorned with whatever ugly blackout plastic junk from Home Depot. I like yours MUCH better.
Ooh that's genius! I'm going to make mine private too- great idea! Thanks so much for this, I'll be linking.
Great idea! I've been looking for a solution for a bathroom window covering since I can't find bathroom curtains anywhere. Can't wait to try this.
Great idea! I've been looking for a solution for a bathroom window covering since I can't find bathroom curtains anywhere. Can't wait to try this.
Thanks for the great idea. We put up bamboo shades last light and noticed this morning that it's completely see through. I'll be buying muslin today =) Thanks again
Thanks for the tutorial! 1 shade down, 3 to go!
I REALLY need to do this to ours
awesome ladies
AH, thank you so so much! 1 year after moving to our first house, I have spent hours looking for 30″ wide bamboo shades without getting custom and voila! After 2 hours this morning I got fed up with all the 31″ inch ones I like and thought to look up the possibility of cutting. Now I can just buy the exact ones I want on sale at good ole JCPenney and follow your instructions. You are a lifesaver! :D
Wondering if this is possible with the cord-free version I have of bamboo shades?! There’s a lot more going on in the back with strings…
I’m wondering about the cordless ones as well.