
Lamp Remake :: Part IV :: Finished!
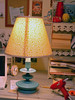 I am so happy to report that I finished the lamp and I am also happy that I really like the way it looks! Here is how I redid the lamp shade:
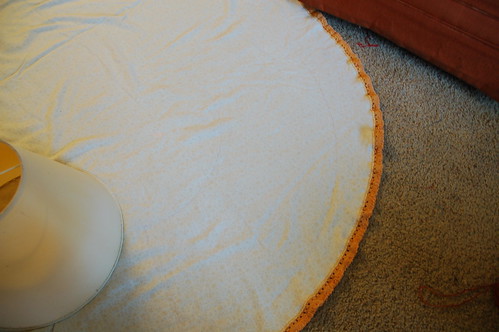
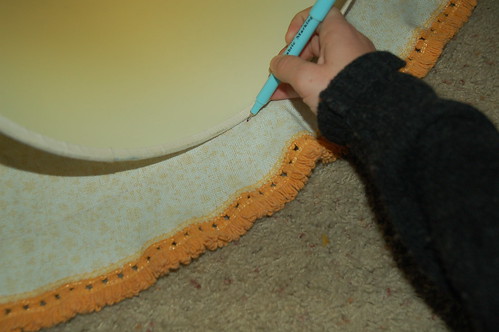
I started at the seam, then rolled and marked:
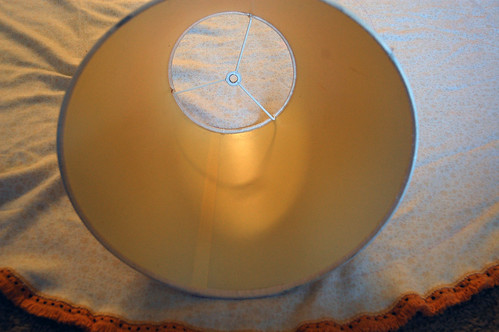
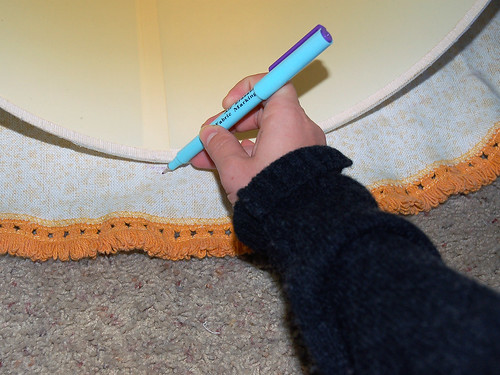
Then using a sewing marker I traced along the bottom of the shade as I roll it. Then I repeated for the top.
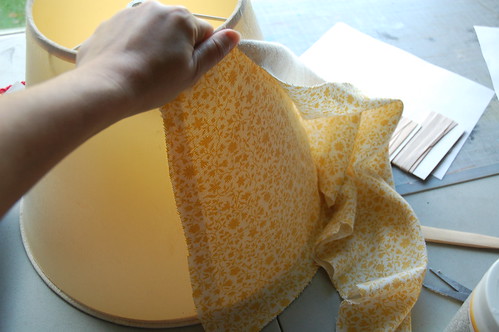
I cut out the traced shape. Then glued it around the old lamp shade.
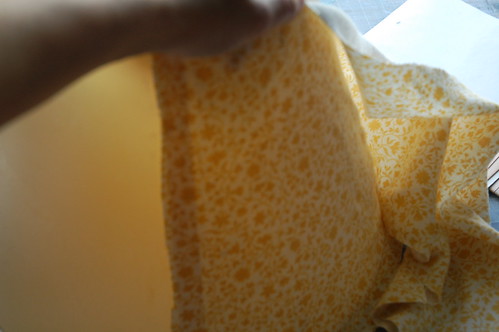
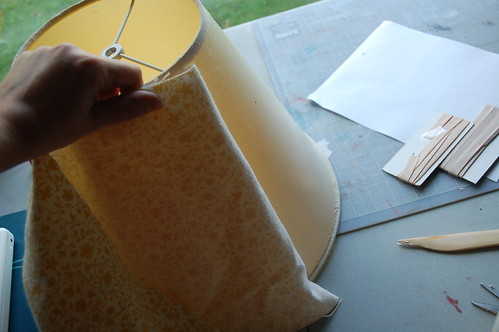
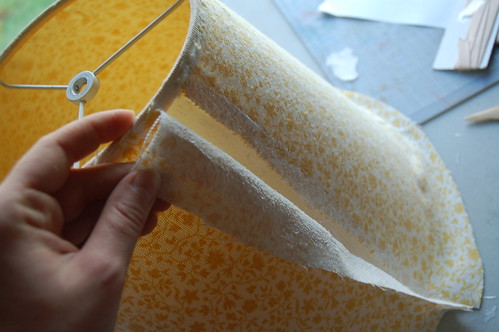
When I got to the end I folded over and glued down the edge to get a finished seam.

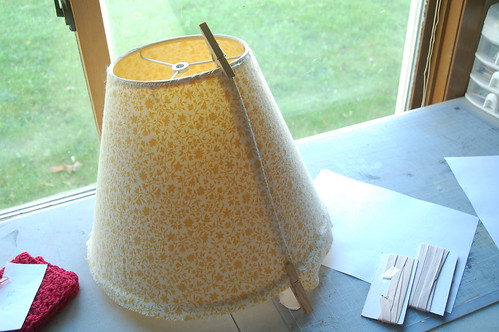
Clothes pins do the trick to hold it while drying.
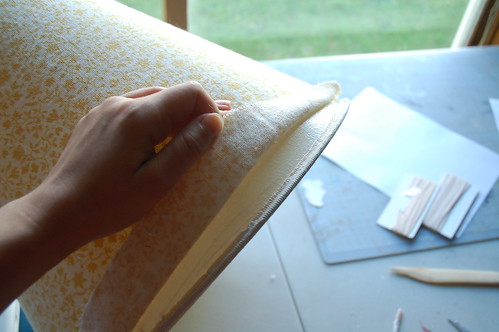
I also went around with more glue and touch up any spots I missed along the edges. Once dry, I trimmed all the excess fabric with a rotary cutter. Then I used a little bias tape to cover up the rough edges.
Ta-da!!!

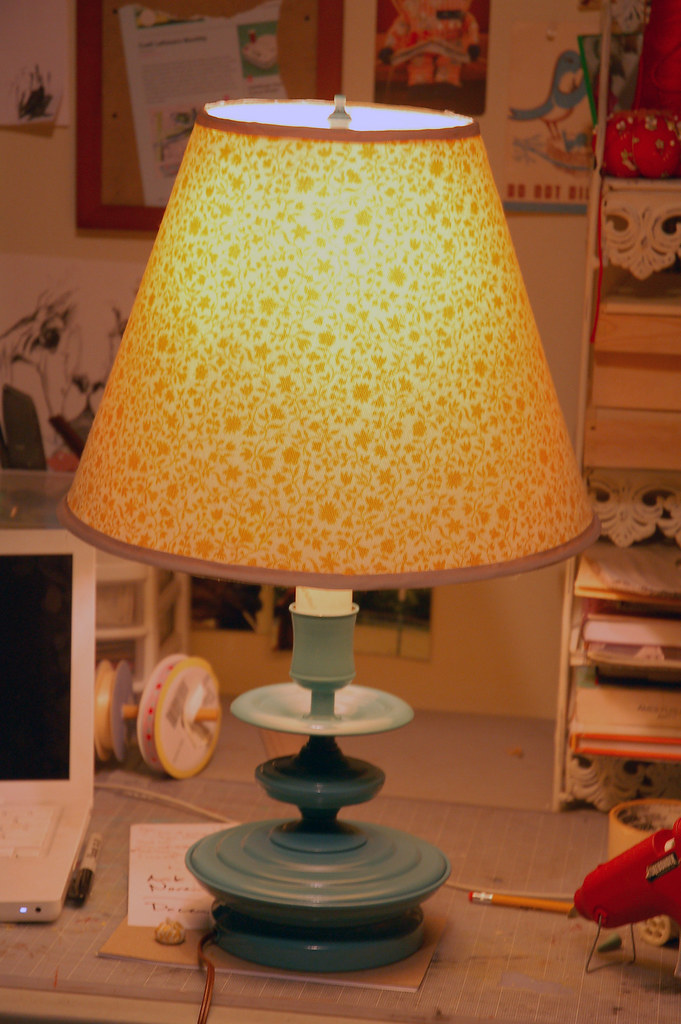
It’s only temporarily on my desk. It’s going to go in Jason’s work area, he needs a lamp right now as there is no light in he’s part of the living room. He said it looked so nice and I worked so much on it that he thought it was staying in my craft cave! Haha. Nope, I’m being nice, and I’m letting it stay in his domain, hehe.

Beautiful! You did a brilliant job of this project and have inspired me to re-do several lampshades.
Ooh love it! perfect fabric/paint combo…
Love it! I tried this recently, but either I used the wrong glue or my fabric was too heavy– either way, it didn’t really stick to the shade. Would love to hear your glue suggestions!
This is very cheerful. What a nice makeover. One thing you could have done (maybe?) was to use that fringe from the tablecloth instead of the bias tape. That might have been interesting! It looks very nice, you should be proud of yourself!!!
Good I found the post where you explain step by step how you redesigned your lamp :))) Thank you!!
________________________
Office Space