
Free Pattern: Elda’s Knit Pin Cushion

A common problem when working from the stash, is having only a small amount of each type of fiber left. How can you successfully combine cotton and wool in the same project? How can you combine acrylic with silk? Should you? Would you? Could you dare? (Yes, I totally stole that line from the Spooky Old Tree). Yes to all three! Of course your should.
By combining fibers in the same project you can start playing with texture, color, and drape in ways never possible. I love taking advantage of a fiber’s inherent property and pairing it with another to create various affects and looks.
A few guidelines to get started
1. If using a combination of wool and anything else remember that the wool will felt and the other fibers will not. This can be used to your advantage, or end up in the reject bin. I combine wool and cotton in the Perfect Dishcloth so it will intentionally felt the wool as you use it as a dish rag. In this case it make a semi harsh scouring pad perfect for use of teflon and the like. The un-felted cotton gives it a nice texture that a just wool felted rag would not have.
2. If you don’t want your project to gather, use the same gauge throughout your project. Like the felting, this is not a rule, just keep it in mind. This can mean using all the same weight, or changing needles/hooks for each section of yarn. It can be used to your advantage to have a thinner stretching yarn combined with a thicker yarn that has less give. Like an alpaca with cotton.
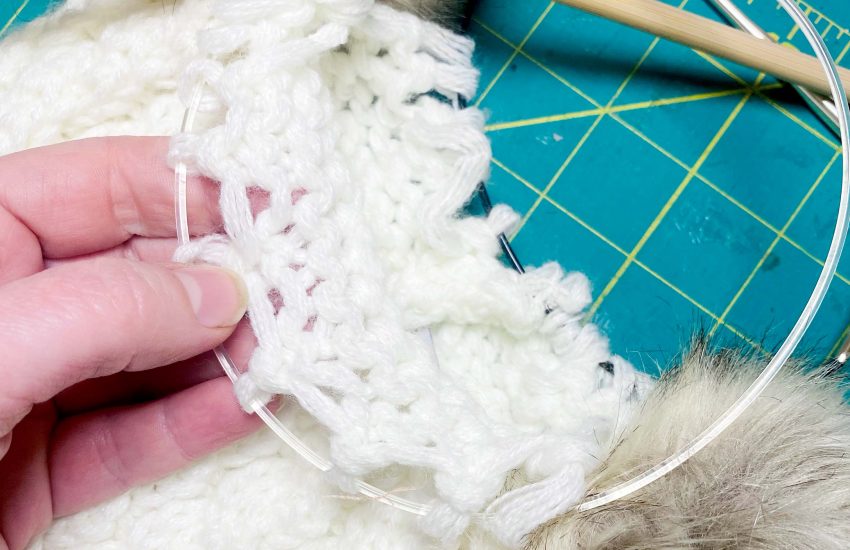
3. Winding yarns together is a great way to get a new yarn from three old ones. I used a cotton, wool, silk, and acrylic all together to make the great bulky yarn in this crocheted scarflet.
Elda’s Knit Pin Cushion Pattern
My great grandma made these garter stitch pin cushions all the time with her leftover yarn. Resourceful crafting must be in the blood!
::Materials::
*2 yards each of 7 colors; any worsted weight yarn
*Size 4 US (3.5mm) straight needles
*3″ circumference felt circle
*Hand sewing needle and thread
Note: Pick your colors A-G and keep track of them.
::Directions::
Cast on 14sts for all sections.
Section 1 – Inner Ring
Knit 4 rows for each band of color. Work colors A-E. Bind off all stitches.
Section 2 – Middle Ring
Knit 8 rows for each band of color. Work colors A-F. Bind off all stitches.
Section 3 – Outer Ring
Knit 10 rows for each band of color. Work colors A-G. Bind off all stitches.
Putting it all together:
For each ring section, sew bind off edge to cast on edge with sewing needle and thread; right sides together.

Fold each ring in half so the wrong side and all the ends are in the fold.

Place the Inner Ring into the Middle Ring and the Middle Ring into the Outer Ring. Stitch through all three rings to keep in place. Stitch the felt circle to the bottom to give a nice finished look.
The Knit Pin Cushion is just one of many great original projects in the October issue of Craft Leftovers Monthly. You can get the current issue of Craft Leftovers Monthly or a subscription for more great projects like this one!
Happy Crafting!
Kristin Roach

I bought a pincushion just like this (except it was a pretty wild purple) at a yard sale. I thought it was such a great little pincushion – Now I know how it was made!
That's awesome. I wonder where the original pattern came from, it must have been popular in circa 1985 or something like that. That's when my great grandma went on her plastic canvas sewing box kit. Each one had one of these pin cushions in it :)
i think there are more good opinion which is help people!
What a cute and practical idea. It's great that there's an illustration, too.
What a cute and practical idea. It's great that there's an illustration, too.