
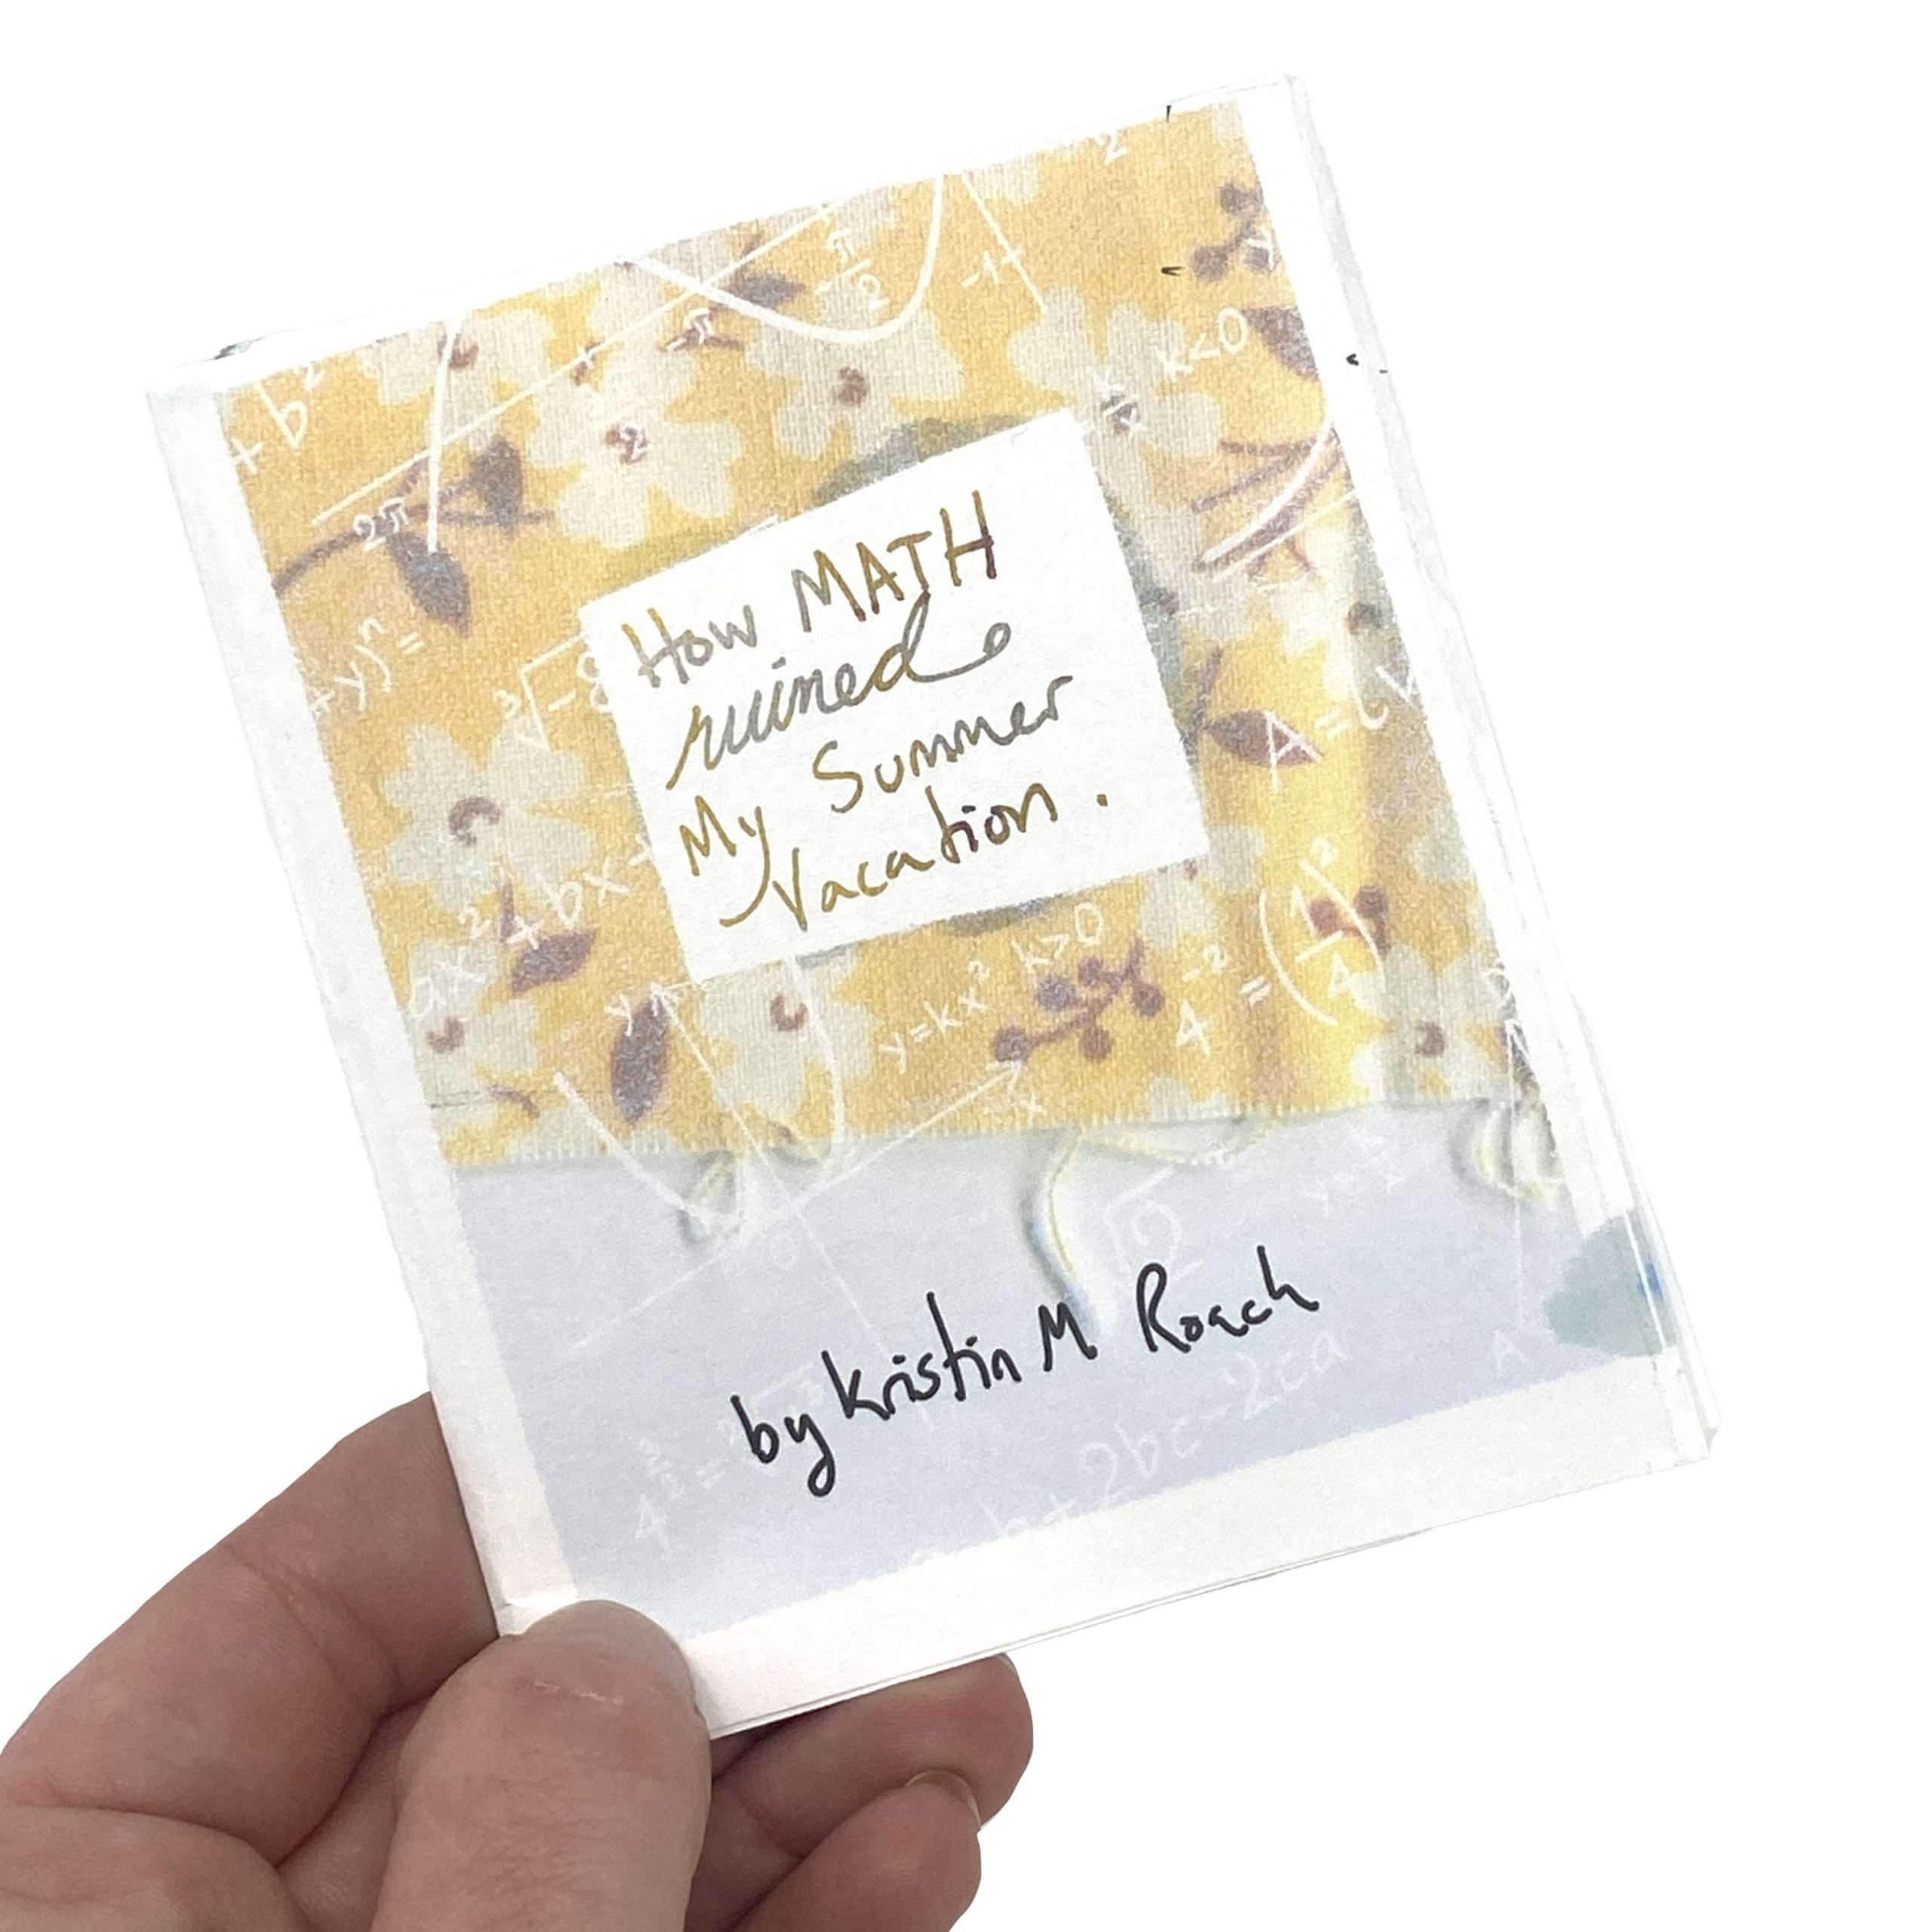
My newest zine is out! This past summer while my daughter was being excessively determined to never do math again and that it’s worthless — this little gem was born. Just 3 months later she’s enjoying math (or at least doing it) and thinks this little zine is hilarious and […]
knitting - patterns & tutorials
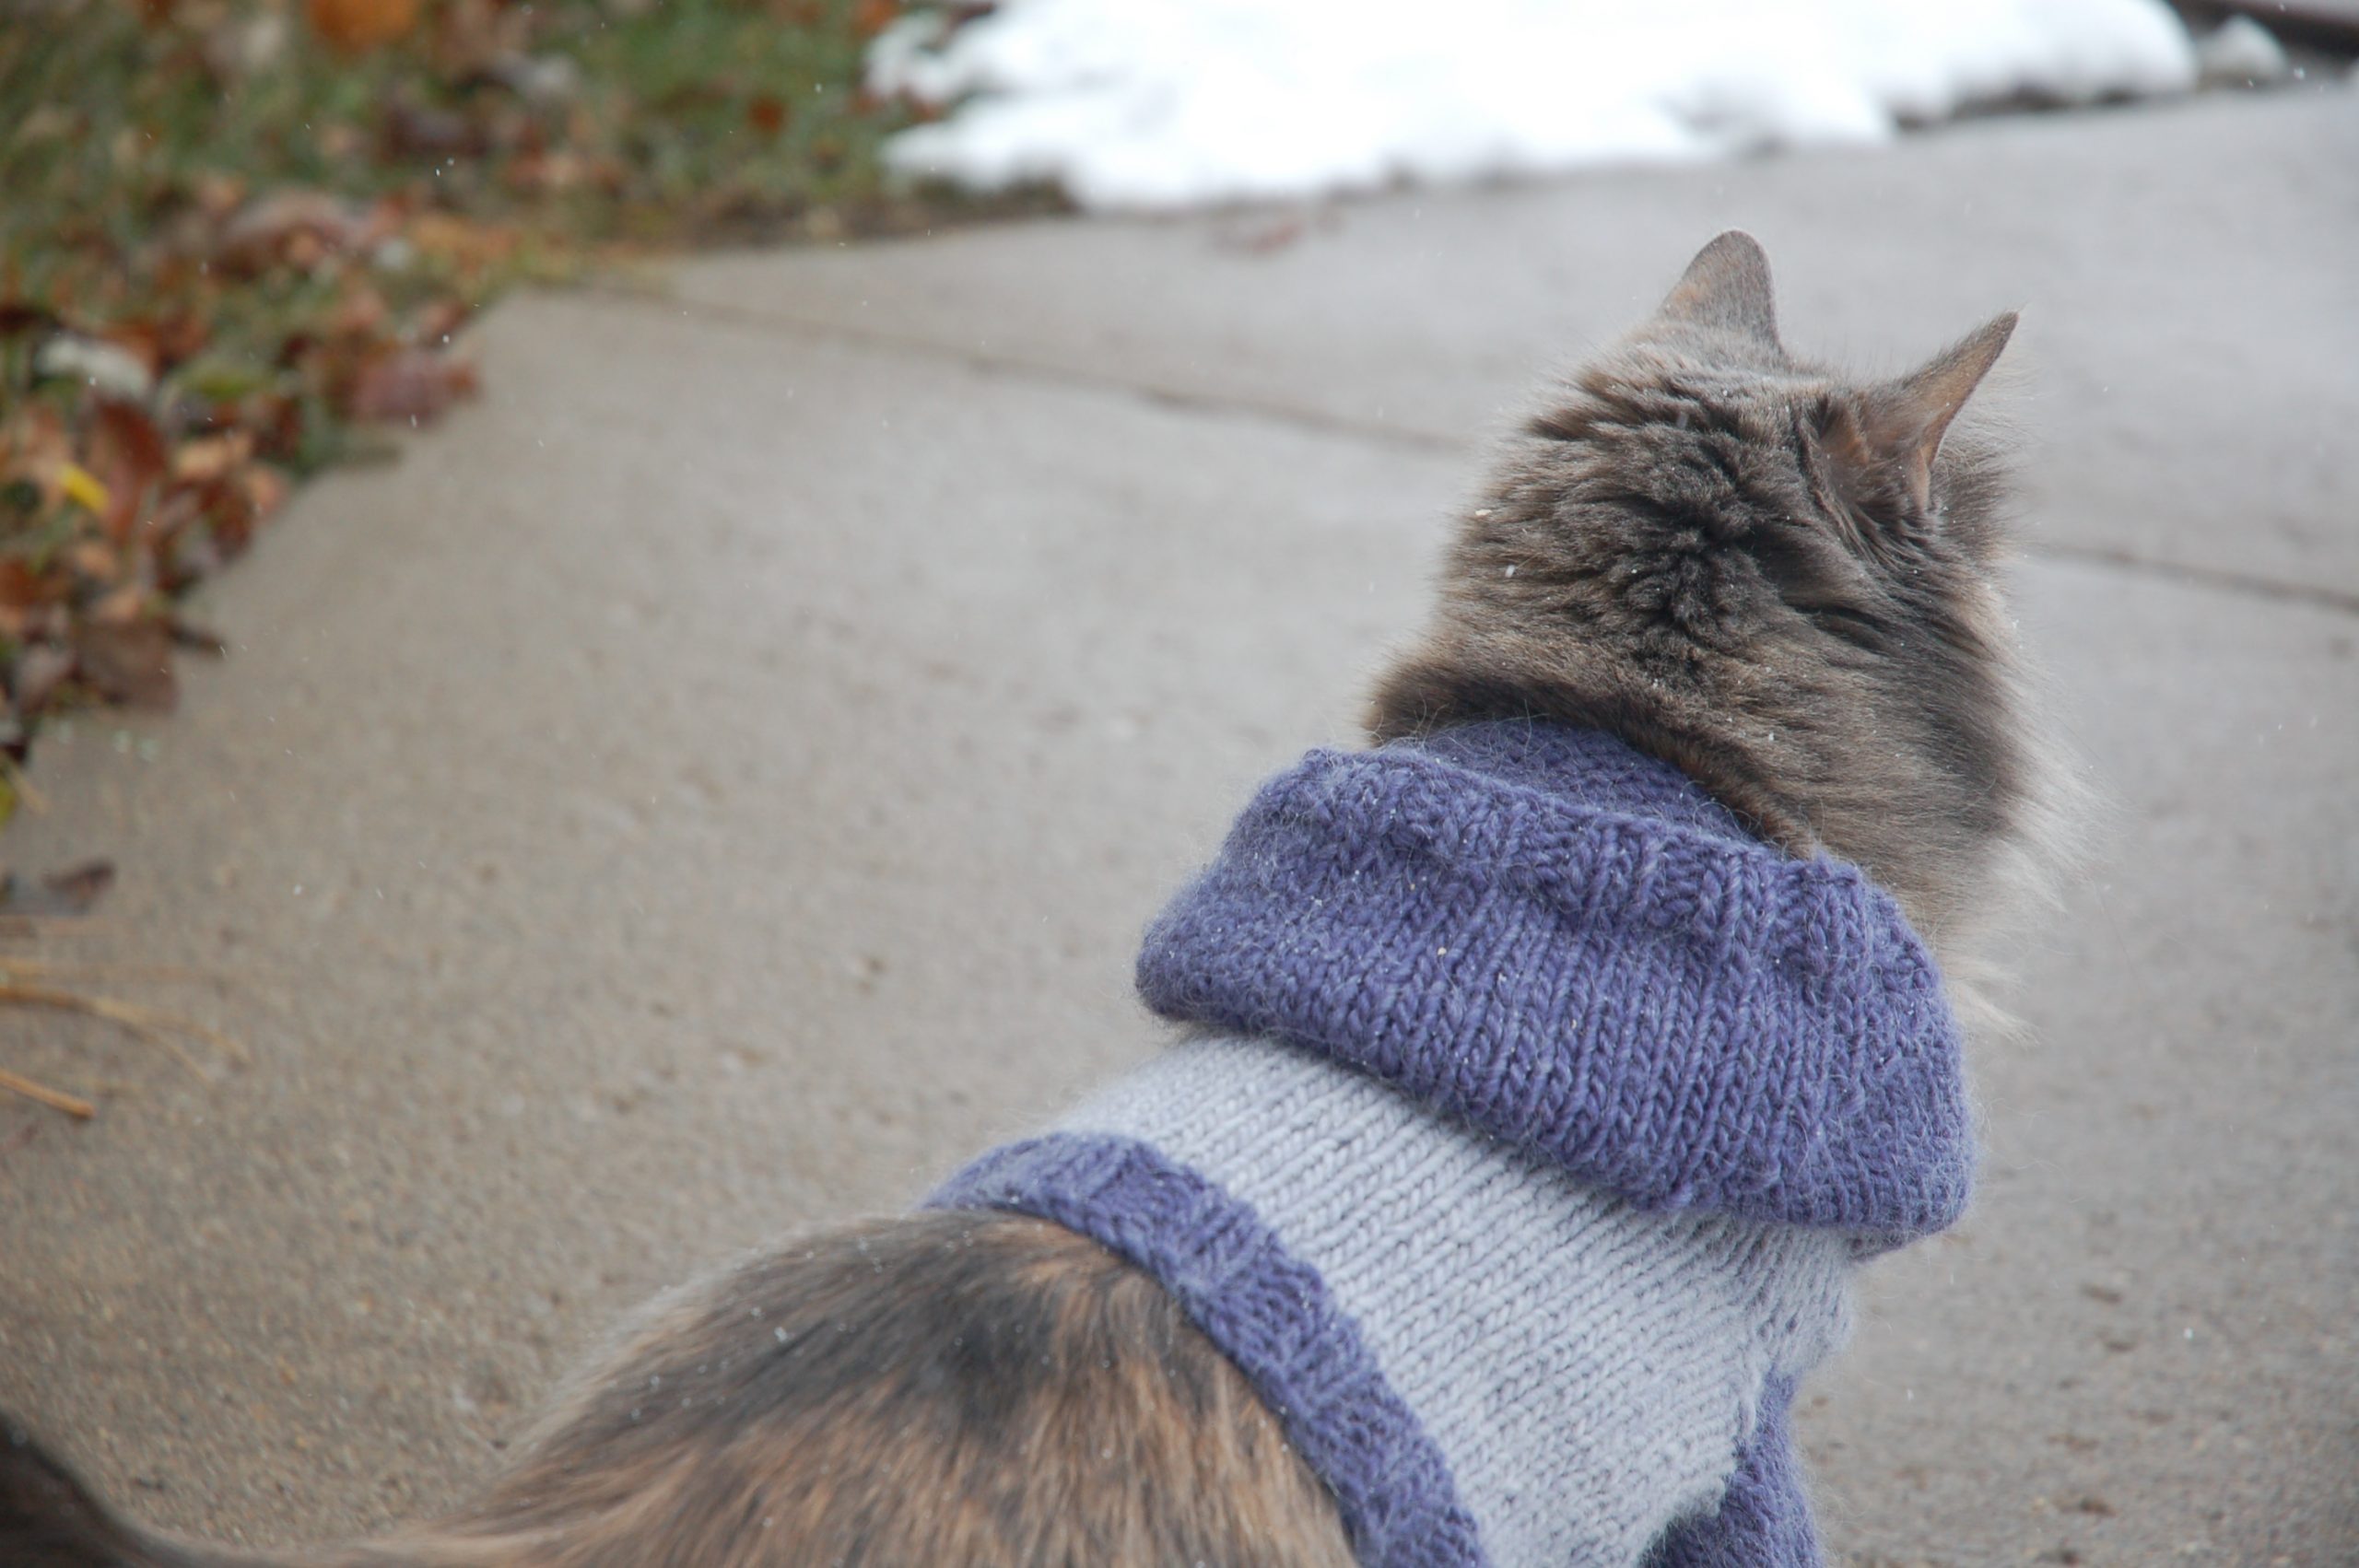
Knit Pattern: Cat Hoodie
The Making me Purr Cat Hoodie. It’s one of those patterns that was so much of a joke between Jason and I that I almost didn’t write it down. I almost didn’t share it. It’s become a classic. Knit from stash yarn and lots of laughs it’s the most popular pattern I’ve ever written to date. Originally published in December 2009. Available for purchase on Ravelry, Etsy, and Here on in my Shop
howto - journal - patterns & tutorials - zines
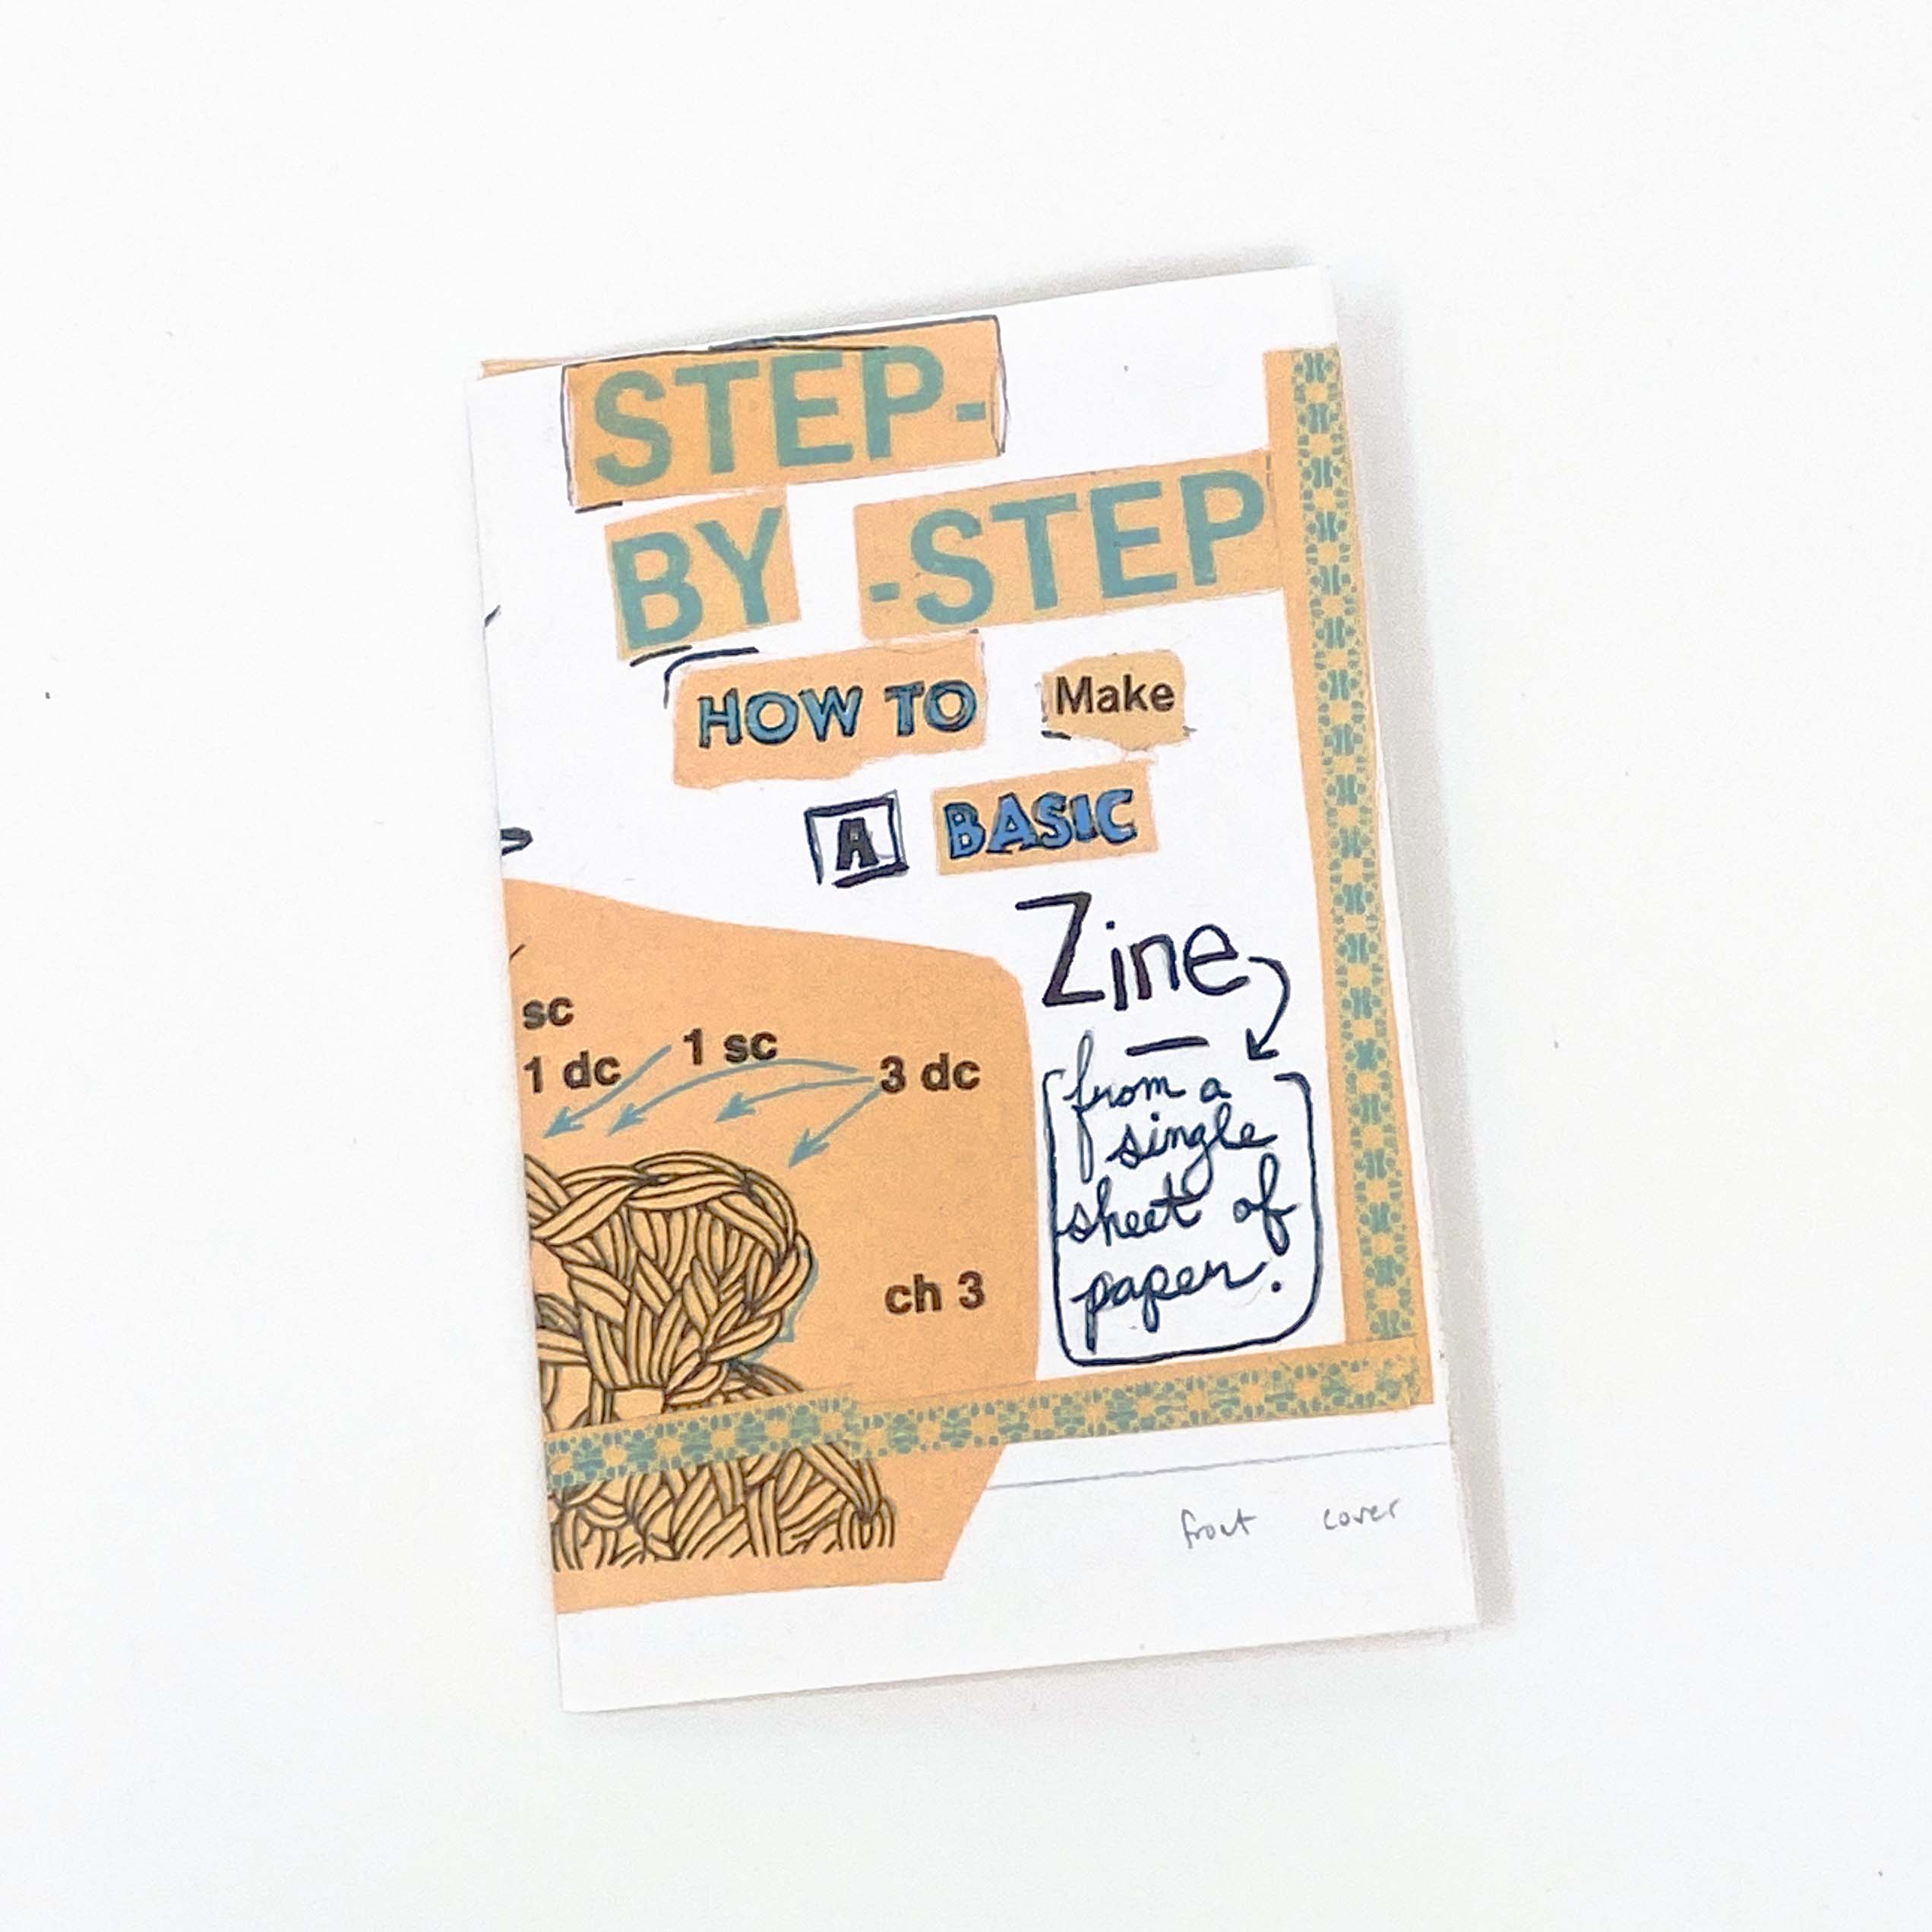
Mini Zine: Step-by-Step How to Make a Basic Zine
My newest mini book shows you my favorite techniques for mini book making. Learn how to pronounce “zine”, make a zine, and why I love them!
journal - zines
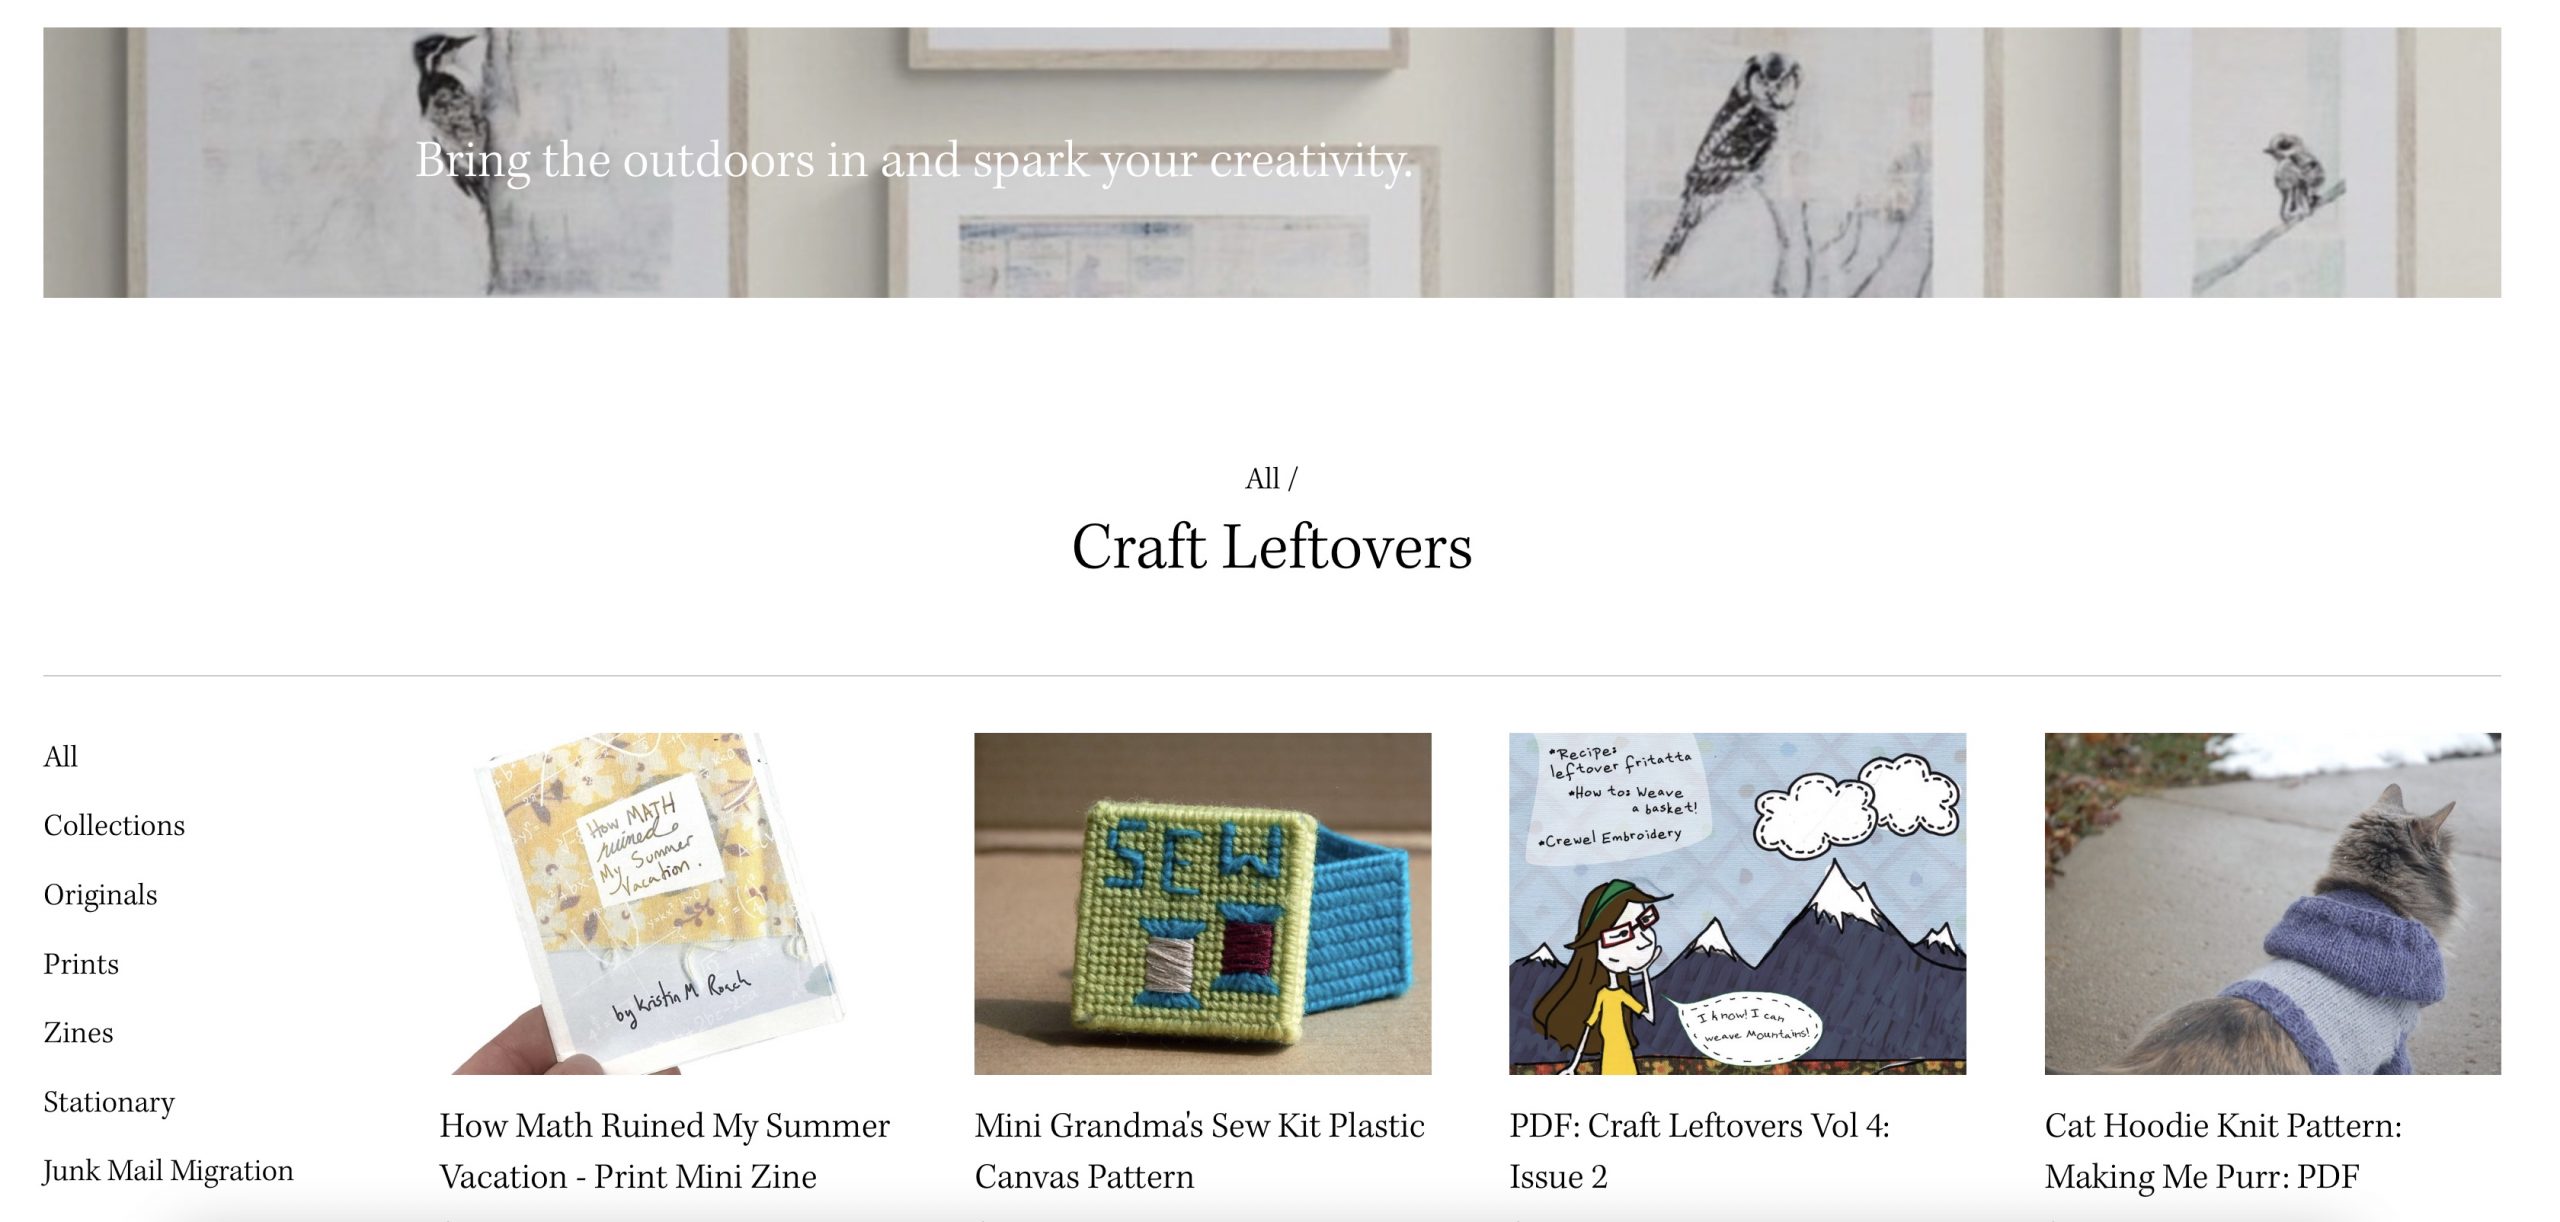
New in the New Shop
Grand Re-Opening of the Craft Leftovers Shop: Your Hub for Resourceful Craft Inspiration & Eco-Conscious Fine Art! I am thrilled to announce the return of the Craft Leftovers Shop at its new digital abode! A leftovers hub for craft zines & patterns is re-emerging at a new web address, and […]
crochet - feature - patterns & tutorials
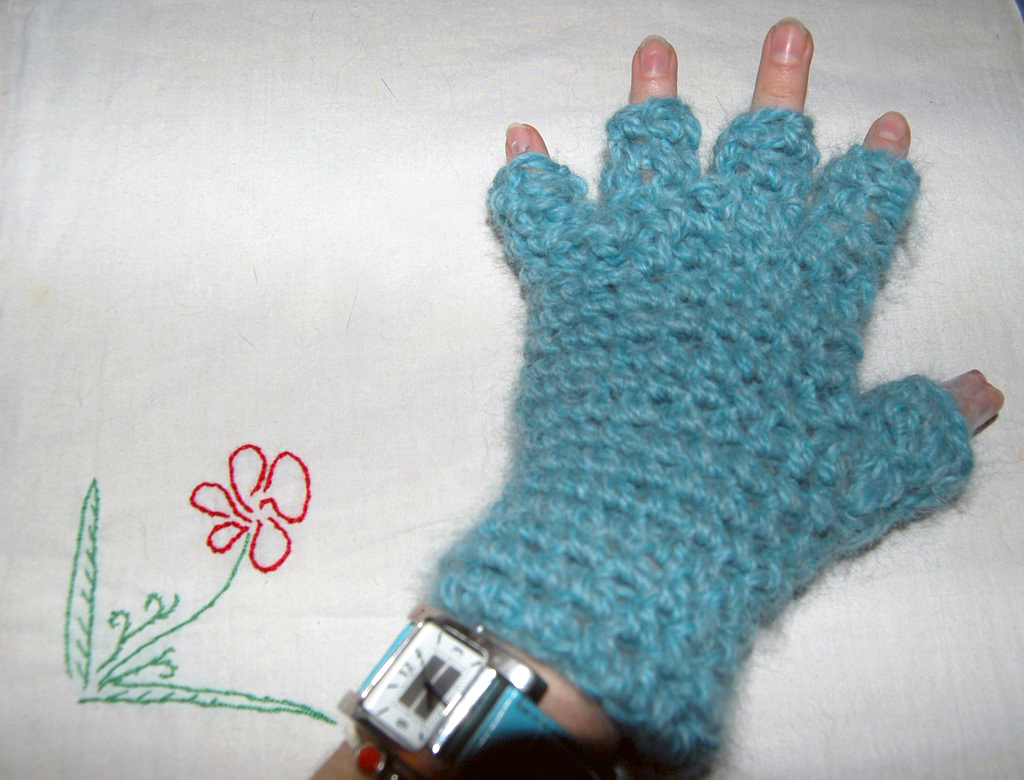
Free Crochet Pattern: Oscar’s Fingerless Gloves
First published January 05, 2007; Oscar’s Crocheted Fingerless Mittens was my very first crochet pattern every published on the blog. I still remember typing up the pattern in my college apartment all those years ago — and my complete delight when my new friend Diane shared a photo with me […]
podcast
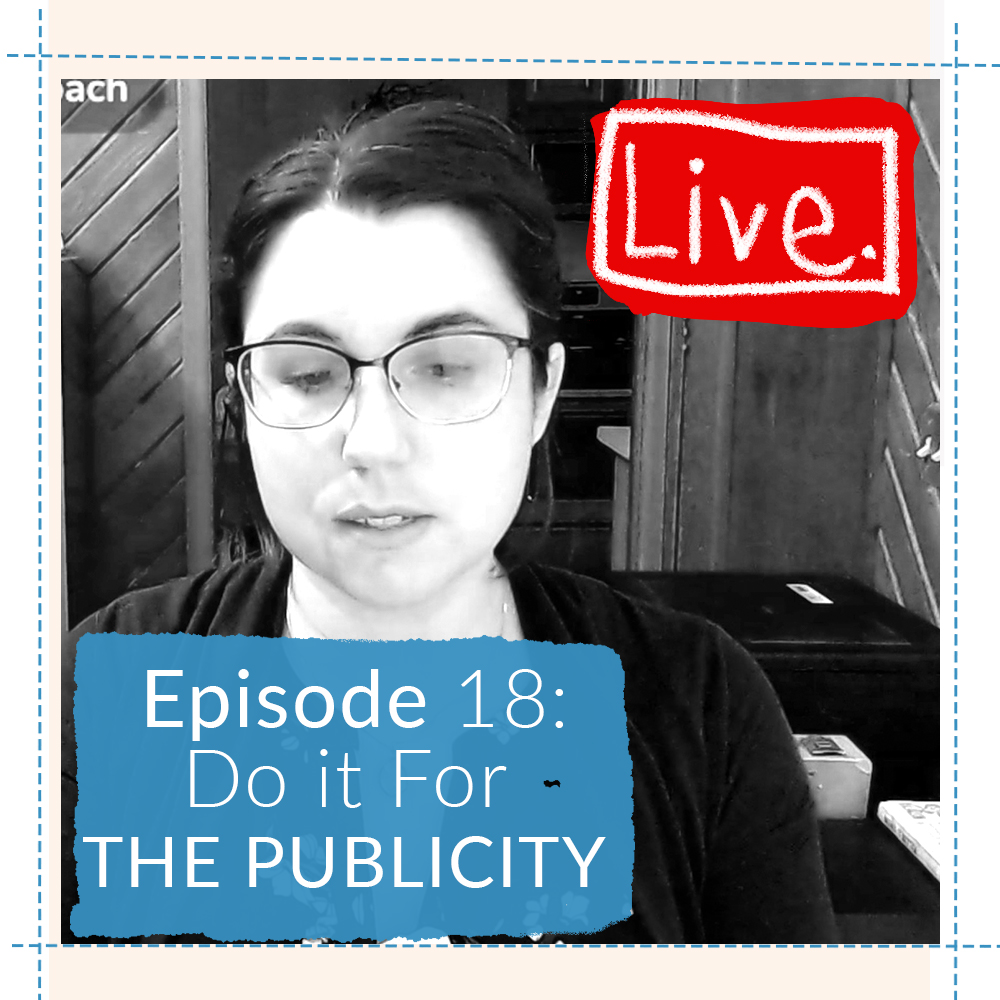
Ep 18: Do it for the Publicity Guidelines
Do it for the “publicity” rarely works: Here is how to Make sure it Does. Enjoy the podcast here or your favorite player. Enjoy the Livestream video edition: Treat me to a cuppa: https://ko-fi.com/kristinmroach General Notes Sign up for the Craft Leftovers enews list to see what’s been recovered in the archive […]
journal
Switching up Live-Stream to Pre-Recorded + Schemes
Just wanted to send a quick message out to let you know I’m pausing live streaming for the rest of the year. I’m working on some really exciting projects right now and as they ramp up, I need more time to get them going. One of the challenges live streaming […]
journal - podcast
Ep. 17: The Clarifying Nature that is a Cancer Scare
And back! Whew, the first Livestream after the move. What a whirlwind. Made it here through a rainstorm! Giving you an update on why I took a long break, and then a longer than expected break. Podcast Audio Version Coming Soon. Enjoy the Livestream video edition: Treat me to a […]
journal - Mend it Better
A Place to Mend in May
Gather up those textiles you’ve been meaning to work on and join me for some creative social fun. Bring any projects to work on, ie.. knitting, crochet, needle work, whatever. 5:30 – 8:00pm Thursday, May 25th, 2023 Octagon Center for the Arts, 2nd Floor Studio FREE IN PERSON EVENT | […]
Crafty Business - journal - podcast
Ep 16: Take a Break from Work
What if you don’t take breaks because you are so in love with what you are doing every day? Welp. Suck it up buttercup, you need a lunch break too.
journal - Mend it Better
A Place to Mend @ the Octagon
Mending is that bridge between creative worlds. Whether a hobbiest or professional, we all have something to share, contribute, and a sock with a hole. For those of us that are a little more quiet, it gives us a task to keep attentive to and help with any social anxiety. […]
journal - podcast

Ep 15: How and Why I use Profit First in my Creative Businesses
The number one book I recommend to creatives entrepreneurs is Profit First by Mike Michalowicz. Today I’m going to share the story of how reading this book transformed how I run my businesses’ finances and allowed me to pay myself a wage + make a profit for the business. Little […]
Craftea - howto - journal - knitting - Mend it Better - patterns & tutorials - wips
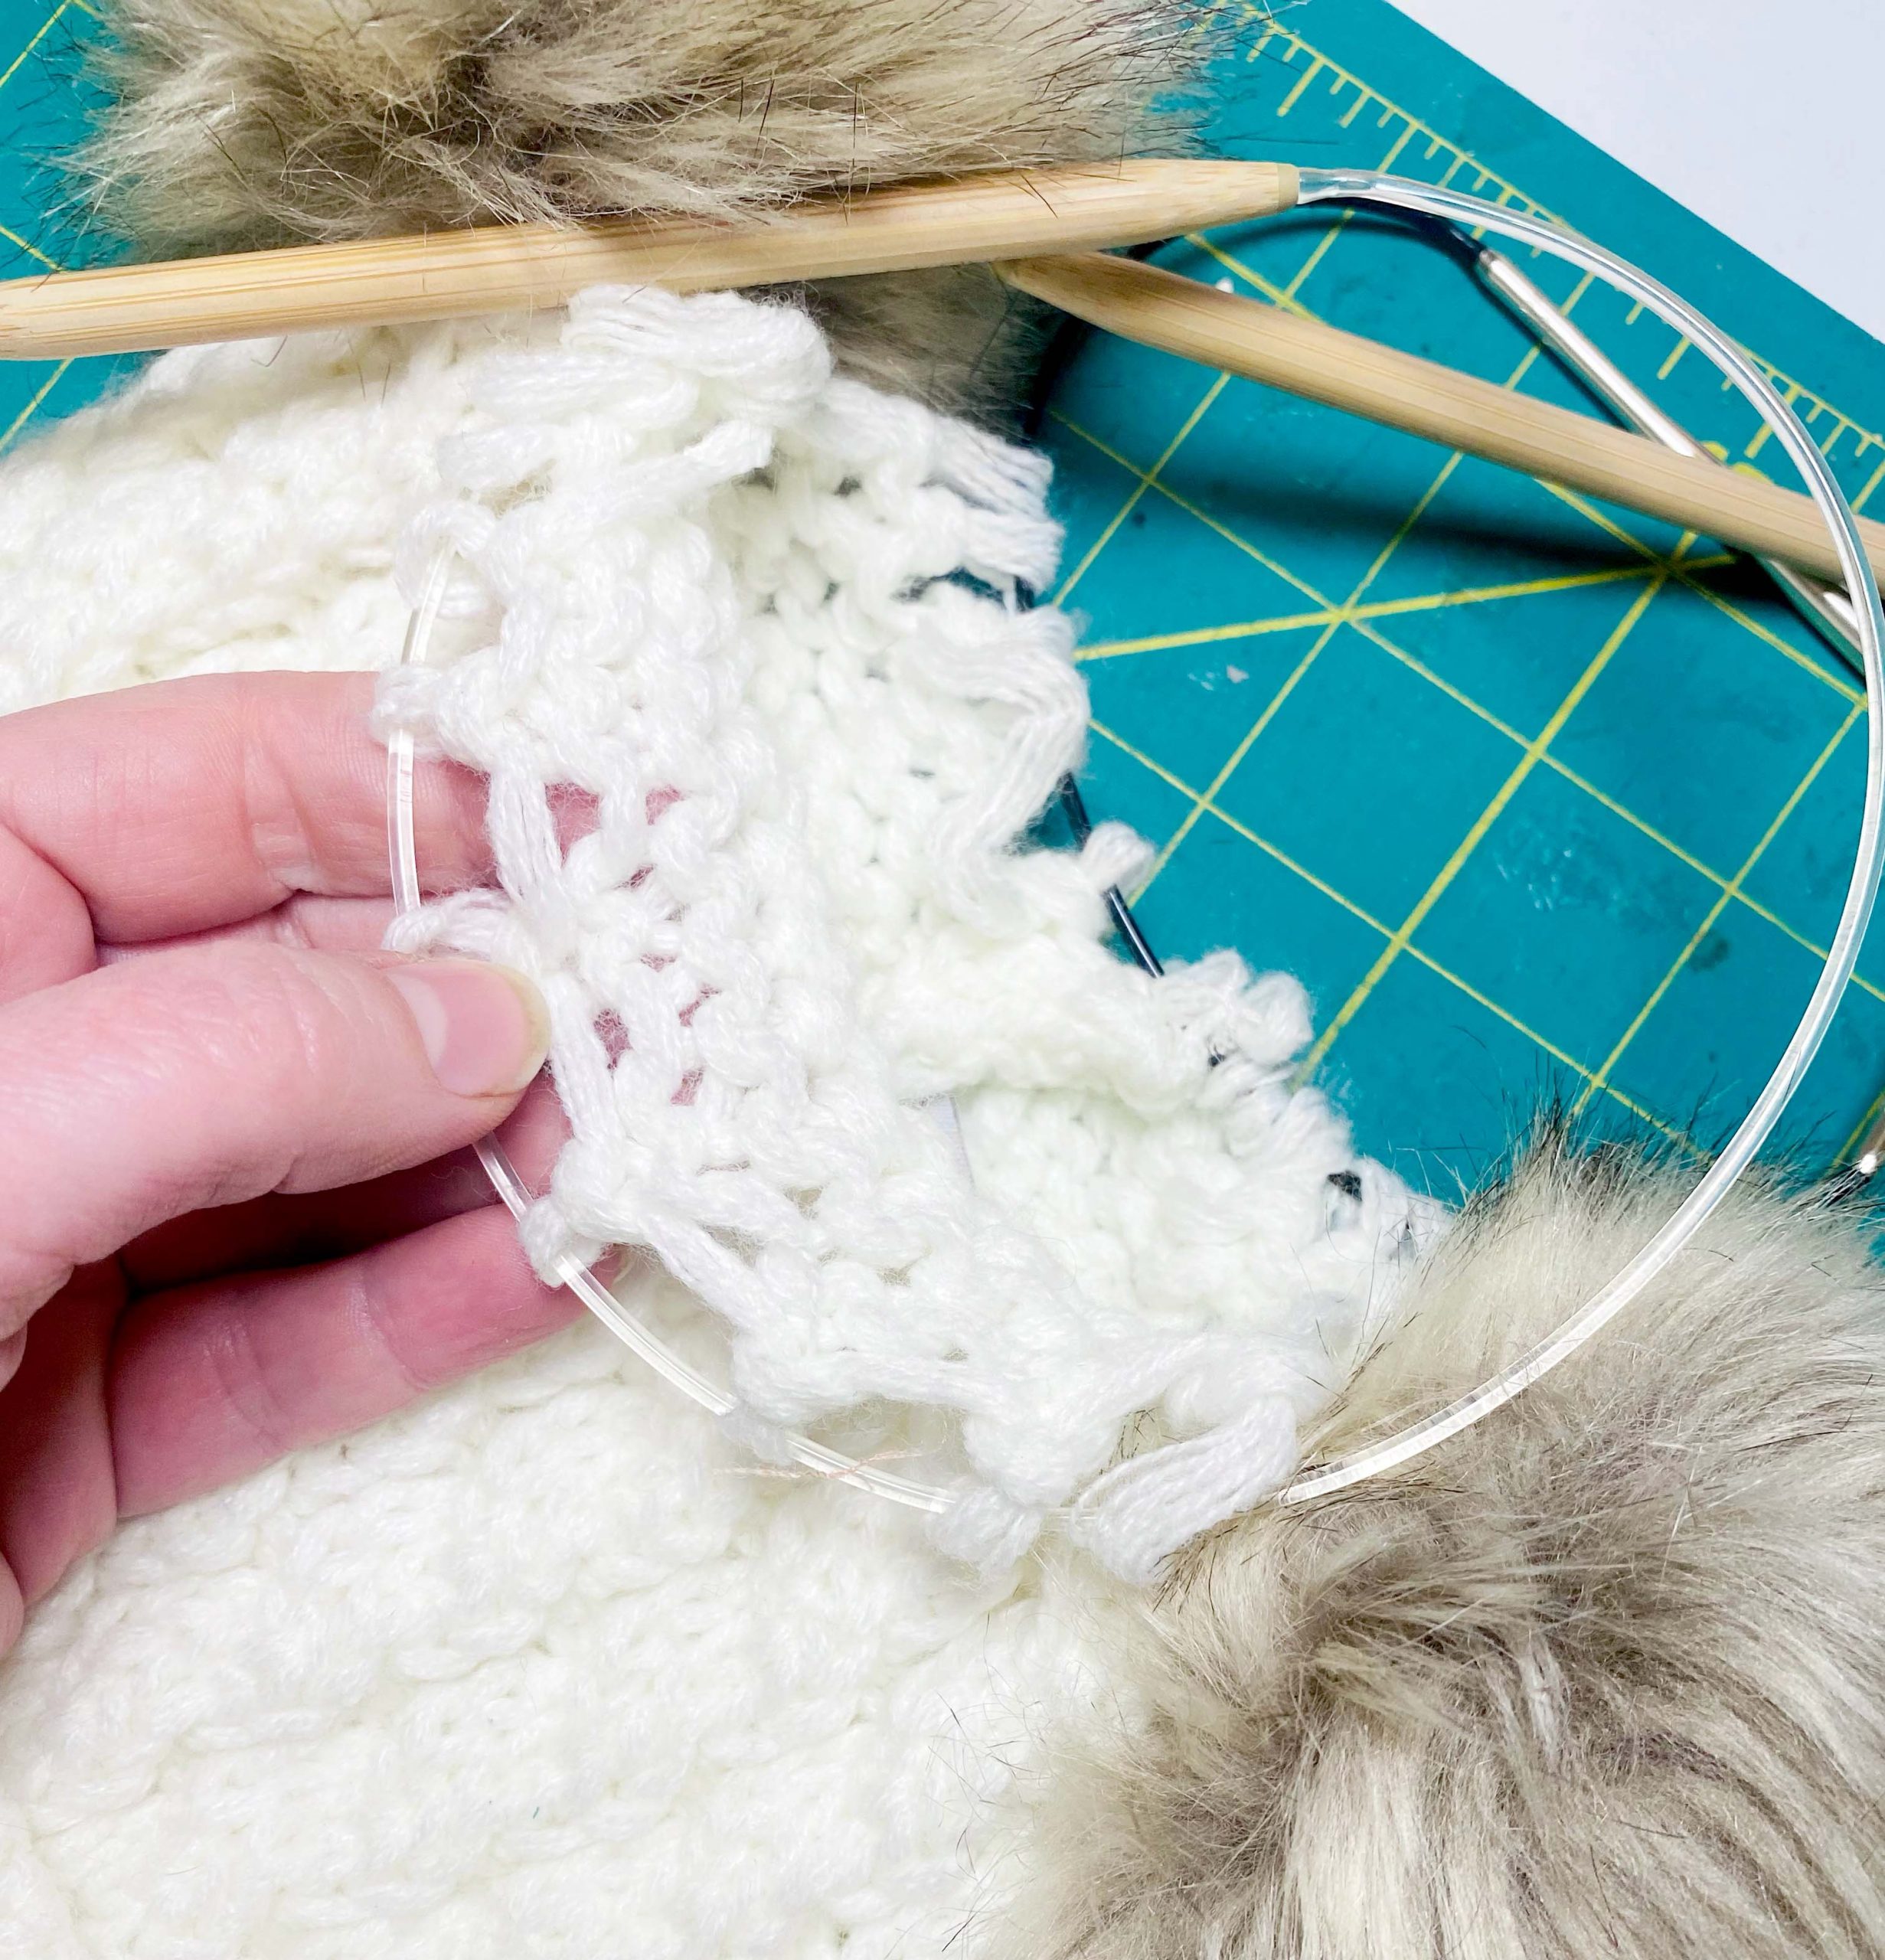
Re-Knitting Dropped Stitches in Realtime Live
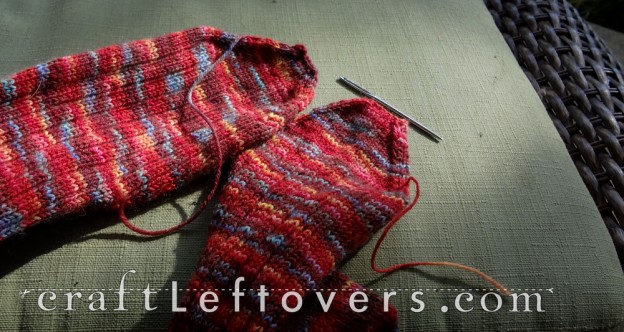
Join me for 40 minutes of relaxed mending and afternoon tea. Today I reknit the top of my daughter’s hat that “exploded” at school. I also show off a few other projects in my mending basket and the socks I’m knitting up just for fun. Show Notes Sign up for the […]
journal
Turning off Ads on Craft Leftovers
Last year I turned google ads on. This year I’m turning them off. Here is the why for both choices. Plus a little digressing. Craft Leftovers the blog has been around since that 2006 Hello World Post. Believe it or not, it was one of the OG blogs on recycled/upcycled/green […]
Crafty Business - feature - journal - podcast
Ep 14: Annual Review in an Hour
Before making a plan for the next year, (Ep 01 of Craft Leftovers), let’s take an hour to consider this past year. What went well? What could have been better? What just totally missed the boat? Do you try again next year or let it go? I’m taking you through […]
Crafty Business - journal - podcast
Ep 13: Bookkeeping for Creatives
One of the questions I get most often. Okay more like the “oh no” deer in the headlights response I get when I bring up book keeping. It doesn’t have to be scary. In fact, it can be kind of fun. In this episode I talk about the difference between […]
Crafty Business - journal - podcast

Ep 12: Making a Traveling Exhibit
After a year of work I’m taking the Junk Mail Migration Paintings & Tapestry on the road! How did I create a traveling exhibit? And what are the essentials to coordinating with multiple partnering institutions? As a curator at an art center, I received and installed hundreds of works of […]
journal
New Livestream Schedule + Winter Local Events Announced
Well I did it! Every month for an entire year I did a Livestream over on my Youtube channel. And at the end of the year, I realized an interesting thing… I want to do more! When I started this experiment, I had this idea that I would craft + […]
journal - podcast
Ep 11: Should you Sell at a Fair, Fest, or Market?
Enjoy Episode 11 of the Craft Leftovers Podcast in video form (the abridged recording of the September 14, 2022 livestream and transcript are coming soon). Pull up a project and craft along. Over the last two decades I’ve coordinated, participated, and volunteered at over 100,000* art and craft festivals, fairs, […]
journal - podcast
Ep10: 8 Ways Art & Craft are the Same
Enjoy Episode 10 of the Craft Leftovers Podcast (an abridged recording of the August 17 livestream) in audio form. Pull up a project and craft along. Having a foot in craft and the other in art, I often get asked “what IS the difference between art and craft?” I love […]
crochet - patterns & tutorials
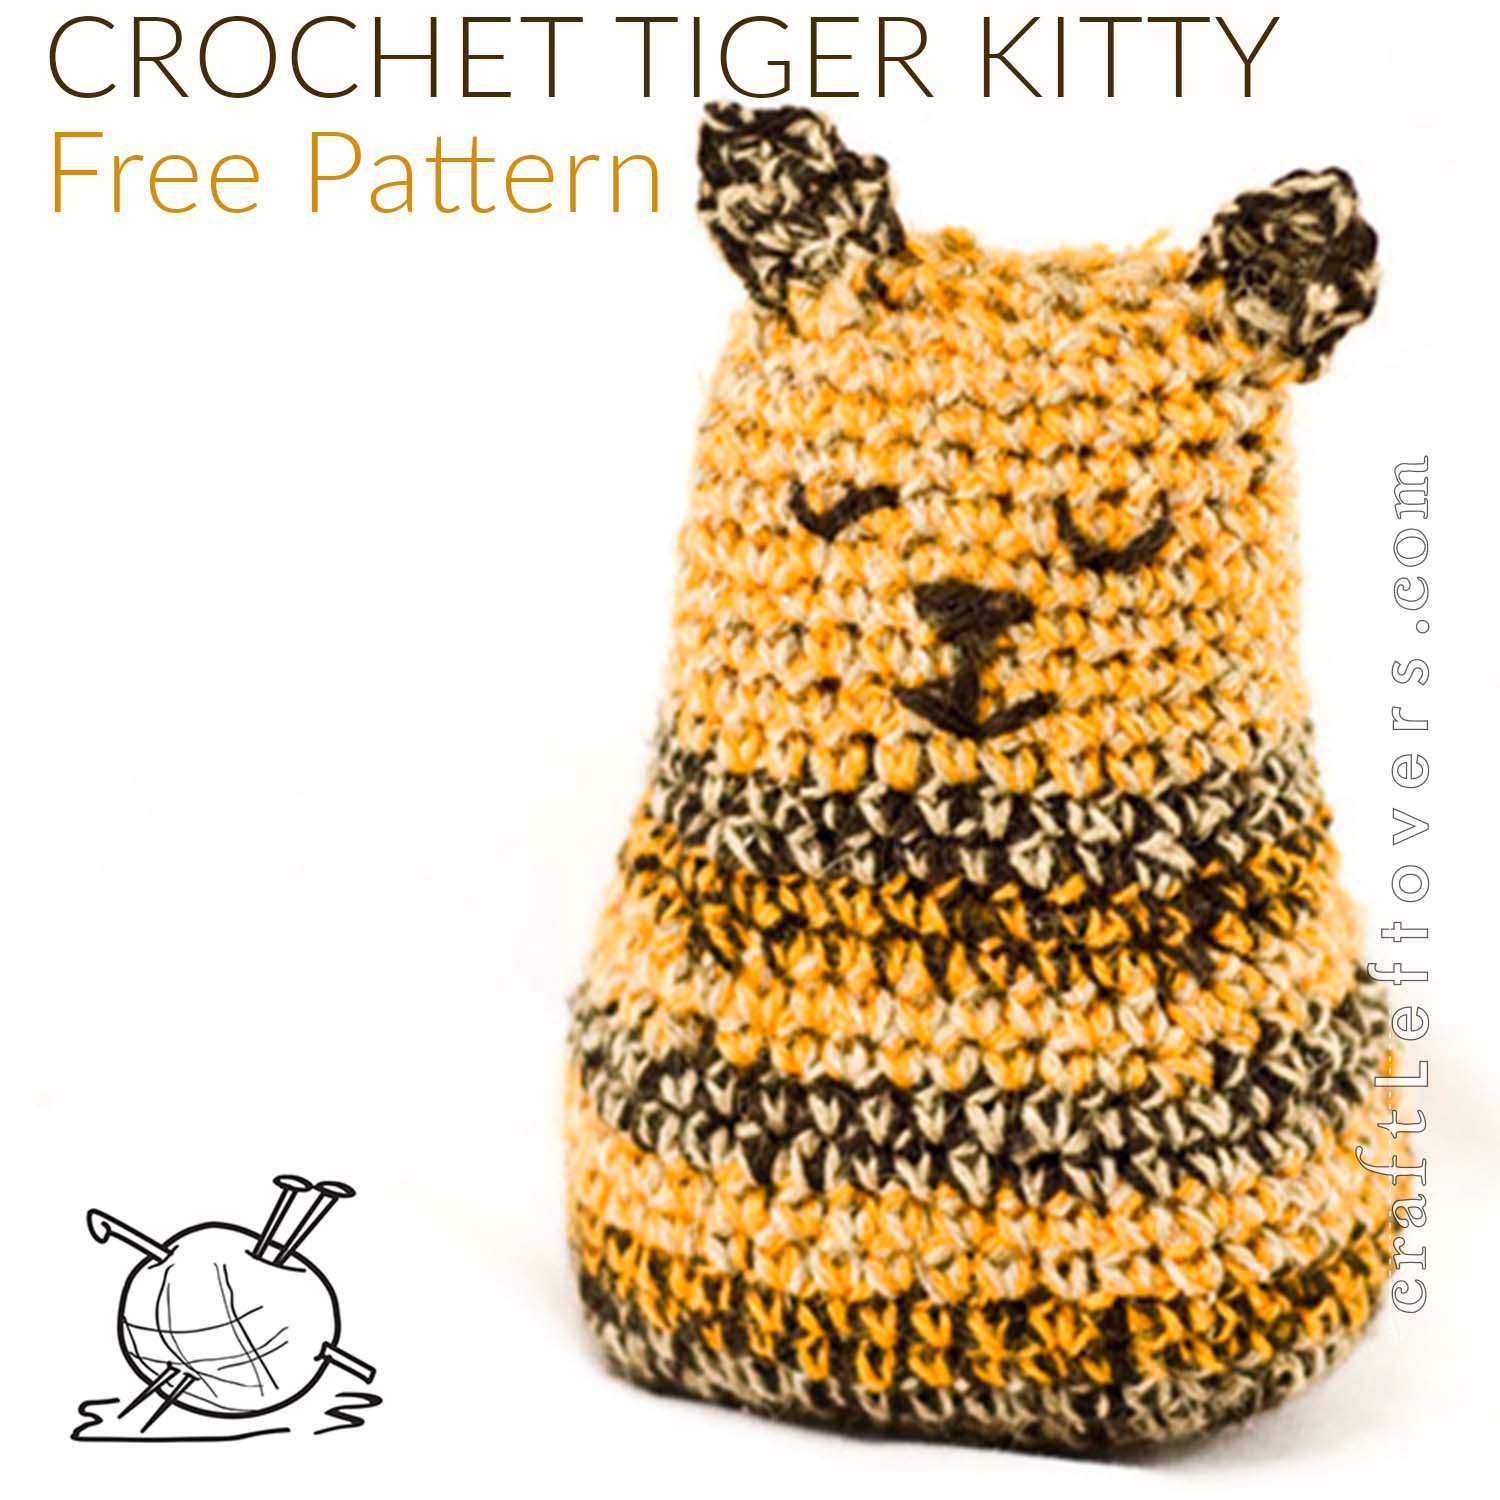
Free Pattern: Crochet Tiger Kitty Plush
First published in the March Volume 2 issue of Craft Leftovers Monthly, this little Tiger Kitty spread its sweetness to Craftzine.com back in 2010. Get it here on the Craft Leftovers blog for the first time. Be careful though, he may be a little sweety when sleepy, but this Tiger […]